
Are you looking to add an HTML file to your WordPress site but don’t know where to start? You’re not alone.
Many WordPress users struggle with this simple yet important task. Imagine having the freedom to upload custom pages or designs without limitations. You’ll discover clear, step-by-step instructions that make adding an HTML file to your WordPress site easy and hassle-free.
By the end, you’ll have the confidence to enhance your website exactly the way you want. Keep reading, because your site deserves that extra touch of customization.

Credit: www.interserver.net
Prepare Your Html File
Preparing your HTML file is an important first step before adding it to WordPress. This process helps ensure your file works well and looks good on the web. Taking time here saves you from problems later.
Focus on making your file clean and organized. Clear structure and optimized code make it easier to upload and display correctly.
Check File Structure
Start by reviewing the layout of your HTML file. Make sure all tags are properly closed and nested. A clean structure avoids errors on your WordPress site.
Verify that all linked files like images and stylesheets have correct paths. Broken links cause missing elements on your page. Keep your folders organized and your file names simple. This step prevents confusion and makes your page load faster.
Optimize For Web
Reduce file size by removing unnecessary code and comments. Smaller files load faster and improve user experience. Use compressed images to speed up your page. Avoid large or unneeded scripts.
Check your HTML for mobile friendliness. Use simple layouts that work on small screens. Fast and responsive pages keep visitors engaged and help your SEO ranking.
Access WordPress Dashboard
Accessing the WordPress dashboard is the first step to adding an HTML file. The dashboard is the control center for your website. It lets you manage files, content, and settings easily. You will need to log in to the admin panel to start working.
Login To Admin Panel
Open your web browser. Type your website URL followed by /wp-admin. This link takes you to the login page. Enter your username and password. Click the “Log In” button. Now, you see the WordPress dashboard. Keep your login details safe for future access.
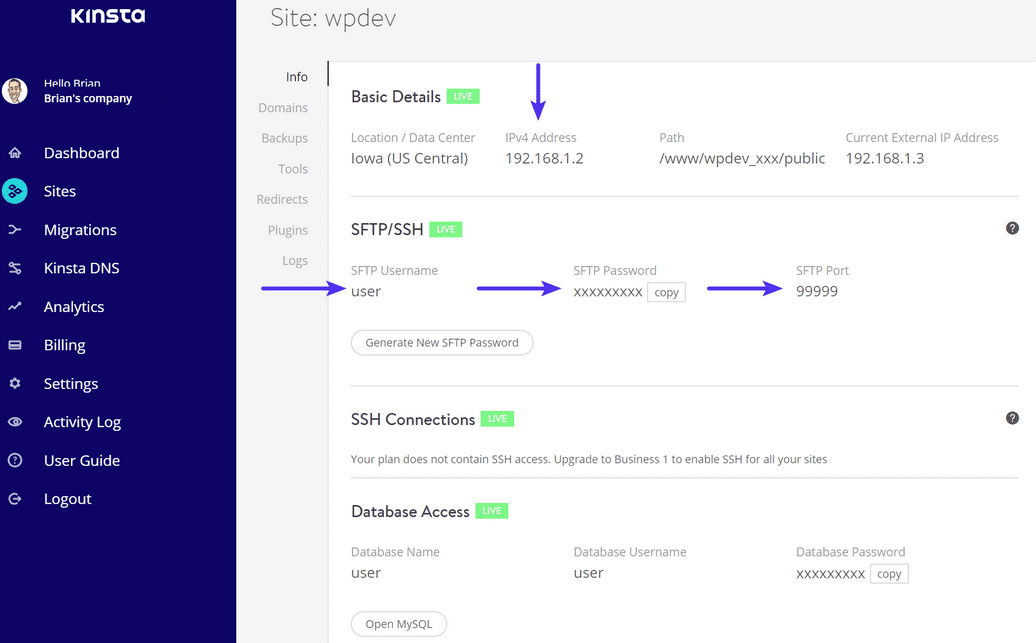
Locate File Management Tools
Inside the dashboard, find the tools for managing files. Look for the “Appearance” or “Plugins” section. Some sites have a file manager plugin. If not, use your web hosting control panel. You can upload your HTML file there. Knowing where to find these tools saves time.
Upload Html File
Uploading an HTML file to WordPress allows you to add custom pages or content easily. This process does not require coding skills. You can upload your file directly to your website and link it to your menu or pages.
There are two simple ways to upload an HTML file: using the Media Library or a File Manager plugin. Both methods are quick and user-friendly.
Use Media Library
Go to your WordPress dashboard. Click on “Media” then “Add New.”
Select your HTML file from your computer. Upload it by dragging or browsing files.
Once uploaded, click on the file to see its URL. Copy this URL for later use.
Use this URL to link the HTML file in your pages or menus. Your visitors can now access your HTML page.
Use File Manager Plugin
Install a File Manager plugin from the WordPress plugin directory. Activate the plugin.
Open the File Manager from the dashboard menu. Navigate to your website’s root or desired folder.
Click “Upload” and choose your HTML file. Wait for the upload to complete.
Copy the URL of the uploaded file. Use this URL to link your HTML page on your site.
Credit: kinsta.com
Link Html File In WordPress
Linking an HTML file in WordPress helps you share custom content easily. This process lets visitors access your HTML file directly from your site. It improves navigation and user experience.
You can link your HTML file in different ways. Two common methods are creating a custom menu item and inserting the link inside posts or pages. Both are simple and useful.
Create Custom Menu Item
Go to your WordPress dashboard and open the Appearance menu. Click on Menus to manage your site’s navigation. Here, you can add a new menu item that links to your HTML file.
Choose the Custom Links option in the menu editor. Enter the full URL of your uploaded HTML file in the URL field. Then, type the link name in the Link Text box. Click Add to Menu.
Drag your new menu item to the desired position. Save the menu to make the link visible on your site. Visitors can now click the menu to open your HTML file.
Insert Link In Posts Or Pages
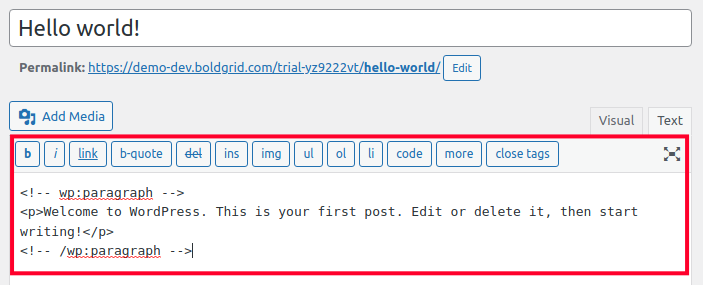
Edit the post or page where you want to add the HTML file link. Highlight the text or select the area for the link. Click the Insert/edit link button in the editor toolbar.
Paste the full URL of your HTML file in the link box. Press Enter or click the Apply button. The text will become a clickable link directing to your HTML file.
Update or publish the post or page. Readers will see the link and can open the HTML file with one click. This method works well for adding links within your content.
Test Your Html Page
After adding your HTML file to WordPress, testing the page is crucial. Testing helps ensure your page works well and looks good for visitors. It catches problems early and improves user experience. Focus on key areas like links and mobile display.
Check Link Functionality
Open your HTML page and click every link. Make sure each link leads to the right place. Broken links can frustrate users and harm your site’s SEO. Fix any links that do not open or go to wrong pages. Also, check if links open in the correct window or tab.
Verify Mobile Responsiveness
View your HTML page on different mobile devices. The page should fit well on small screens. Text and images must be clear and easy to read. Buttons and links should be easy to tap. Use browser tools to simulate phones if you don’t have devices handy. A mobile-friendly page improves visitor engagement and ranking.
Credit: www.inmotionhosting.com
Troubleshoot Common Issues
Troubleshooting is key when adding an HTML file to WordPress. Problems can stop your page from working right. Fixing these common issues helps keep your site smooth and user-friendly.
Fix Broken Links
Broken links happen if URLs are wrong or files move. Check the file path carefully. Ensure the URL matches the exact location of your HTML file. Use relative links within your site to avoid mistakes.
Test links after uploading. Use a browser to click all links. If any link shows an error, double-check the file name and folder. Correct any typos or missing characters.
Resolve Permission Errors
Permission errors block access to files. Your HTML file needs the right read permissions on the server. Check file permissions with your hosting control panel or FTP client.
Set permissions to 644 for HTML files. This allows the server to read the file but keeps it secure. Avoid 777 permissions as they can create security risks.
If errors persist, contact your host to confirm server settings. They can help fix permission problems quickly.
Frequently Asked Questions
How Do I Upload An Html File To WordPress?
To upload an HTML file, use the WordPress dashboard or FTP client. Navigate to your theme folder or media library and upload the file directly. Then, link to it within your posts or menus for easy access.
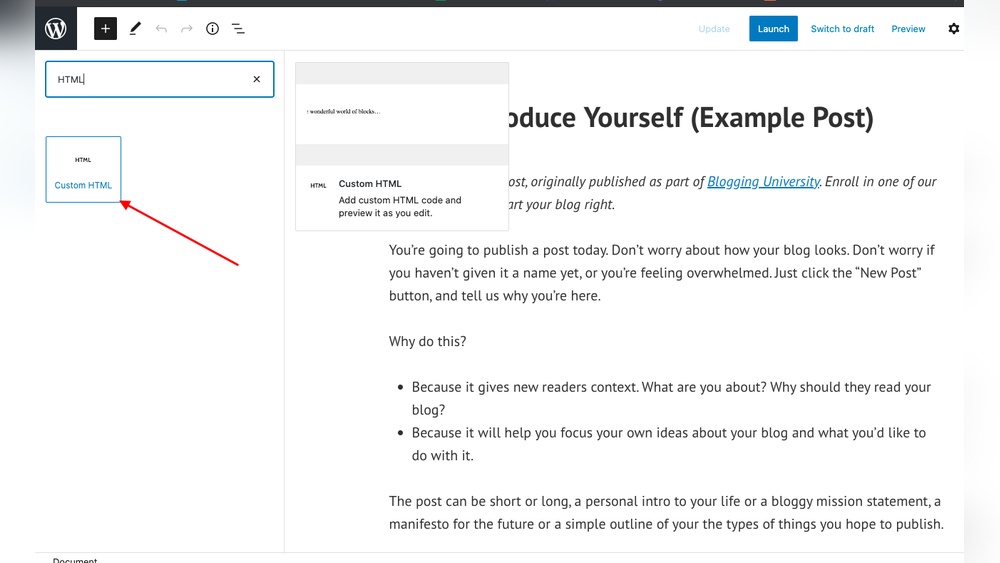
Can I Embed Html Files Directly In WordPress Pages?
Yes, you can embed HTML files using plugins or the Custom HTML block. This method allows you to display custom HTML content without modifying your theme files. It’s a quick way to add interactive or styled elements.
Is It Safe To Add Html Files To WordPress?
Adding HTML files is safe if the code is clean and secure. Avoid using untrusted or malicious scripts. Always back up your site before uploading to prevent any potential issues.
How Do I Link An Html File In WordPress Menus?
After uploading your HTML file, go to Appearance > Menus. Select “Custom Links,” enter the file URL, and add it to your menu. Save changes to make the HTML page accessible via your site navigation.
Conclusion
Adding an HTML file to WordPress is simple and quick. Just follow the steps carefully to avoid errors. You can upload files using plugins or the hosting control panel. This lets you share custom pages or special content easily. Keep your site organized by naming files clearly.
Testing your HTML page after upload ensures it works well. Practice a few times to get comfortable with the process. This skill helps you add unique features to your WordPress site. Try it today and see how flexible your website can be.


