

Want to make your WordPress website more engaging and helpful for your visitors? Adding a chatbot can do just that.
Imagine having a friendly assistant ready to answer questions, guide users, and boost your sales—all without you lifting a finger. You’ll discover simple, step-by-step instructions to add a chatbot to your WordPress site quickly and easily. By the end, you’ll have a powerful tool that works around the clock to improve your visitors’ experience and grow your business.
Ready to get started? Let’s dive in!
Benefits Of Chatbots For WordPress
Chatbots bring many benefits to WordPress websites. They improve how visitors interact with your site. Chatbots make it easy to get help anytime. They work 24/7 without needing breaks. These tools can save time for both users and site owners. Below are some key benefits of adding chatbots to WordPress.
Enhancing User Experience
Chatbots provide quick answers to visitor questions. They guide users through your website smoothly. Visitors find what they need without waiting. This makes browsing more enjoyable and simple. A good chatbot keeps users interested and happy.
Boosting Customer Engagement
Chatbots start conversations with visitors automatically. They invite users to explore products or services. This helps build a connection with your audience. Engaged visitors are more likely to return and buy. Chatbots keep your website lively and interactive.
Reducing Response Time
Chatbots reply instantly to common questions. No more waiting for email or phone responses. Fast answers increase visitor satisfaction and trust. Quick support also reduces the workload on your team. This keeps your business running smoothly and efficiently.

Credit: artibot.ai
Choosing The Right Chatbot Plugin
Choosing the right chatbot plugin is key to improving user interaction on your WordPress site. The right plugin helps answer visitor questions fast. It also boosts engagement and can increase sales. Picking a plugin that fits your needs saves time and effort.
Many chatbot plugins offer different features. Some focus on ease of use, while others provide advanced options. Consider your website’s goals before deciding. The right choice makes your site feel more helpful and welcoming.
Popular Chatbot Plugins For WordPress
Several chatbot plugins stand out for WordPress users. WP-Chatbot offers Facebook Messenger integration and easy setup. Tidio combines live chat and bots with a simple interface. ChatBot by LiveChat provides powerful automation and templates. Collect.chat uses interactive forms to engage visitors. Each plugin serves different needs and budgets.
Features To Look For
Look for plugins that offer easy installation and setup. Customizable chat widgets help match your website’s style. Multi-language support improves communication with global visitors. Automation features save time by handling common questions. Integration with email or CRM tools helps manage leads. Analytics and reports show how well the chatbot performs.
Pricing And Plans
Most chatbot plugins offer free versions with basic features. Paid plans unlock advanced tools like unlimited chats or custom branding. Some plugins charge monthly fees, others yearly. Check if the plan fits your budget and needs. Start with a free trial to test features before buying. This helps avoid paying for unwanted options.
Preparing Your WordPress Site
Preparing your WordPress site is a key step before adding a chatbot. This ensures your site runs smoothly and the chatbot works well. Taking time to prepare helps avoid problems later. Follow these steps to get your site ready.
Updating WordPress And Plugins
Keep your WordPress version up to date. Updates fix bugs and improve security. Outdated software can cause errors with new tools.
Also, update all your plugins. This helps prevent conflicts between the chatbot and other plugins. Check for updates in the WordPress dashboard and install them.
Backing Up Your Website
Back up your site before making changes. A backup saves your data in case something goes wrong. Use a reliable backup plugin or your hosting service’s backup feature.
Store the backup safely. You can restore your site if the chatbot causes issues. This step protects your content and settings.
Checking Compatibility
Check if the chatbot plugin works with your WordPress version. Look at the plugin details for compatibility info. Some plugins need specific versions to run well.
Also, test if the chatbot fits with your theme and other plugins. Conflicts can cause your site to break or slow down. Try the chatbot on a staging site first, if possible.

Credit: www.youtube.com
Installing The Chatbot Plugin
Installing a chatbot plugin on your WordPress site is simple. It helps you start chatting with visitors quickly. This section guides you through the basic steps of adding a chatbot plugin.
Finding And Installing The Plugin
Go to your WordPress dashboard. Click on “Plugins” then “Add New.” Use the search box to type “chatbot.” Browse the list to find a plugin that fits your needs. Look at ratings and reviews to pick a good one. Click “Install Now” on the plugin you want. Wait a few seconds as WordPress installs it.
Activating The Plugin
After installation, click “Activate.” The plugin will now be live on your site. Some plugins show a welcome screen or setup guide. Follow those if they appear. Activation is needed to start using the chatbot features.
Basic Plugin Settings
Open the plugin’s settings from the dashboard menu. Enter your chatbot’s name and customize its appearance. Set up the greeting message that visitors will see. Adjust chat window colors to match your site’s style. Save your changes before leaving the page. These settings help make the chatbot friendly and useful.
Customizing Your Chatbot
Customizing your chatbot helps create a better experience for your visitors. A well-customized chatbot feels more friendly and useful. It can answer questions faster and guide users clearly. Custom settings make your chatbot fit your website style and needs.
Setting Up Chatbot Greetings
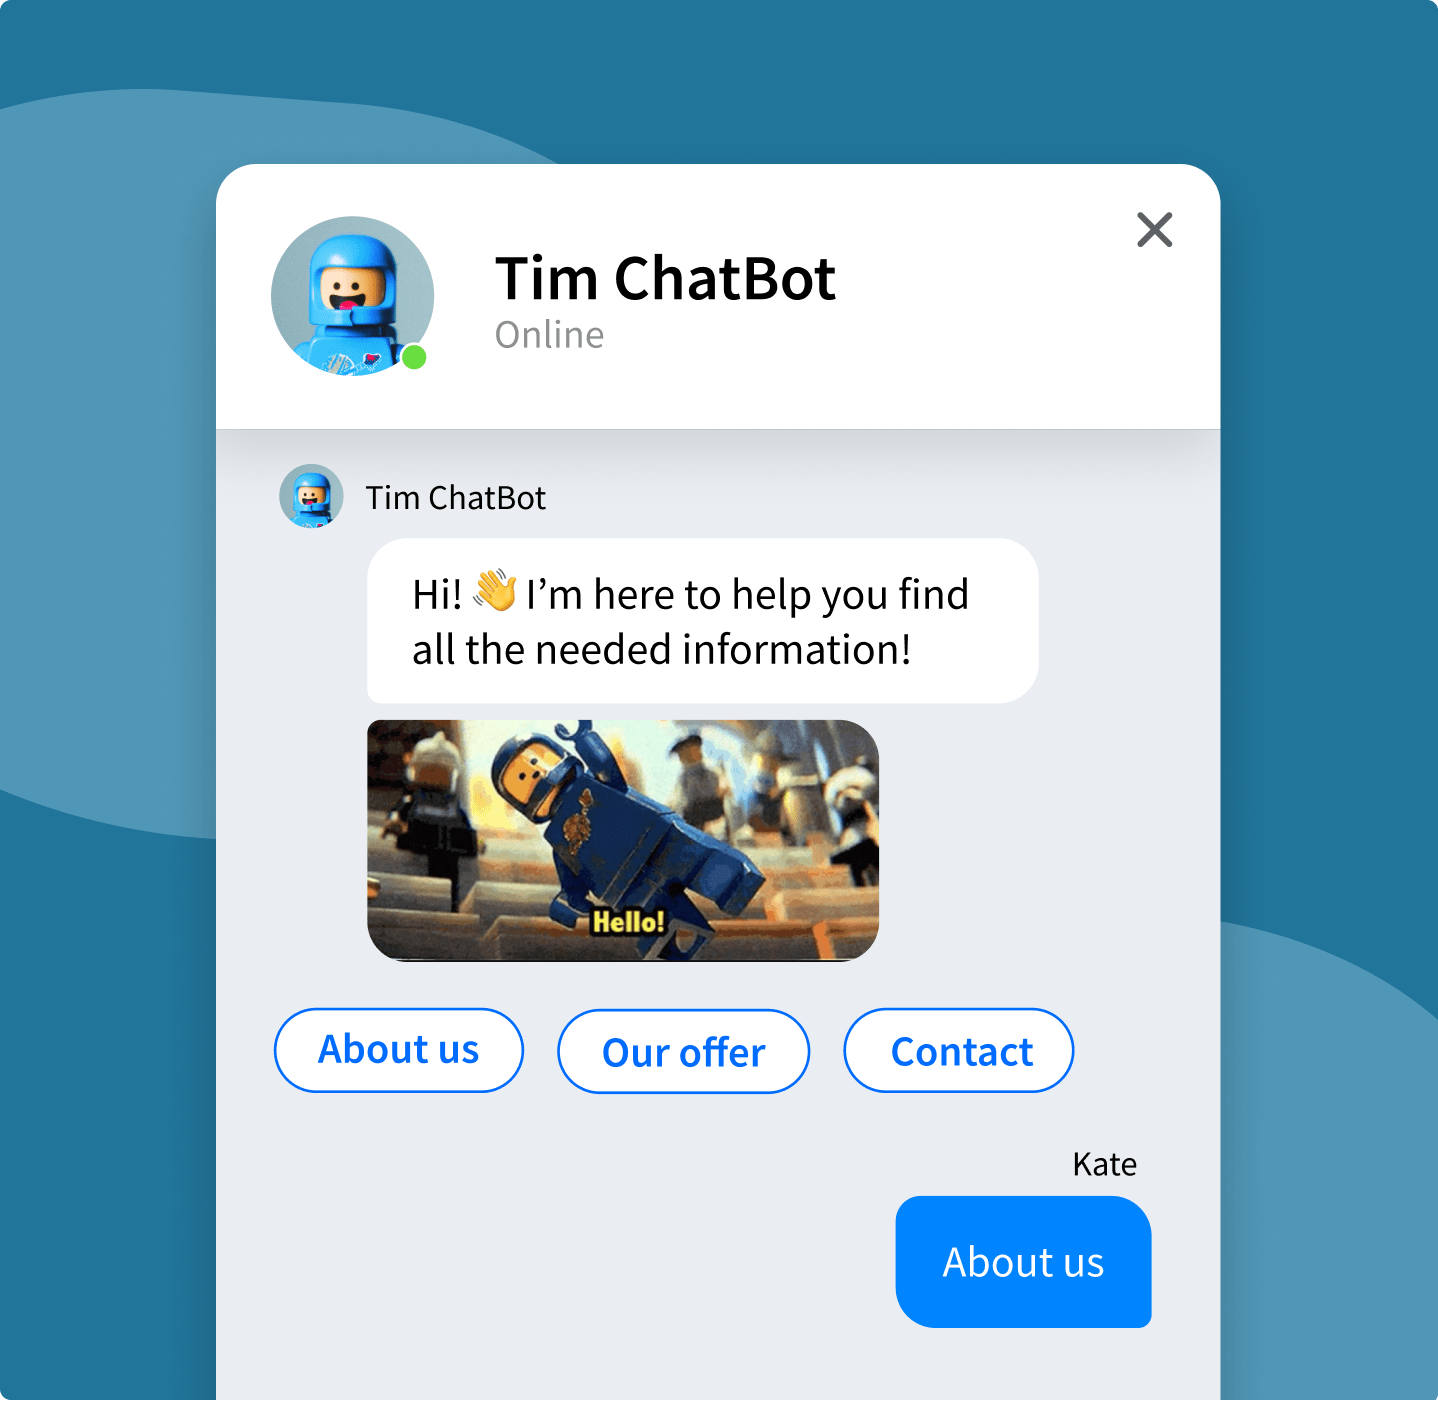
Start by writing a warm greeting message. This message welcomes visitors and invites them to chat. Keep it short and simple. Use words that match your website’s tone. A good greeting helps users feel comfortable and ready to interact.
Adding Faqs And Responses
Prepare a list of common questions your visitors ask. Add clear, short answers for each question. This saves time and helps users get fast replies. Make sure responses are easy to understand. Update FAQs regularly to keep information fresh.
Design And Appearance Options
Choose colors that match your website’s theme. Pick a chatbot shape and button style that look nice on your page. Adjust font size for easy reading. Test how the chatbot looks on different devices. A clean design keeps users engaged and happy.
Credit: www.chatbot.com
Integrating Chatbot With Messaging Platforms
Integrating a chatbot with messaging platforms helps you connect with visitors more directly. It allows users to chat with your bot through popular apps they already use. This expands your reach beyond the website and improves customer service.
Many chatbots offer easy integration with major messaging platforms. Setting up these connections lets you manage conversations from one place. It also keeps your responses quick and consistent.
Connecting To Facebook Messenger
Facebook Messenger is a widely used platform for chatbot integration. To connect, create a Facebook Page if you don’t have one. Then, link your chatbot to that page using the chatbot’s dashboard. This process usually involves generating a token and verifying permissions. Once connected, visitors can message your business directly through Messenger.
Linking With Whatsapp
WhatsApp offers a direct way to reach customers on their phones. Many chatbot services support WhatsApp integration via the WhatsApp Business API. You need a verified business account to use this feature. After setup, your chatbot can handle questions and send updates via WhatsApp messages. This creates a fast, personal communication channel.
Other Platform Integrations
Chatbots often connect with other platforms like Telegram, Slack, or SMS. Each platform has its setup requirements and benefits. Choose platforms where your audience is active. Follow the chatbot provider’s guides to link these channels. This approach helps maintain a seamless chat experience across multiple tools.
Testing Your Chatbot
Testing your chatbot is a key step before making it live. It ensures your bot works well and helps visitors smoothly. Proper testing avoids errors and poor user experiences. This step saves time and boosts user trust.
Checking Chatbot Functionality
Start by asking simple questions. See if the chatbot understands and replies correctly. Test different phrases to check its range. Try commands and requests it should handle. Pay attention to response speed and clarity. Make sure buttons and links work as expected. Test on both desktop and mobile devices. Confirm it collects user data properly if set to do so.
Troubleshooting Common Issues
Look out for slow replies or no answers. Check chatbot settings for any missed steps. Clear cache or cookies to fix loading problems. Update plugins or chatbot software to latest versions. Review chatbot scripts for any errors or typos. Verify internet connection during testing. Use built-in logs to track errors. Contact chatbot support if problems persist.
Monitoring And Improving Chatbot Performance
Monitoring and improving chatbot performance is vital for a better user experience. It helps to spot issues early and fix them quickly. Regular checks ensure your chatbot meets visitor needs and stays helpful over time.
Analyzing User Interactions
Track conversations between users and the chatbot. Look for common questions and where users stop chatting. This data shows what works and what confuses users. Use simple tools to review these interactions easily.
Updating Responses Regularly
Keep chatbot answers fresh and clear. Change responses that users find unclear or unhelpful. Add new answers for questions your visitors ask often. This keeps your chatbot useful and relevant.
Using Feedback To Enhance Support
Ask users for feedback after chats. Use their comments to improve chatbot replies. Fix errors and add helpful information based on real input. This builds trust and makes your chatbot more friendly.
Frequently Asked Questions
How Do I Install A Chatbot On WordPress?
To install a chatbot, choose a compatible plugin or service. Then, add it via the WordPress dashboard under Plugins > Add New. Activate the plugin and follow setup instructions to customize the chatbot for your website.
Which Chatbot Plugins Work Best With WordPress?
Popular WordPress chatbot plugins include WP-Chatbot, Tidio, and ChatBot. com. These offer easy integration, customization, and support multiple messaging platforms to enhance user interaction.
Can I Customize The Chatbot’s Appearance On WordPress?
Yes, most WordPress chatbot plugins allow you to customize colors, greetings, and chat window placement. This helps match your site’s branding and improves user engagement.
Is Adding A Chatbot To WordPress Free Or Paid?
Many chatbot plugins offer free basic plans with limited features. For advanced options like AI responses or analytics, paid plans are typically required.
Conclusion
Adding a chatbot to your WordPress site can boost user help and save time. The steps are simple and do not need coding skills. Choose the right chatbot plugin, install it, and customize to fit your needs. Test the chatbot to make sure it works well.
A chatbot keeps visitors engaged and answers questions fast. Try adding one today to improve your website’s user experience.



