

Are you looking to customize your WordPress site but don’t know how to access the header? The header is one of the most important parts of your website—it’s the first thing visitors see and sets the tone for your entire site.
Whether you want to add a logo, change the menu, or tweak the design, knowing how to get into the header is key. In this guide, you’ll learn simple, step-by-step ways to access and edit your WordPress header without stress.
By the end, you’ll have the confidence to make your site stand out exactly the way you want. Ready to take control of your header? Let’s dive in.
Credit: wpforms.com
Locate Header Files
Locating header files is the first step to customize your WordPress site’s header. These files control the content and design of the header area. Understanding where to find them helps you make changes safely.
Header files are part of your WordPress theme. Each theme has its own set of files stored in the WordPress dashboard. You can access these files directly from the admin area without needing extra software.
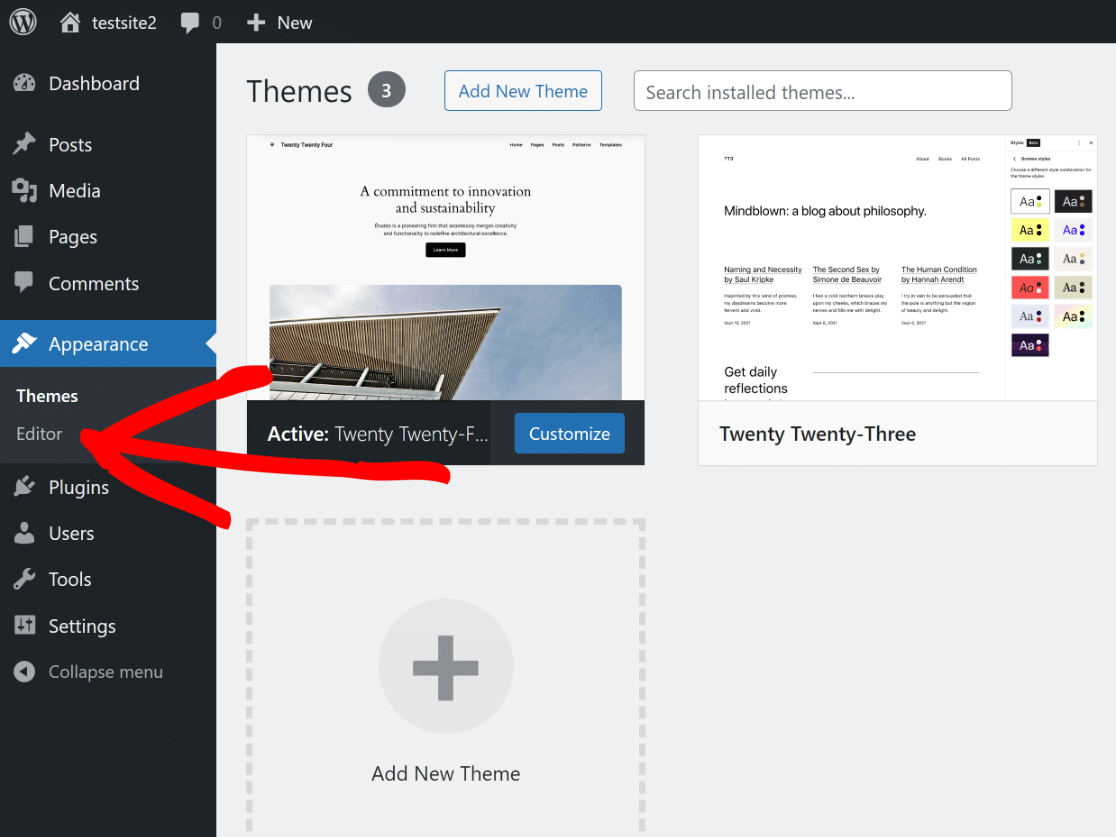
Access Theme Editor
Go to the WordPress dashboard and find the “Appearance” menu. Click on “Theme Editor” to open the editor. This section shows all the theme files in one place. Be cautious when editing here because changes affect your live site.
Find Header.php
In the Theme Editor, look for the file named header.php. It is usually listed on the right side under “Theme Files.” This file contains the code for your website’s header area. You can edit this file to change logos, menus, or header layout.

Credit: www.youtube.com
Edit Header In WordPress Dashboard
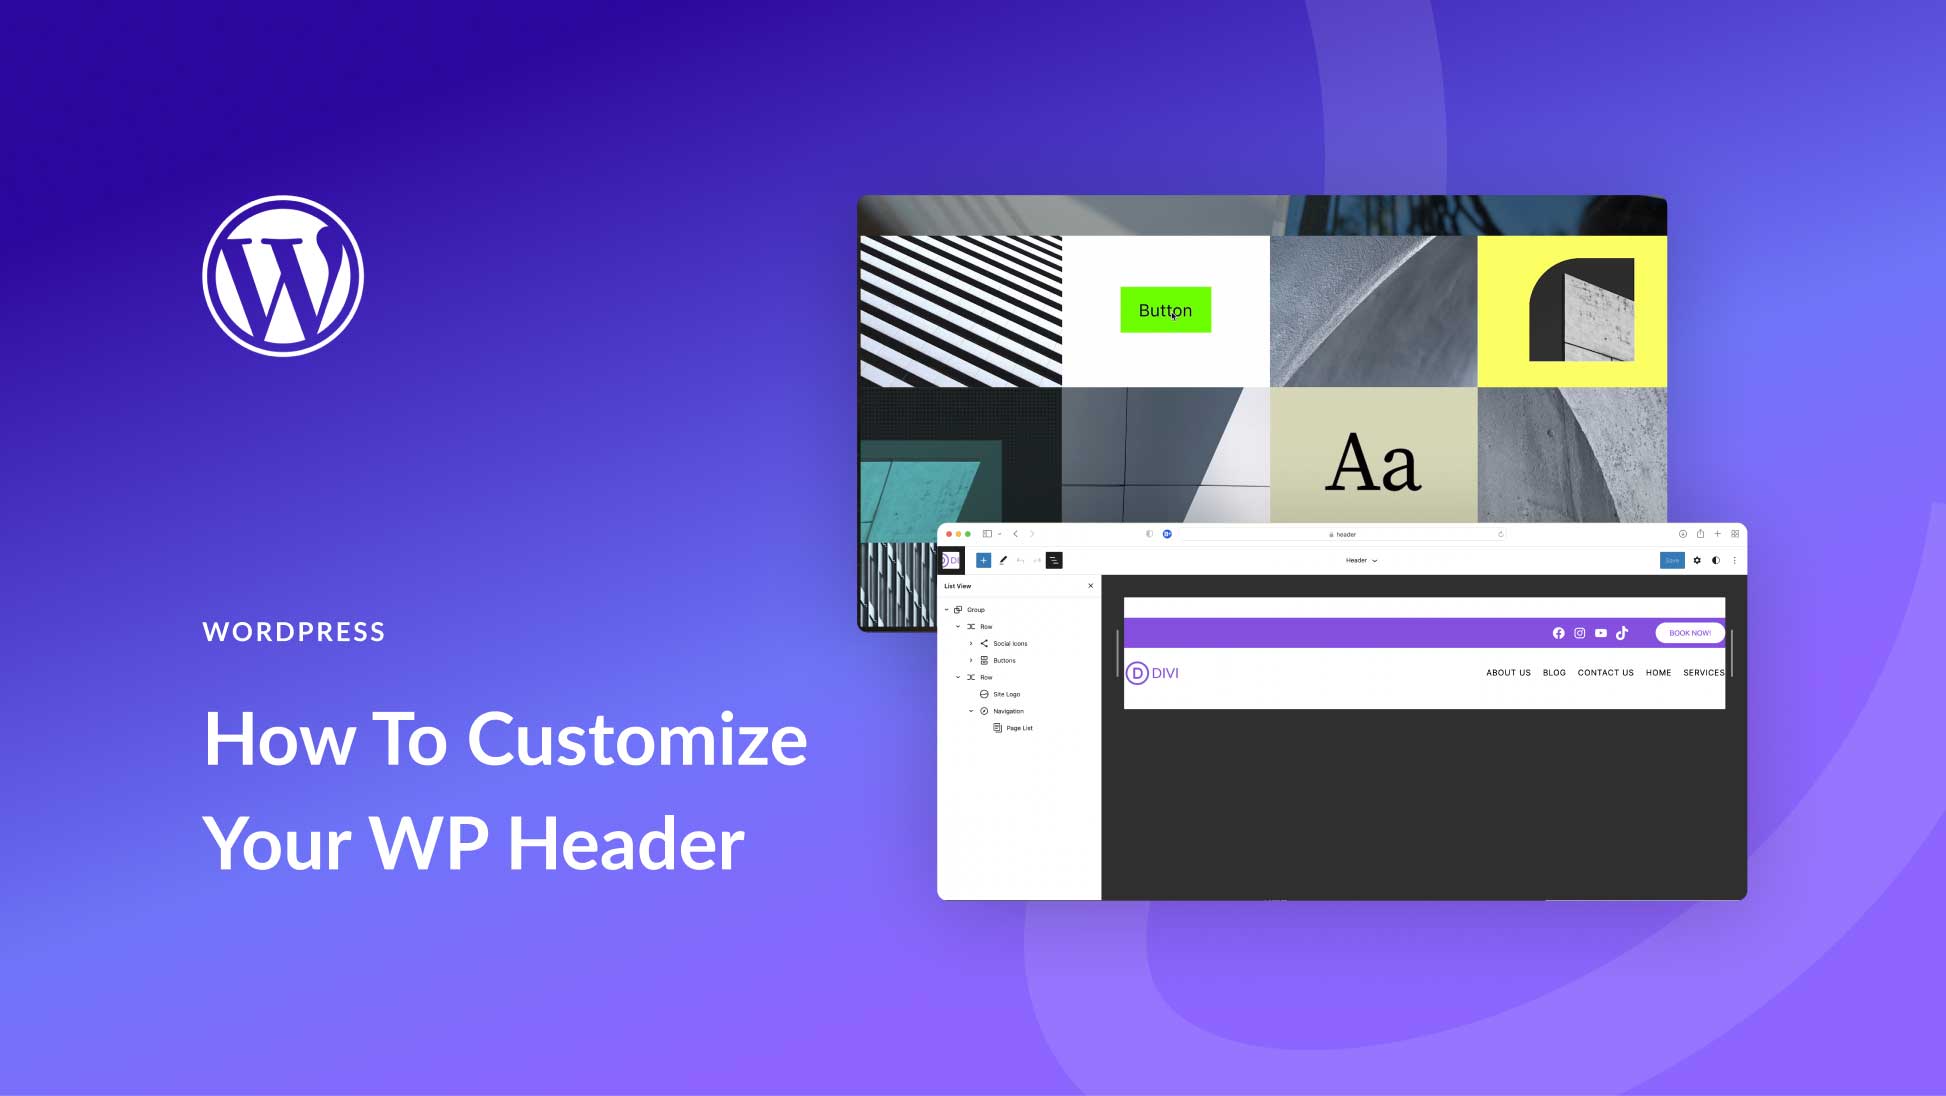
Editing the header in the WordPress dashboard is simple. The header is the top part of your website. It often shows your site’s name, logo, and menu. Changing it helps your site look unique and professional. You can update the header without coding skills. WordPress provides easy tools to do this inside the dashboard.
Use Customizer Options
Go to your WordPress dashboard. Find the “Appearance” menu and click “Customize.” This opens the Customizer tool. It shows a live preview of your site.
In the Customizer, find the “Header” section. Here, you can change many header parts. Adjust colors, fonts, and layout. Changes show immediately in the preview. When satisfied, click “Publish” to save.
Add Header Image Or Logo
Inside the Customizer, find the option for “Header Image” or “Site Identity.” This is where you add your logo or header picture. Click “Select Image” to upload a file from your computer. Choose an image that fits well on top of your site.
After uploading, you can crop or resize the image. Make sure it looks good on different devices. Save your changes by clicking “Publish.” Your site now shows the new header image or logo.
Modify Header With Plugins
Modifying your WordPress header with plugins is simple and effective. Plugins give you control over header design and functionality. They help you change colors, add logos, and customize menus without coding. Many plugins offer user-friendly interfaces for easy editing. Using plugins saves time and avoids theme editing risks.
Install Header Plugins
Start by logging into your WordPress dashboard. Go to the Plugins menu and select Add New. Search for “header” or “header builder” plugins. Look for plugins with good ratings and recent updates. Click Install Now and then Activate. The plugin appears in your dashboard menu after activation.
Customize Header Settings
Open the installed plugin from your dashboard. Explore options to edit logo, menu, and header layout. Adjust colors, fonts, and sizes to match your site style. Some plugins let you add widgets or social icons in the header. Save changes and view your site to see updates live.
Credit: www.elegantthemes.com
Use Child Themes For Header Changes
Changing the header in WordPress is safer and easier with a child theme. A child theme keeps your edits separate from the original theme files. This way, updates to the main theme will not erase your custom header changes. Using a child theme also helps you avoid mistakes that can break your site.
Create A Child Theme
Start by creating a new folder in your WordPress themes directory. Name it clearly, like “yourtheme-child”. Next, create a style.css file inside this folder. Add a comment at the top with the child theme’s name and the template (parent theme) name. Then, create a functions.php file to enqueue the parent theme’s styles. This setup links the child theme to the main theme.
Override Header Templates
Copy the header.php file from the parent theme folder. Paste it into your child theme folder. Now, edit this copied file to change the header as you want. WordPress will use this child theme header instead of the parent theme’s. This lets you customize headers without touching the original files. Your changes stay safe during theme updates.
Add Custom Code To Header
Adding custom code to your WordPress header helps improve your site’s functionality. It allows you to insert scripts like Google Analytics or custom CSS. This section explains two simple ways to add code safely. Both methods keep your site clean and organized.
Insert Scripts With Functions.php
The functions.php file is part of your theme. You can add custom code here to load scripts in the header. Open the functions.php file in your theme folder. Then, use the wp_head action to insert your script.
Example:
function add_custom_header_script() { echo ''; } add_action('wp_head', 'add_custom_header_script'); This method is safe and keeps your code organized. Remember to use a child theme to avoid losing changes after updates.
Use Header Hook Actions
WordPress provides hooks to add code at specific points. The wp_head hook runs inside the header section. Use it to insert code without editing theme files directly.
Hooks make your code reusable and easier to manage. Write a function that contains your script. Then attach it to the wp_head hook like this:
function custom_header_content() { echo ''; } add_action('wp_head', 'custom_header_content'); This method works well for plugins or custom functions. It keeps your header clean and your site fast.
Frequently Asked Questions
How Do I Access The Header In WordPress?
To access the header, go to Appearance > Theme Editor in your WordPress dashboard. Select the header. php file to edit the header code directly.
Can I Edit The Header Without Coding In WordPress?
Yes, use the WordPress Customizer under Appearance > Customize. Many themes allow header changes without coding using built-in options.
Where Is The Header.php File Located In WordPress?
The header. php file is in your active theme’s folder, usually under /wp-content/themes/your-theme-name/. It controls the site’s header section.
How To Add A Custom Logo To WordPress Header?
Go to Appearance > Customize > Site Identity. Upload your logo here to display it in the header without coding.
Conclusion
Accessing the header in WordPress is simple with the right steps. You can edit your site’s look by changing the header files or using the theme customizer. Always back up your site before making changes. This helps avoid problems if something goes wrong.
Take your time and follow instructions carefully. Now, you can make your WordPress header fit your style and needs easily. Keep practicing, and your site will look better every day.


