
Are you considering moving your domain from Namecheap but aren’t sure where to start? You’re not alone.
Transferring a domain can feel like navigating a maze, especially with the technical jargon that often accompanies it. But here’s the good news: it doesn’t have to be complicated. By the end of this guide, you’ll have a clear, step-by-step process to seamlessly transfer your domain.
Imagine the peace of mind knowing your digital assets are securely moved without any hiccups. Stay with us, and discover how easy it can be to take control of your online presence.
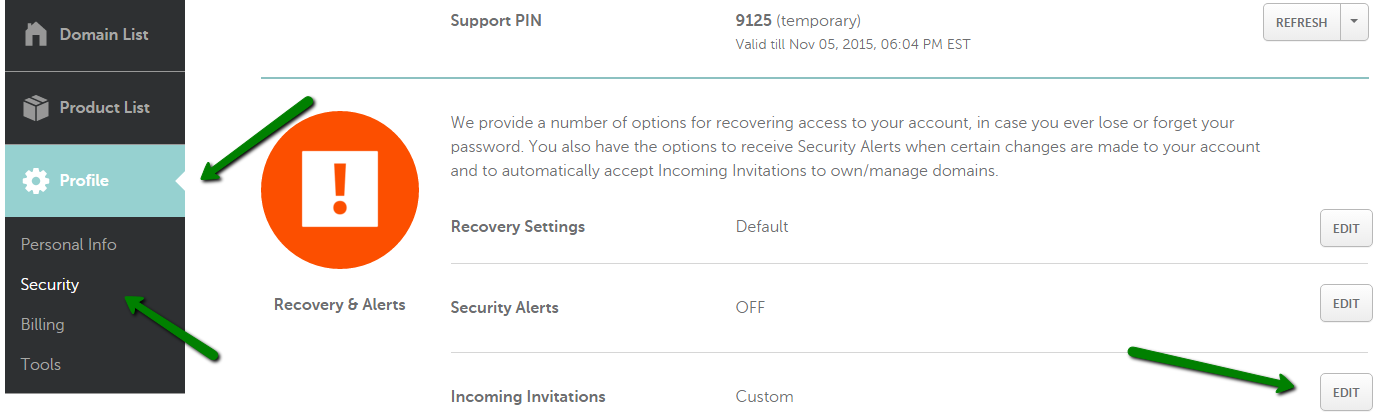
Credit: www.namecheap.com
Preparing For Domain Transfer
Transferring a domain from Namecheap involves a few straightforward steps. Unlock the domain and obtain the authorization code. Confirm the transfer with your new registrar to ensure a smooth transition.
Transferring a domain from Namecheap can seem daunting, but with proper preparation, it’s a straightforward process. Whether you’re switching registrars for better services or consolidating your domains under one provider, it’s crucial to ensure a smooth transition. Let’s dive into the essential steps to get your domain ready for transfer.Check Domain Eligibility
Before initiating a transfer, confirm that your domain is eligible. Domains are locked for transfer for 60 days after registration or a previous transfer. Check your domain’s registration date to ensure it’s past this period. It’s also essential that your domain is active and not expired. An expired domain cannot be transferred, so renew it if necessary. Some domains might have specific rules regarding transfers, depending on their extension (.com, .net, etc.). Make sure you understand any unique requirements associated with your domain extension. Have you checked all these boxes? Then you’re ready for the next step.Unlock Domain
Domains are locked by default to prevent unauthorized transfers. You’ll need to unlock your domain to proceed with the transfer. Log into your Namecheap account and navigate to your domain management area. There, find the domain you wish to transfer and look for the option to unlock it. Sometimes, this process might require you to disable privacy protection or domain privacy settings. While privacy settings are great for shielding personal information, they can hinder a smooth transfer. Once unlocked, your domain is ready to move. Isn’t it interesting how a simple lock can safeguard your digital assets? Remember to keep your contact information up-to-date. You will receive important notifications during the transfer process, and outdated details can cause unnecessary delays. Are you ready to embark on your domain transfer journey? With these preparations, you’re well on your way.Accessing Namecheap Account
Transferring a domain from Namecheap requires accessing your account dashboard. Navigate to the domain list and select the domain. Follow the transfer instructions provided in the settings.
Accessing your Namecheap account is the first step in transferring a domain. This process is simple and requires only a few steps. It involves logging into your account and locating the domain settings. Let’s dive into these steps.Log Into Namecheap
Start by visiting the Namecheap website. Click on the “Sign In” button located at the top right corner. Enter your username and password to access your account. If you forget your password, use the “Forgot Password” option. This will help you reset it easily. Once logged in, you will see your dashboard. This area displays all your account details.Locate Domain Settings
On your dashboard, find the “Domain List” section. It’s usually on the left-hand side. Click on it to see all your domains. Select the domain you want to transfer. This will open the domain settings page. Here, you can manage your domain’s features. Look for options related to domain transfers. Ensure your domain is unlocked for transfer. You’ll also need to obtain an authorization code. This code is crucial for initiating the transfer process.Generating Authorization Code
Transferring a domain from Namecheap involves a few key steps. One essential step is generating an authorization code. This code acts as a security measure. It ensures the domain transfer process is safe and secure. The authorization code verifies your ownership of the domain.
Request Auth Code
Log into your Namecheap account. Navigate to the domain list. Select the domain you wish to transfer. Find the “Manage” button and click on it. Look for the “Sharing & Transfer” tab. Under this tab, locate the “Transfer Out” section. Here, you will find the option to request an authorization code.
Click the button to request the code. The system will generate the code. It will be sent to your registered email address. Ensure your email information is current. This step is crucial for receiving the code.
Confirm Code Receipt
Check your email inbox for the authorization code. It should arrive shortly after your request. Sometimes it lands in your spam folder. Check there if you don’t see it. The email will contain the code you need.
Make sure the code is correct. Keep it safe and accessible. You will need it during the transfer process. The authorization code confirms your domain ownership. It is essential for a smooth transfer.
Initiating Transfer Process
Start by unlocking your domain at Namecheap and obtaining the authorization code. Then, initiate the transfer with your new registrar by entering this code. Ensure your domain’s WHOIS information is up-to-date to facilitate a smooth transfer process.
Transferring a domain from Namecheap can seem daunting, but breaking it down into manageable steps makes it straightforward. Whether you’re looking for better prices, more features, or a different level of service, initiating the transfer process is the first step. Let’s dive into the specifics of how you can smoothly transfer your domain without unnecessary stress. ###Choose New Registrar
Your first task is to decide on the new registrar. This is a crucial decision as it affects your domain’s future management. Look at different registrars and compare their pricing, customer support, and features. Consider your specific needs. Do you need strong customer support or a particular feature like email hosting? Choose a registrar that aligns with your requirements. Once you’ve settled on one, create an account to prepare for the transfer. ###Submit Transfer Request
With your new registrar selected, the next step is to submit a transfer request. This process usually starts from your new registrar’s website. They will guide you through the steps, which typically involve entering your domain name and some authentication details. Ensure your domain is unlocked on Namecheap and that you have the authorization code, also known as the EPP code. This code is essential for verifying the transfer. If you’re unsure how to get it, check Namecheap’s settings, as they provide clear instructions. As you fill out the transfer form, double-check all the details. Mistakes can delay the process. Once submitted, your new registrar will handle the rest, often providing updates via email. Have you ever experienced a delay because of a small oversight? It’s a good reminder to always review your information carefully. This attention to detail saves time and keeps your transfer on track. By following these steps, you’ll ensure a smooth transition. What features do you value most in a registrar? Your answer could guide you to the perfect choice for your domain’s new home.Completing Transfer Steps
Transferring a domain from Namecheap involves a few simple steps. Unlock your domain and obtain the authorization code. Initiate the transfer with the new registrar, entering the code when prompted.
Transferring a domain from Namecheap can seem daunting, but breaking it down into simple steps can make the process smooth and efficient. Completing the transfer steps involves a few key actions that ensure your domain moves seamlessly to your new registrar. Whether you’re transferring for better pricing or more robust features, each step plays a crucial role in ensuring the transition is successful.Provide Authorization Code
To begin, you need to obtain an authorization code, often referred to as an EPP code, from Namecheap. This code is essential for verifying your ownership of the domain and initiating the transfer. You can easily find this code in your Namecheap account settings. Imagine the EPP code as a secret key to your domain’s lock—without it, your domain stays securely in place. Ensure you copy it carefully; any mistake might delay the transfer.Verify Transfer Details
Once you have your authorization code, the next step is verifying the transfer details with the new registrar. Double-check the domain name, the contact information, and the DNS settings. Mistakes here can lead to unexpected downtime or even loss of domain control. Have you ever rushed through a step and missed a crucial detail? It’s better to take a moment now to ensure accuracy than to face issues later. With the authorization code and transfer details verified, your domain is ready to move. These steps might seem simple, but they are vital to a successful transfer. Each one contributes to a seamless transition, allowing you to focus on your website’s goals without disruption.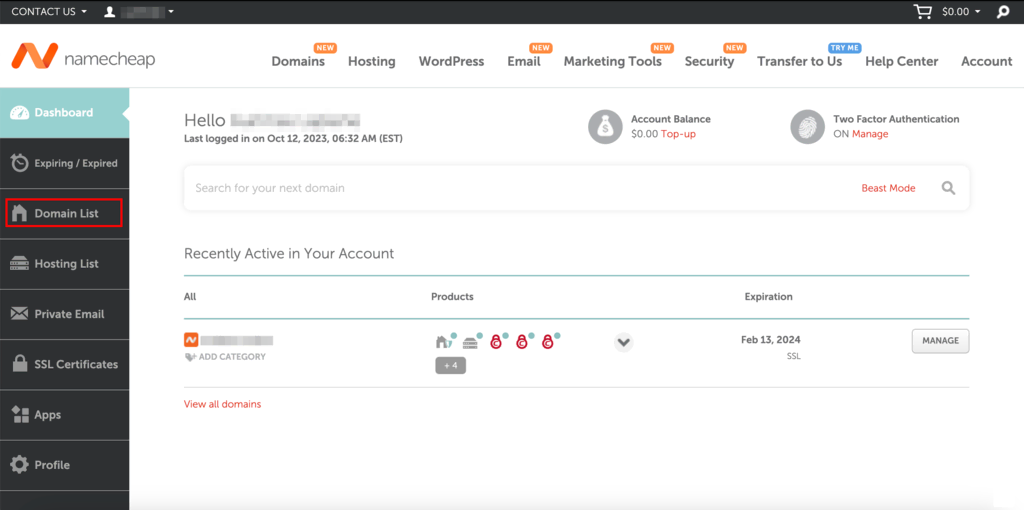
Credit: www.hostinger.com
Monitoring Transfer Progress
Transferring a domain from Namecheap involves several steps. Check your email for transfer progress updates. This helps ensure your domain moves smoothly to the new registrar.
Monitoring the progress of your domain transfer from Namecheap is crucial. It ensures the transfer proceeds smoothly and without hitches. Staying informed helps you address any issues early. This guide will help you keep track and manage any problems efficiently.Track Transfer Status
To track the transfer status, log into your Namecheap account. Navigate to the ‘Domain List’ section. Here, you’ll find the domains you own. Look for the domain you are transferring. Select it to view its current status. You’ll see updates about the transfer process. These updates keep you informed about each step. Checking frequently helps catch any delays.Address Any Issues
Issues can sometimes arise during a transfer. Common problems include incorrect EPP codes or locked domains. If there is an error, Namecheap usually notifies you. Follow the instructions they provide to fix the issue. Double-check that your domain is unlocked. Ensure the EPP code is correct and up to date. Contact Namecheap support if you need further help. They can provide guidance and resolve more complex problems. By monitoring the process, you ensure a smooth transfer. Keep your contact information updated to receive all notifications. That way, you won’t miss any important updates.Finalizing Domain Transfer
Transferring a domain from Namecheap involves a few straightforward steps. First, unlock your domain and obtain the EPP code. Then, initiate the transfer with your new registrar.
Transferring a domain from Namecheap can feel like a daunting task, but with the right guidance, it becomes a smooth and manageable process. Once you’ve navigated through the initial steps, the next crucial phase is Finalizing Domain Transfer. This step ensures your domain is securely moved to its new home, ready to serve your online needs better. But how do you effectively finalize this process? Let’s break it down.Confirm Transfer Completion
Once you initiate the transfer, you might find yourself eagerly waiting for confirmation. It’s essential to keep an eye on your email for any updates from the new registrar. Often, a confirmation email will signal the successful completion of your domain transfer. Ensure that the domain status has changed from “Pending Transfer” to “Active”. This status update will reassure you that your transfer is complete. If you don’t receive a confirmation within a few days, check your spam folder or contact customer support to avoid any hiccups.Update Domain Settings
After confirming the transfer, it’s time to update your domain settings. Start by logging into your new registrar’s dashboard. Here, you can manage essential settings like DNS records, contact details, and privacy protections. Remember to update your DNS records to point to your new hosting provider. This step ensures your website remains accessible to your visitors. Neglecting this can result in downtime, which is something no website owner wants to experience. Consider setting up domain privacy protection if available. This feature keeps your personal information safe from prying eyes. It’s a small action that can significantly enhance your peace of mind. Have you ever transferred a domain and forgotten to update these settings? It can be an easy mistake but a costly one in terms of lost traffic. Being proactive and meticulous in updating your domain settings can save you from potential headaches down the line. In the end, transferring your domain from Namecheap is all about attention to detail and timely action. With these final steps, you’re setting your domain up for success in its new home.
Credit: chemicloud.com
Frequently Asked Questions
How Long Does It Take To Transfer A Domain Namecheap?
Transferring a domain to Namecheap typically takes 5 to 7 days. Ensure your domain is unlocked and have your authorization code ready. Monitor your email for transfer confirmation and complete any required verification promptly to avoid delays.
Is Namecheap Domain Transfer Free?
Transferring a domain to Namecheap is not free. There is a fee involved, but it includes a one-year renewal. The process is simple and secure, ensuring your domain’s safe transfer. Namecheap offers competitive pricing and excellent support during the transfer process.
Can I Transfer My Namecheap Domain To Godaddy?
Yes, you can transfer your Namecheap domain to GoDaddy. Ensure your domain is eligible for transfer. Unlock the domain and get an authorization code from Namecheap. Initiate the transfer process on GoDaddy’s website. Follow all instructions carefully to complete the transfer successfully.
How Do I Transfer A Domain To A New Owner?
Unlock the domain by disabling privacy settings. Obtain an authorization code from the current registrar. Provide the code to the new owner. They initiate a transfer request with their registrar. Confirm the transfer via email. Ensure domain ownership updates successfully.
Conclusion
Transferring a domain from Namecheap is straightforward. Follow the steps carefully. Start by unlocking your domain. Get the authorization code. Enter the code at your new registrar. Confirm the transfer via email. Patience is key, as the process may take days.
Keep your contact information updated. This ensures smooth communication. Domain transfer might seem tricky, but it’s manageable. With these steps, you’ll navigate it easily. Your domain will be in its new home soon. Enjoy your new hosting experience.
