
Are you looking to expand your website’s capabilities with a subdomain? If you’re using Namecheap, you’re in luck.
This guide will walk you through the steps to set up a subdomain effortlessly. Imagine accessing a dedicated space for your blog, shop, or portfolio, all within your main site. By following these simple instructions, you can enhance your site’s functionality and improve your visitors’ experience.
Don’t let the technical jargon deter you. Setting up a subdomain is easier than you think, and you’ll feel empowered once it’s done. Ready to take control of your online presence? Let’s dive in and transform your website with Namecheap.

Credit: thomasgauvin.com
Configuring Dns Settings
Configuring DNS settings is crucial for setting up a subdomain on Namecheap. This process allows your subdomain to function properly by directing internet traffic to the correct server. Without proper DNS configuration, your subdomain may not work as expected. Let’s explore the steps involved in configuring DNS settings effectively.
Understanding Dns Records
DNS records are essential for connecting your domain to the right server. Different types of DNS records serve specific purposes. The most common records include A, CNAME, and MX. A records point your domain to an IP address. CNAME records allow you to alias one domain to another. MX records handle email routing.
Accessing Namecheap Account Dashboard
First, log into your Namecheap account. Go to the dashboard. Here, you can manage your domains and DNS settings. Locate the domain you want to add a subdomain to. Click on it to access the domain details.
Adding A Subdomain
In the domain settings, find the DNS section. You will see an option to add a new record. Choose “Add New Record.” Select the record type as “A Record” or “CNAME Record.” Enter your subdomain name in the host field. Provide the target IP address or domain name.
Configuring Ttl Settings
TTL stands for Time To Live. It determines how long DNS records are cached. Setting an appropriate TTL is important for DNS propagation. Lower TTL values mean faster updates. Higher values can reduce server load.
Saving Changes
After entering all necessary information, click “Save Changes.” Your DNS settings will be updated. It might take some time for changes to propagate. Test your subdomain to ensure everything works correctly.
Credit: www.namecheap.com
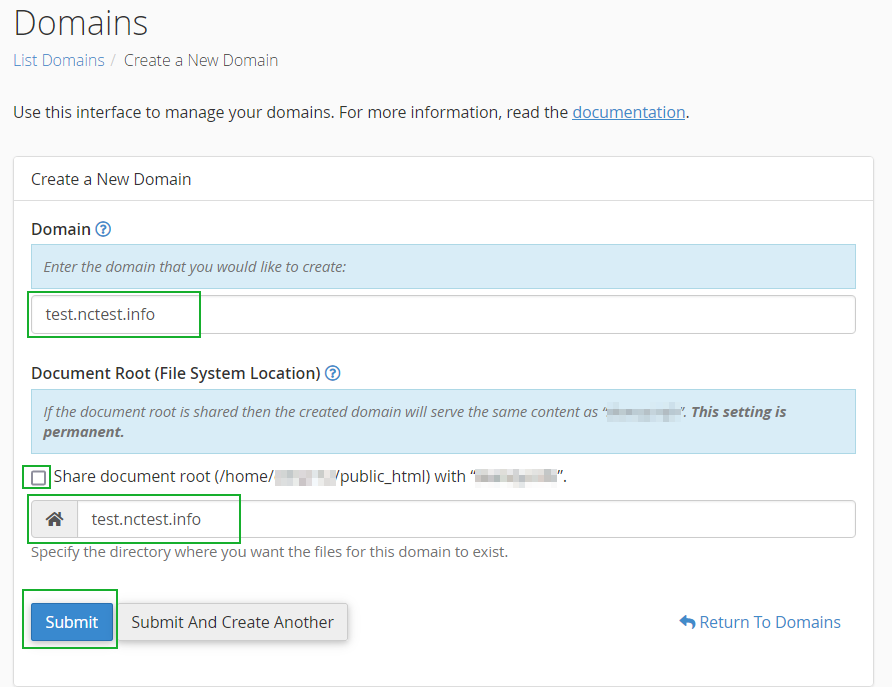
Creating The Subdomain
Setting up a subdomain on Namecheap is a straightforward process. A subdomain is an additional part of your main domain. It helps organize and navigate different sections of your website. For instance, “blog.yourdomain.com” is a subdomain of “yourdomain.com”. Creating subdomains can enhance the user experience by segmenting content. Follow these steps to create a subdomain using Namecheap’s platform.
Step 1: Access Your Namecheap Account
Start by logging into your Namecheap account. Navigate to the “Dashboard” section. Find the domain you wish to add a subdomain to. Click on “Manage” next to your domain name.
Step 2: Navigate To The Domain List
Once you are in the domain management area, locate the “Domain List”. Here, you will see all your domains. Click on the domain for which you need a subdomain.
Step 3: Access The Advanced Dns Settings
In the domain settings, find the “Advanced DNS” tab. This section allows you to add custom DNS records. It is crucial for subdomain creation.
Step 4: Add A New Record
Scroll to the “Host Records” section in the Advanced DNS tab. Click on “Add New Record”. Choose “CNAME Record” from the dropdown menu. This will help point your subdomain to the desired address.
Step 5: Configure The Cname Record
In the “Host” field, enter the name of your subdomain. For example, use “blog” for “blog.yourdomain.com”. In the “Value” field, enter the destination URL or IP address. Ensure the “TTL” value is set to “Automatic” for optimal performance.
Step 6: Save Your Changes
After entering the necessary details, click the green checkmark. This saves your new CNAME record. It may take a few minutes to propagate across the internet.
Step 7: Verify The Subdomain
Once the DNS settings update, test your subdomain in a browser. Type in the subdomain URL and press Enter. Ensure it redirects to the correct page or site.
Verifying Subdomain Setup
Setting up a subdomain on Namecheap is just the beginning. Verifying the setup ensures that everything is working smoothly. This step confirms your subdomain is live and accessible. Proper verification helps avoid potential issues. Let’s delve into the verification process.
Check Subdomain Dns Records
First, log into your Namecheap account. Navigate to the Domain List. Select the relevant domain. Click on “Manage” next to your domain. Locate the “Advanced DNS” tab. Here, ensure your subdomain’s DNS records appear. Check for any errors or typos. Correct them if needed.
Use Online Dns Tools
Online DNS tools can aid in verification. Websites like DNSChecker.org are useful. Enter your subdomain in the search box. Choose the DNS record type. Run the search. The results will show if your subdomain is visible worldwide. If not, wait a few hours and check again.
Test Subdomain Accessibility
Open a web browser. Type your subdomain URL in the address bar. Press Enter. The website or service should load. If it doesn’t, revisit your DNS settings. Ensure everything is correct.
Verify Ssl Certificate
Ensure your subdomain uses a secure connection. This involves checking for an SSL certificate. Without it, visitors might see a warning. Visit your subdomain using “https://”. Look for a padlock icon in the browser. This confirms SSL is active.
Monitor For Propagation Time
DNS changes might take time to propagate. This can range from minutes to 48 hours. During this period, access might be inconsistent. Be patient and check regularly. If issues persist, contact Namecheap support for assistance.
Credit: help.mailgun.com
Frequently Asked Questions
How To Setup A Subdomain In Namecheap?
To set up a subdomain in Namecheap, log into your account. Navigate to “Domain List,” select the domain, and click “Manage. ” Under “Advanced DNS,” add a new record. Choose “A Record” or “CNAME” and enter the subdomain details. Save changes to activate the subdomain.
Is A Subdomain Bad For Seo?
Subdomains aren’t inherently bad for SEO. They can affect site authority and indexing. Google treats them separately from root domains. Proper optimization and linking can mitigate negative impacts. Ensure relevant content and strategic linking to improve SEO performance.
Is Creating Subdomains Free?
Creating subdomains is usually free with most hosting plans. Check with your provider for specific details.
Do Subdomains Have Different Ip Addresses?
Subdomains can have different IP addresses from their main domain. They are treated as separate entities. This allows flexibility in hosting and server configurations.
Conclusion
Setting up a subdomain on Namecheap is straightforward. Follow the steps carefully. Start by logging into your Namecheap account. Navigate to your Domain List. Find the domain you want. Click “Manage” next to it. In the “Advanced DNS” tab, add a new record.
Choose “CNAME” for the type. Enter your desired subdomain. Point it to the target domain. Save your changes. Subdomains can enhance your site’s organization. They help in creating dedicated sections. Use them to manage content better. Now, your subdomain is ready.
Enjoy the benefits of a structured website.
