Are you ready to take your online presence to the next level by setting up your very own Windows web hosting server? Whether you’re a budding entrepreneur, a tech enthusiast, or simply looking to expand your digital footprint, mastering the art of server setup is your gateway to limitless possibilities.
Imagine having complete control over your website’s performance, speed, and security. With a Windows web hosting server, you can achieve just that. In this guide, you’ll discover a step-by-step process designed to make your server setup straightforward and stress-free. We’ll demystify complex terms and provide clear instructions to help you navigate each phase with confidence.
No matter your level of technical expertise, you’ll find valuable insights that empower you to establish a robust foundation for your online ventures. Let’s unlock the secrets to your success and set you on the path to becoming a web hosting whiz. Keep reading to transform your digital dreams into reality!
Credit: www.hostens.com
Choosing The Right Hardware
A web hosting server needs basic hardware
For better performance, consider more RAM. 8GB or more is ideal. This allows for faster processing. Upgrade to SSD storage. SSDs make data access quicker. Choose a CPU with 4 cores or more. This boosts processing power. Look for a reliable power supply. Stability is key for continuous operations. Make sure cooling systems are efficient. They prevent overheating and protect components.

Credit: www.siteuptime.com
Selecting Windows Server Edition
Choosing the right Windows Server edition is important. Windows Server 2019 offers strong security features. Windows Server 2016 is good for basic needs. Datacenter Edition supports unlimited virtual machines. Standard Edition allows two virtual machines. Choose based on your needs.
Windows Server has different licensing options. Per Core Licensing is common. Count all server cores for this. Client Access License (CAL) is another option. It requires a license for each user. Select the right option for your server.
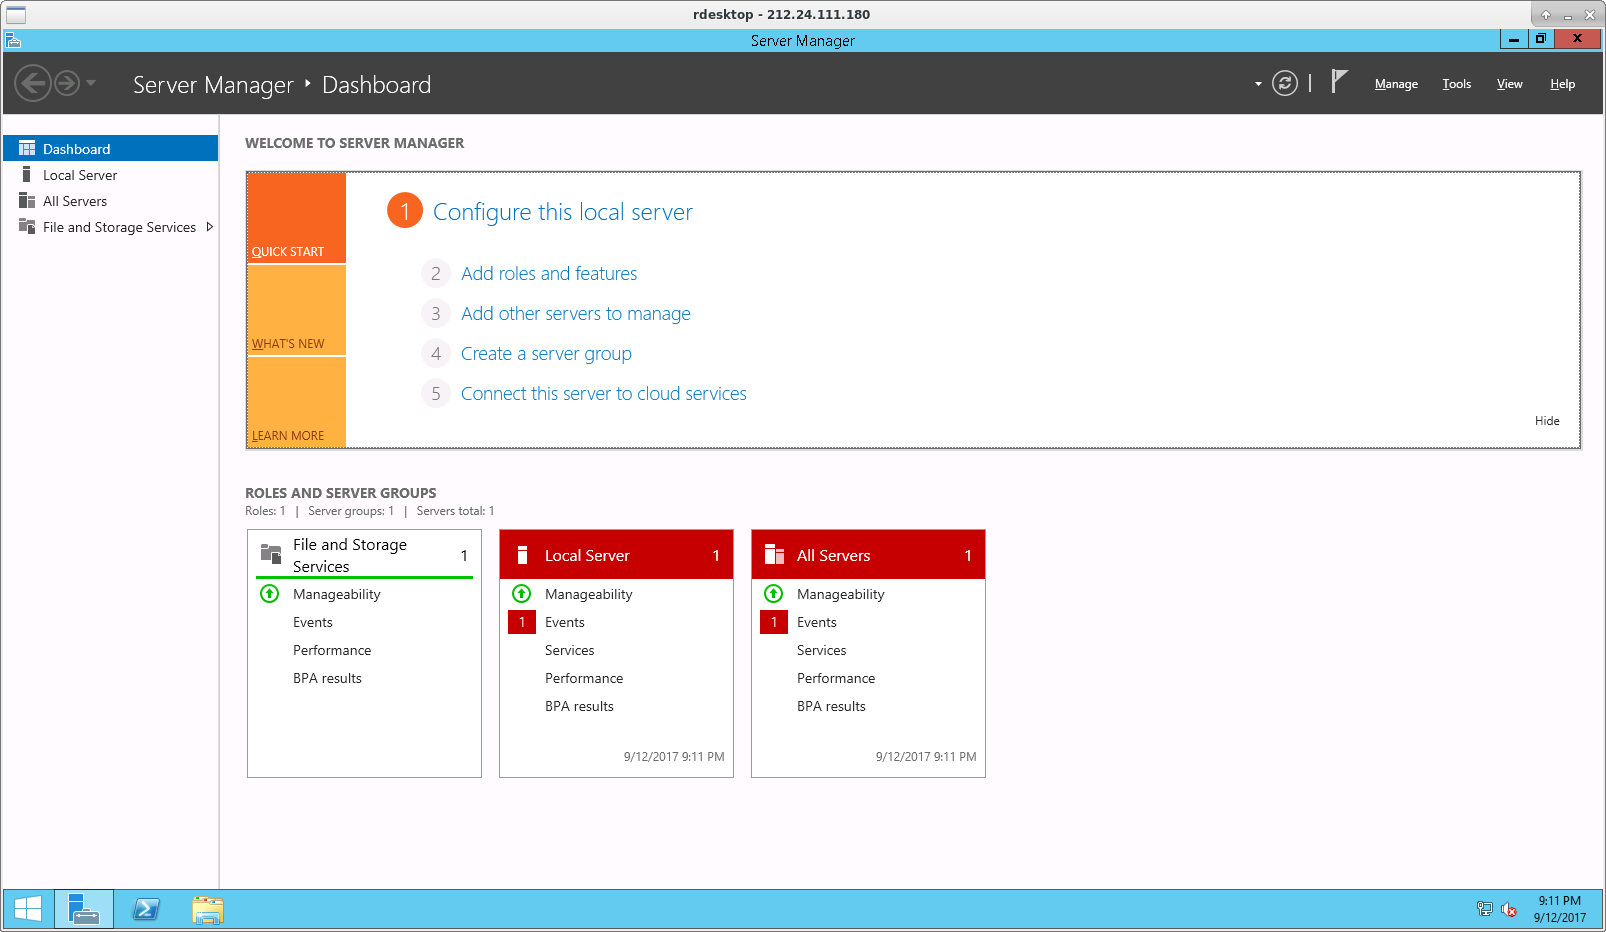
Installing Windows Server
Setting up a Windows web hosting server involves installing Windows Server and configuring essential components. Begin by selecting the appropriate server version and ensuring system requirements are met. Follow with configuring roles and features necessary for web hosting, ensuring security and performance settings are optimized.
Pre-installation Checklist
Ensure your computer meets the minimum system requirements. Check for a compatible processor and enough RAM. A stable internet connection is important. Backup all important data before starting. Gather all necessary installation media and license keys. Confirm your computer’s hardware compatibility. Make sure you have admin rights.
Step-by-step Installation Guide
Insert the Windows Server installation media. Restart the computer. Press any key to boot from the media. Choose your language and region. Click Install Now. Enter the product key when asked. Select the version you want. Accept the license terms. Choose Custom Installation. Select the drive to install Windows Server. Wait for the installation process to complete. Set up your server settings. Create a strong password for admin account.
Configuring Server Roles And Features
IIS stands for Internet Information Services. It’s a web server role. This role helps you to host websites. First, go to the server manager. Click on “Add Roles and Features.” Choose the web server (IIS) role. Follow the prompts to install it. Now, your server can host websites.
Security is very important. Enable firewall to protect your server. Use SSL certificates for safe connections. Regularly update the server. Updates fix security issues. Check logs for suspicious activity. Always keep backups of your data. This helps in case of an attack.
Configure your network settings. Assign a static IP address to your server. This makes it easy to find. Set up DNS settings correctly. DNS links domain names to IP addresses. Check that your server can connect to the internet. Use a router if needed. Test your network settings to ensure they work.
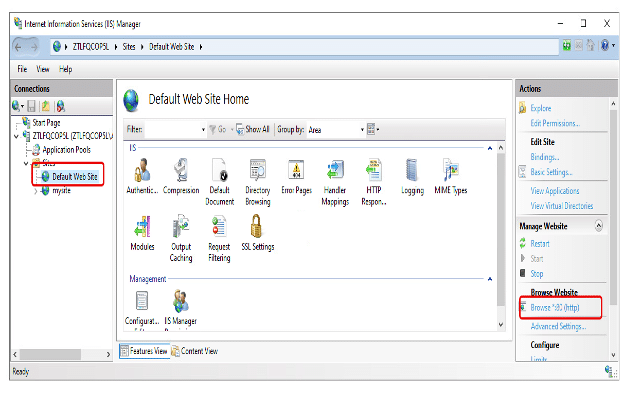
Setting Up Iis For Web Hosting
IIS is important for hosting websites on Windows servers. First, open IIS Manager. Locate the server node on the left panel. Right-click and choose “Add Website.” A dialog box will appear. Enter the site’s name and physical path. Click “OK” to confirm. Your site is added.
Adding And Configuring Sites
Go to IIS Manager. Find your site under “Sites.” Right-click and select “Edit Bindings.” Add HTTP and HTTPS bindings. Choose the right IP address. Select the port number. Press “OK” to save changes.
Managing Application Pools
Application pools help manage resources in IIS. Open IIS Manager. Click on “Application Pools.” Right-click and select “Add Application Pool.” Name your pool. Choose the right .NET version. Set the pool’s pipeline mode. Click “OK” to create it.
Enabling Ssl
SSL keeps data safe between server and browser. Get an SSL certificate. Open IIS Manager. Select your site. Click on “Bindings.” Add a binding for HTTPS. Choose the SSL certificate from the list. Click “OK” to apply SSL.
Managing Server Security
Setting up a Windows web hosting server involves several critical steps to ensure security. Install reliable antivirus software, configure firewalls, and regularly update system patches. Monitor network traffic and perform routine security audits to safeguard data effectively.
Firewall Configuration
Firewalls are like guards for your server. They block bad traffic. Set up rules to allow only safe traffic. Block unwanted connections. Regularly update your firewall settings. This keeps your server safe. Always monitor the firewall activity. Look for unusual behavior.
User Permissions
Give users only the access they need. Not more. This limits risks. Control who can change server settings. Regularly review user permissions. Remove access when not needed. This keeps your server secure. Teach users about safe practices. This helps prevent mistakes.
Regular Security Audits
Security audits check for problems. They find weaknesses in your server. Conduct audits often. Use tools to scan for vulnerabilities. Fix issues quickly. Keep a record of all audits. This helps track improvements. Regular checks keep your server strong.
Optimizing Server Performance
Proper resource allocation is crucial. Assign enough CPU and memory. Balance usage to avoid overload. Allocate disk space wisely. This helps in smooth operations.
Distribute traffic evenly. Use load balancing techniques. They prevent server crashes. Spread requests across multiple servers. This ensures better performance.
Install monitoring tools to track server health. They alert you on issues. Regular checks help in early detection. Adjust settings based on reports. Keep the server running efficiently.
Credit: www.kamatera.com
Backup And Recovery Strategies
Setting up a Windows web hosting server demands robust backup and recovery strategies. Regularly backing up data protects against unexpected failures. Implement automated recovery solutions to ensure swift restoration, minimizing downtime and data loss.
Setting Up Automated Backups
Automated backups save time. They ensure data is always safe. Use reliable software for backups. Schedule backups daily. Choose a secure location. Cloud storage is a good option. Local storage is also important. Keep multiple copies. Check backup status regularly. Ensure backups are complete. This avoids data loss.
Disaster Recovery Plan
Disaster recovery plans are vital. They help during emergencies. Start by identifying risks. Create a step-by-step plan. Include contact details. List important files and systems. Make sure staff know the plan. Test the plan often. Update it as needed. A good plan reduces downtime. It protects your business.
Troubleshooting Common Issues
Check if the server cables are plugged in correctly. Sometimes, this simple check helps. Restart the router if the connection drops. Look at the server’s IP settings. Incorrect settings cause problems. Ensure the server firewall is not blocking traffic. Firewalls can be tricky. Adjust settings if needed. Check DNS settings for any errors. Simple mistakes cause big issues.
Monitor CPU usage and memory. High usage means a problem. Check for too many running programs. They slow the server. Look at disk space. Low disk space affects speed. Keep space free for updates. Review server logs for signs of trouble. Logs tell a lot about issues. Upgrade hardware if performance is consistently low. Sometimes, new parts are the answer.
Always read error logs carefully. Logs show what’s wrong. Check for repeated error messages. Repeated errors need fixing fast. Note the time of each error. Timing helps find patterns. Use tools that help read logs easily. They save time and effort. Look for solutions to specific errors online. Many errors have easy fixes. Make notes of all findings for future use.
Frequently Asked Questions
How To Make Your Own Web Hosting Server In Windows?
Install a web server like Apache or IIS. Configure the server settings. Register a domain. Set up DNS records. Ensure security measures are in place.
How To Setup A Web Server In Windows Server?
Install the Web Server (IIS) role using Server Manager. Configure sites through IIS Manager. Ensure firewall allows HTTP/HTTPS traffic. Verify server functionality by accessing IP or domain in a browser. For security, update IIS and configure SSL certificates. Regularly monitor performance and logs.
Can I Host A Website On A Windows Server?
Yes, you can host a website on a Windows server. It supports IIS, ASP. NET, and SQL databases. This setup is ideal for Windows-based applications and offers robust security features. Ensure your server meets the necessary requirements and configurations for optimal performance.
How Do I Turn My Pc Into A Web Server?
Install a web server software like Apache or Nginx on your PC. Configure the server settings. Ensure your firewall allows web traffic. Obtain a static IP or use a dynamic DNS service. Place your website files in the server’s root directory.
Access your site via your IP address.
Conclusion
Setting up a Windows web hosting server is quite straightforward. Follow the steps methodically. Ensure your software is up-to-date. Double-check configurations and settings. Troubleshoot common issues promptly. Regular maintenance keeps your server running smoothly. Security matters, so prioritize it. Backup your data regularly.
With practice, server management becomes easier. Explore resources for more learning. Enjoy the process and grow your skills. Your server is now ready to host websites efficiently. Remember, patience and consistency are key. Happy hosting!