Are you ready to give your WordPress site a fresh new look but find yourself stuck on how to manually install a theme using File Manager? You’re in the right place!
Installing a WordPress theme manually might sound daunting, but with the right guidance, it’s actually quite simple. This method gives you more control and can be essential when automated options aren’t available. Imagine the satisfaction of knowing exactly how your theme is installed, and the freedom to change it at any time.
By the end of this article, you’ll have the confidence and skills to take your website’s design into your own hands. Let’s dive in and unlock the full potential of your WordPress site!
Preparation Steps
Always backup your website before making changes. This keeps your data safe. Use a reliable plugin to save your files. Store the backup in a secure place. This way, you can restore your site if needed. It’s like having a safety net for your content.
Find a theme that suits your site’s style. Consider the features you need. Check if it is updated regularly. Look for good reviews from other users. Make sure it matches your site’s purpose. A well-chosen theme improves your site’s look and feel. It can make your site stand out.
Accessing File Manager
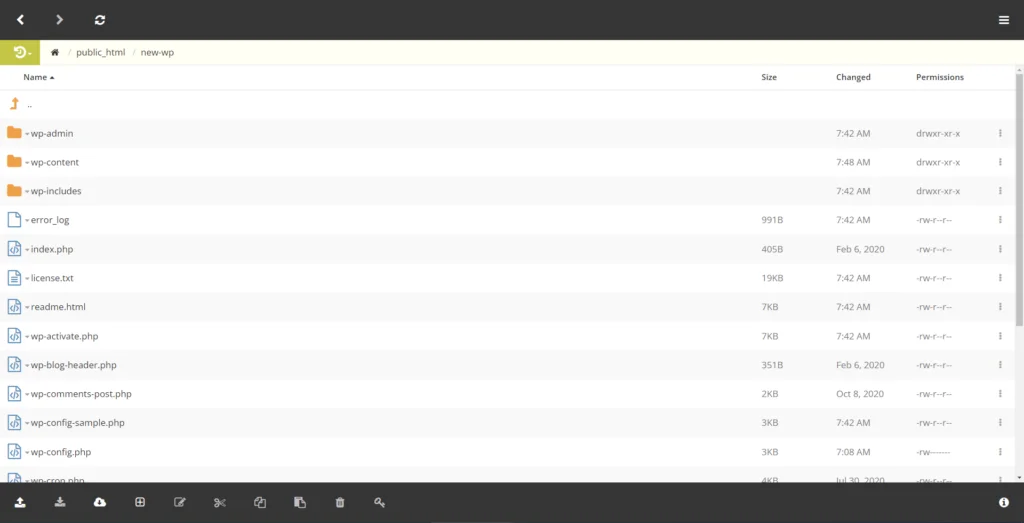
Installing a WordPress theme manually requires accessing the File Manager. Navigate through the hosting control panel. Upload your theme’s zipped file to the ‘wp-content/themes’ folder. Extract and activate it to customize your site.
Log Into Hosting Account
First, you need to log into your hosting account. Use your username and password. Find the login page on your hosting website. Enter your details carefully. Make sure you use the correct information. Once logged in, you will see the dashboard.
Navigate To File Manager
Look for the File Manager option in the dashboard. It is usually under the website management section. Click on it to open the File Manager. Here you can see all your website files. Make sure you are in the right directory. You will need to navigate through folders. Find the one where your WordPress files are located.
Locating The Theme Directory
First, log in to your hosting account. Find the File Manager. Next, locate the public_html folder. This folder holds all your WordPress files. It is the main directory.
Inside the WordPress directory, look for the wp-content folder. This folder is important. It stores themes, plugins, and uploads. Click to open it. Inside, you will see the themes folder. This is where all your themes live. You can add new themes here.
Uploading The Theme Files
Download the theme zip file. Locate the downloaded file on your computer. Right-click the file. Choose “Extract” from the menu. This will create a folder with the theme files. Make sure all files are inside this folder. You will need these files for the next step.
Open your hosting File Manager. Navigate to the “wp-content/themes” directory. Click “Upload” and select the theme folder. Wait for the upload to complete. Ensure all files are uploaded properly. Check the theme folder to verify. Now, the theme is ready for activation.
Activating The New Theme
Easily activate the new theme by manually installing it via WordPress File Manager. Simply upload the theme’s zip file, extract it, and navigate to the themes section to activate. This straightforward process ensures your website gets a fresh look quickly and efficiently.
Access WordPress Dashboard
Open your browser. Type your site URL. Add /wp-admin at the end. Press Enter. A login page will appear. Enter your admin username and password. Click the Login button. Now you are in the WordPress dashboard.
Enable The New Theme
Look on the left side of the dashboard. Find and click Appearance. Then click Themes. A list of themes will show. Your new theme is here. Click on the new theme. Then, click the Activate button. Your theme is now live.
Credit: www.scalahosting.com
Troubleshooting Installation Issues
Installing a WordPress theme manually with File Manager can solve installation issues. First, download your theme as a zip file. Then, extract it and upload the files to the WordPress themes directory using File Manager. This method is straightforward and bypasses common installation errors.
Resolve File Permission Errors
File permission errors can stop the theme installation. Check the permissions of your WordPress folders. These folders should have the right permissions to work. Use the File Manager to change them. The usual permission setting is 755 for folders. For files, set it to 644. Wrong settings can cause errors. Make sure your files are safe. Fixing permissions can help your theme install smoothly.
Check For Missing Files
Missing files can break the theme. Ensure all theme files are uploaded. Sometimes, files get lost during uploads. Open the theme folder in File Manager. Look for important files like style.css and index.php. If any file is missing, upload it again. Use the correct theme zip file. This will make your theme work better. Always keep a backup of your theme files.
Post-installation Tasks
Manually installing a WordPress theme using File Manager requires careful post-installation steps. Start by activating the theme from your WordPress dashboard. Then, customize settings to match your design vision. Always check for plugin compatibility and update permalinks to ensure smooth navigation.
Customize The Theme
After installing your WordPress theme, it’s time to customize it. First, visit the theme customization menu in your WordPress dashboard. Here, you can change colors, fonts, and layout. It’s important to make your site unique and user-friendly. You can also add widgets to enhance functionality. Remember to preview changes before saving them.
Verify Website Functionality
Once customization is done, check if everything works well. Visit each page and ensure links are active. Check if images and videos display correctly. Test forms to see if they send data properly. It’s important to ensure your website is responsive. A quick test on different devices will help. Use tools to check loading speed. A fast website keeps users happy.

Credit: www.youtube.com

Credit: www.youtube.com
Frequently Asked Questions
How To Access WordPress File Manager?
Access WordPress File Manager via your hosting account’s control panel. Usually, it’s found under the “File Manager” section. Navigate through the directories to find the WordPress installation folder. From there, you can upload, edit, or delete files as needed.
Can I Install Themes Without WordPress Dashboard?
Yes, you can install themes using the File Manager. Simply upload the theme’s ZIP file to the ‘wp-content/themes’ directory. Extract the file and activate the theme from the WordPress dashboard under ‘Appearance > Themes’.
What Are The Risks Of Manual Theme Installation?
Manual installation can lead to errors if not done correctly. You might upload incorrect files or miss dependencies, causing the theme to malfunction. Always ensure backups are taken before proceeding with manual installation to avoid data loss.
Do I Need Coding Skills For Manual Installation?
No, coding skills are not necessary for manual installation. You just need to navigate the File Manager and upload the theme files correctly. Follow instructions carefully to ensure a smooth installation process without any technical issues.
Conclusion
Installing a WordPress theme manually is simple. File Manager helps. Follow each step closely to avoid errors. Practice makes the process smoother. It’s a valuable skill for website management. Customize themes to fit your needs. Themes change the look of your site.
A fresh design can attract visitors. Regularly update themes for security. Keep backups to prevent data loss. Enjoy the creative freedom WordPress offers. Experiment with different styles and layouts. Building a unique site is rewarding. Happy designing!