
Ever stumbled upon a WordPress site and thought, “Wow, I want my site to look like that”? You’re not alone.
Installing a custom theme in WordPress can transform your website from ordinary to extraordinary, capturing your unique style and brand. But how do you get started, especially if you’re not a tech wizard? The process might seem daunting, but it’s easier than you think.
In this guide, we’ll walk you through the steps to install a custom theme in WordPress, complete with data to ensure your site not only looks great but functions seamlessly. Whether you’re a blogger, entrepreneur, or hobbyist, you’re about to learn how to make your website truly yours. Ready to take the leap and give your site the makeover it deserves? Let’s dive in!
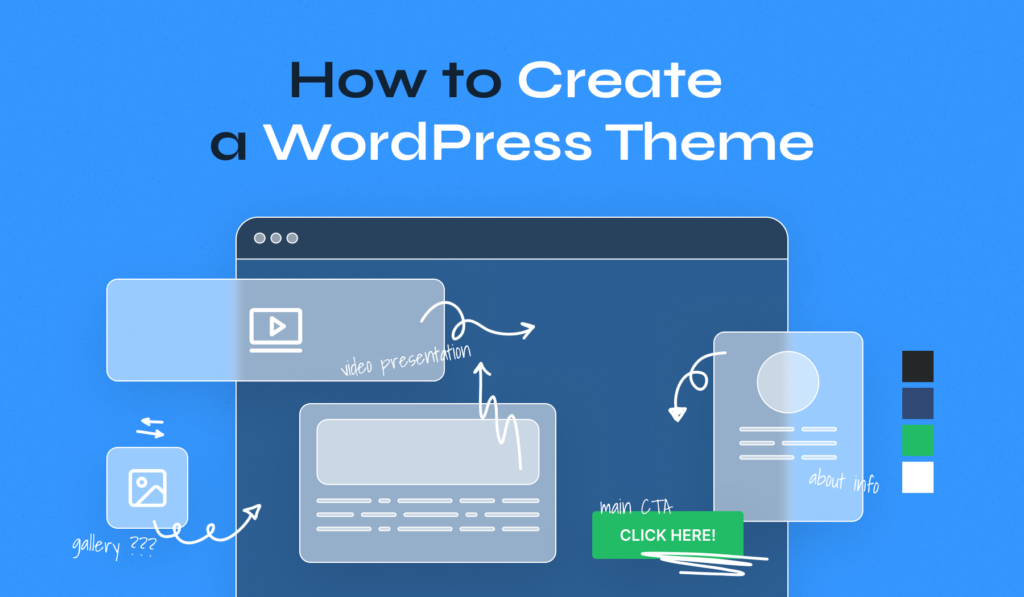
Choosing The Right Theme
First, know what your website needs. Is it a blog, a store, or a portfolio? Different themes suit different purposes. List your features. Maybe a slider, a gallery, or a contact form. Write them down. Think about colors. Do you want bright or soft shades? Pick what fits your brand.
There are many places to find themes. ThemeForest is big. WordPress.org has free themes. Look for ratings. They tell if people like the theme. Read reviews. They show problems or good points. Check the theme demo. See how it looks and works. Try different demos.
Themes must work with WordPress updates. Check the last update date. Plugins are tools. Make sure the theme supports key plugins. Mobile friendly themes are important. Check if the theme looks good on phones. Speed matters. Look for themes that load fast.
Preparing For Installation
Always create a backup of your website. Use tools like UpdraftPlus. These tools save your website data. It’s like a safety net. If things go wrong, your site is safe. Backups are important. They protect your hard work.
Create a child theme for your website. It keeps changes safe. Use tools like Child Theme Configurator. They help you make one easily. A child theme stops updates from removing changes. This way, your design stays the same.
Keep your WordPress up to date. Updates bring new features. They also fix bugs. Go to your dashboard. Click on Updates. Ensure everything is current. This keeps your site secure. Regular updates are a must.
Downloading The Theme
Search for a trusted website. Check if the site offers free themes. Verify if the theme is compatible with your WordPress version. Look for reviews and ratings. They help in knowing the quality of the theme.
Ensure all files are present. Check for a zip file. This file contains all theme elements. Look for a readme file. It often has important instructions. Missing files mean incomplete theme.
Documentation provides step-by-step guidance. It helps in installing the theme correctly. Look for a PDF or online guide. Documentation makes the process easy and fast.
Credit: www.wpzoom.com
Uploading The Theme To WordPress
Start by logging into your WordPress dashboard. Click on Appearance and then Themes. You will see an Add New button. Click it. Then, hit Upload Theme. Select your theme file. Click Install Now. Wait for the upload to finish. It’s that simple.
Get an FTP client like FileZilla. Connect to your website. Navigate to the wp-content/themes folder. Drag your theme folder into this folder. Wait for the upload to complete. Once done, check your WordPress dashboard. Your theme should be there.
Go to your WordPress dashboard. Click on Appearance then Themes. Find your new theme. Click Activate. Your theme is now live. It’s ready for use.
Customizing The Theme
The WordPress Customizer helps change theme settings easily. Open the Customizer from the dashboard. You can see live changes on the website. Choose colors, fonts, and layouts. Save changes with a click. It is simple and quick. You can make the website look unique. The Customizer is a great tool for beginners.
Theme settings let you tweak the site. Go to ‘Appearance’ and click ‘Customize’. You will see many options. Change the header and footer styles. Add or remove sidebars. Each setting makes the site special. Always save your changes. Your site will look exactly how you want.
Custom CSS allows for extra style changes. Go to ‘Additional CSS’ in the Customizer. Enter CSS code for new styles. It makes the site more unique. CSS can change colors, sizes, and positions. Even small changes can make a big difference. Make sure to check your changes on the site.

Credit: kinsta.com
Importing Theme Data
Plugins help your theme work well. Start by going to the WordPress dashboard. Click on the Plugins section. Then, choose Add New. Here, you can search for the plugins you need. Once you find them, click Install and then Activate. This makes the plugins ready to use. Remember, plugins are important for your theme.
Demo content shows how your theme can look. First, locate the Import option in your theme settings. You will often find it in the theme options panel. Click Import Demo Content. Wait for the process to complete. This adds sample pages and images to your site. Now your site looks full and lively.
Widgets and menus help users navigate. Go to the Appearance section in WordPress. Choose Widgets to add features like search bars. For menus, select Menus. Here, you can create new ones or edit existing menus. Drag items to where you want them. This makes your site easy to use.
Testing And Troubleshooting
Ensure the theme looks good on all devices. Use different screens like phones and tablets. Responsive design means it works well everywhere. Check if images and text fit well on small screens. Adjust if needed. Test buttons. They should be easy to click.
Sometimes, themes may have small issues. Maybe a button doesn’t work. Or text is hard to read. Go to the theme settings. Make small changes. Use the support forum. Many people share solutions there. Backup your site before making big changes.
A fast website makes visitors happy. Compress images to make them load faster. Use plugins that help speed up your site. Check your hosting. It should be reliable. Avoid too many plugins. They can slow down your site.

Credit: learn.wordpress.org
Frequently Asked Questions
What Is A WordPress Custom Theme?
A WordPress custom theme is a unique design for your website. It allows you to tailor the look and functionality. Custom themes enhance user experience and brand identity. They can be created or modified from existing themes.
How Do I Upload A Custom Theme?
To upload a custom theme, go to your WordPress dashboard. Navigate to Appearance, then Themes, and click Add New. Choose Upload Theme and select your theme’s ZIP file. Click Install, then Activate to apply it.
Can I Modify A Custom Theme?
Yes, you can modify a custom theme using the WordPress Customizer. Access it through the Appearance menu in your dashboard. You can adjust colors, fonts, and layouts. For advanced changes, use a child theme or custom CSS.
What Are The Benefits Of Using A Custom Theme?
Custom themes offer unique design and branding for your site. They improve user experience and site functionality. They can be optimized for SEO and speed. Custom themes also allow more control over your website’s appearance.
Conclusion
You now know how to install a custom theme in WordPress. Follow these steps carefully for a smooth experience. Custom themes make your site unique and appealing. They enhance the user experience and reflect your style. Remember to back up your website before changes.
This protects your data if anything goes wrong. Explore different themes to find the perfect fit. Practice makes the process easier each time. Enjoy designing your website with creativity and confidence. Keep learning and experimenting for the best results.
