
Ever felt like your WordPress site is missing that personal touch or unique identity? Adding a header logo could be just the thing you need.
Picture this: your visitors land on your site and instantly recognize your brand, thanks to a well-placed logo. It’s not just about aesthetics; it’s about creating a memorable experience that keeps people coming back. You might think it’s complicated, but with the right guidance, it can be a breeze.
You’ll discover simple steps to seamlessly integrate a header logo into your WordPress theme, giving your site the professional polish it deserves. Are you ready to make your website stand out? Let’s dive in and transform your site today!
Credit: www.codepedia.org
Choosing The Right Logo
Choosing the right logo is very important. It should be simple yet memorable. A good logo can make your site stand out. It should match your site’s theme and color scheme. This helps in creating a cohesive look.
Think about the message you want to convey. A logo should represent your brand. It should be clear and easy to understand. Avoid using too many colors or complex designs. This can make it hard to recognize.
The logo should be in the right file format. Common formats are PNG and JPEG. PNG is good for logos with transparent backgrounds. JPEG is useful for detailed images.
Keep the file size small. Large files can make your site slow. Aim for a file size under 100KB. This ensures quick loading times. A fast site makes users happy.
Preparing Your Logo For Upload
Optimizing your logo is crucial for website speed. Use tools like Photoshop or online editors. Save your logo in PNG format. This keeps quality high. Keep the file size small. Aim for under 100 KB. Smaller files load faster. Faster loading improves user experience. Use alt text for your logo. This helps search engines understand the image. It’s good for SEO. Describe the logo clearly in the alt text.
Your logo should look good on all screens. Test it on phones, tablets, and computers. Ensure it’s not too big or too small. Use CSS to make it responsive. The logo should resize smoothly. Use media queries in your CSS. This ensures the logo adapts to screen size. Test your logo before going live. Check its appearance on different devices.
Accessing The WordPress Dashboard
Begin by visiting your WordPress website. Add /wp-admin to the end of your site URL. Enter your username and password. Click Log In to access the dashboard. Always keep your login details safe. Use a strong password for security.
The dashboard is your control center. The left side has a menu. Here, you find options like Posts, Pages, and Appearance. Click on these to explore. The top bar has quick links. Use these for faster access. Always explore the dashboard slowly. It helps in understanding better.
Uploading The Logo
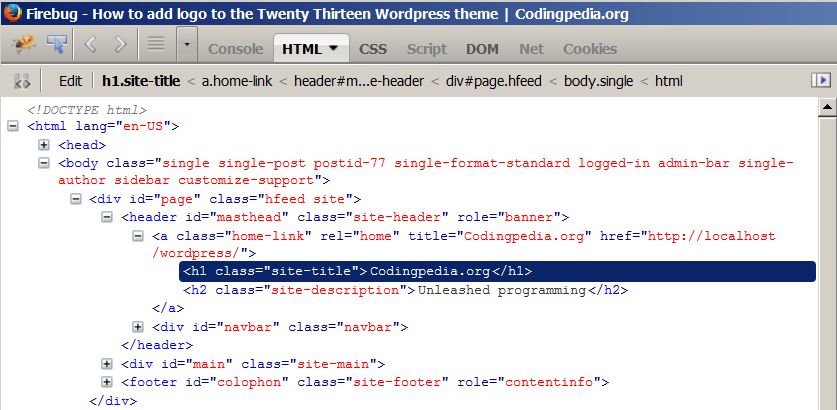
First, go to your WordPress dashboard. Click on Appearance, then Customizer. Look for the Site Identity section. Here, find the option to add a logo. Click on Select Logo. Choose your logo file from your computer. Make sure the file is clear and high-quality. After selecting, click Publish to save changes.
Some themes have a Theme Options panel. Go to Appearance and then Theme Options. Find a setting for a header logo. Click on Upload or Choose File. Pick your logo file from your device. Save the settings to apply the new logo. Refresh your site to see the changes.
Adjusting Logo Display
Place your logo in the right spot. It should be easy to see. Top left corner is popular. It catches the eye first. Center is another choice. It looks balanced. Test both positions. See what fits your theme best. You can also try top right. It works well in some designs. Remember, your logo represents your brand.
Make your logo responsive. It should look good on all screens. Big and small. Use CSS to set logo size. Keep it flexible. Mobile phones need smaller logos. Tablets need medium-sized logos. Desktops can handle larger logos. Test your logo on different devices. Ensure it fits well everywhere. Check its clarity on each device.
Troubleshooting Common Issues
Sometimes, the logo might not show up. Check the image URL first. Ensure it’s correct. Also, confirm the file is in the right folder. The image format matters too. Use JPEG or PNG. These are common and work well. Check the theme settings. Ensure the logo option is enabled. This could solve the issue. If the logo still doesn’t show, try clearing the browser cache. This can help refresh the display.
A blurry logo looks bad. Start by checking the image size. It should match the space in the header. Bigger images often look better. Use a high resolution image. This helps keep the logo sharp. Also, check the WordPress settings. Sometimes, resizing options affect quality. Set the right dimensions for better clarity. Lastly, test on different devices. Make sure it looks clear everywhere.
Custom Css For Logo Styling
Use CSS code to change logo size. Adjust height and width. Keep logo clear and visible. You can use padding and margin for spacing. Make sure the logo does not look too small. Use background color for better contrast.
Transform logo with CSS animations. Spin or fade the logo. Use hover effects to change color. Try border radius for rounded edges. Use media queries for responsive design. Create a shadow for a 3D effect.
Credit: essentials.pixfort.com
Testing The Logo On Different Devices
The logo should look clear and sharp on big screens. It must not appear blurry. Check its size and position. Make sure it fits well with the site’s layout. Avoid any overlapping with other elements. If the logo looks too small, adjust the size. This gives a better user experience.
Mobile screens are smaller. So, the logo needs proper adjustment. Ensure it’s centered and visible. Check that it doesn’t cover any text or buttons. The logo must be easy to see. Mobile users should not pinch or zoom to view it. Test on various devices. This ensures it looks good everywhere.
Updating Logo With Theme Changes
Theme Updates Impact your site’s look. Sometimes, updates change the layout. Your logo may not fit right. This can make your site look messy. Always check your logo after updates. Make sure it looks good.
Keeping your site neat is important. A tidy site attracts visitors. They stay longer and read more. Use a child theme to keep changes safe. This helps you keep your custom logo even with updates. A child theme protects your work. It’s like a safety net.
Retaining Customization is key. You want your site to look unique. Custom logos make your brand special. They help people remember you. Use plugins to keep your custom settings. Plugins can save your logo settings. They make things easier to manage.
Credit: visualmodo.com
Frequently Asked Questions
How Do I Add A Logo To My WordPress Header?
To add a logo, go to your WordPress dashboard. Navigate to Appearance > Customize. Select Site Identity. Here, you can upload your logo image. Ensure your theme supports custom logos. Once uploaded, adjust the size and save changes. This will display your logo in the header.
Can I Change The Header Logo Size?
Yes, you can change the header logo size. Go to Appearance > Customize in your WordPress dashboard. Select the Site Identity section. Here, you can adjust the logo dimensions. Modify width and height settings to fit your design. Save changes to apply the new logo size.
What Image Format Is Best For A Header Logo?
The best image formats for a header logo are PNG and JPEG. PNG is ideal for logos with transparency. JPEG is suitable for more complex images without transparency. Ensure your logo is optimized for web use. This ensures faster loading times and maintains image quality.
How Do I Replace An Existing Header Logo?
To replace an existing header logo, go to Appearance > Customize. Select Site Identity in the WordPress dashboard. Click on the current logo and choose a new image. Upload the new logo and adjust its size. Save changes to update your header with the new logo.
Conclusion
Adding a header logo enhances your WordPress theme’s identity. It’s simple. Follow the steps outlined in this guide. Customize your site effortlessly. A logo creates a professional look. It tells visitors about your brand. Ensuring your logo fits well is crucial.
Test it on different devices. Make sure it looks good everywhere. Keep your design consistent. A well-placed logo enhances user experience. It builds trust and recognition. Remember, a strong visual presence matters. Take time to choose the right logo. You’ll notice the difference it makes.
