
Have you ever wanted to test a web service without going live immediately? Hosting a web service on localhost is the perfect solution for you.
Imagine having the power to tweak, test, and perfect your web application right from your computer before showing it to the world. This guide will walk you through the steps to turn your computer into a safe testing ground for your web service.
Whether you’re a seasoned developer or a curious beginner, you’ll find the process straightforward and rewarding. Keep reading to discover how you can gain control over your web development environment and have the freedom to experiment without the pressure of live deployment. Unlock the secrets to efficient testing and development, and elevate your skills with this essential knowledge.
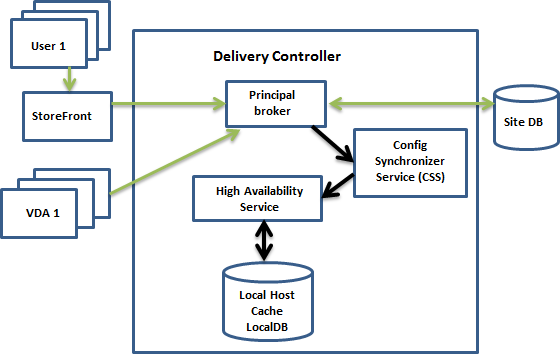
Credit: docs.citrix.com
Setting Up Your Development Environment
Picking the right software is key. Web servers like Apache or Nginx are popular. They help your computer act like a server. This allows you to host web services locally. Each software offers unique features. Apache is known for its flexibility. Nginx is praised for its speed. Choose based on your needs. Both are great options.
Installing tools is simple. First, download the software. Follow installation steps given. Most tools have easy guides. Ensure your computer has enough space. Tools need room to work well. Keep your system updated. Updates fix bugs. They improve performance. Regular checks are smart. Install a code editor like Visual Studio Code. It helps write and test code. Editors make work easier.
Configuring Your Web Server
Localhost is your own computer. It acts like a small server. You can test websites here before going online. It’s like a playground. Safe and easy. No one else sees your work.
Apache and Nginx are popular web servers. They help run websites. First, choose one to install. Both are good. Apache is older and more common. Nginx is newer and faster. Follow setup guides online. Each step is important. Install the server software. Next, configure basic settings. You will find help in online forums. Start the server. Then, test your website.
Creating Your Web Service
Start with a simple HTML file. This file will be your webpage. Use HTML tags to add text and images. CSS will help you style your webpage. You can change colors, fonts, and sizes. Use a CSS file to keep things organized. Link the CSS file to your HTML file. This makes changes easy. Now, your page will look good!
Backend technologies make your web service smart. You can use JavaScript to add logic. It helps your page do more things. Sometimes, you need a server. A server is like a computer that always runs. Node.js is a popular choice. It runs your code on the server. Combine these tools for a working web service. It will be ready to show on localhost.
Testing Your Web Service
Start your web service on your computer. Use localhost to test it. Open your browser and type localhost in the address bar. This shows your web service. Make sure everything looks right. Check if links and buttons work. If something is wrong, fix it. Test again until it works well. This helps find errors early.
Sometimes, problems happen. Maybe the page does not load. Maybe buttons do not work. First, check your code for mistakes. Use a tool to find errors. Fix any mistakes you find. If the problem is still there, restart your computer. This can solve many issues. If it still does not work, ask a friend for help. Two people see more than one.
Accessing Your Local Web Service
To access your web service, connect devices to the same network. Enter the local IP address in the browser. Check the IP by typing ipconfig in the command prompt. Make sure the service is running. If not, restart it. Use HTTP or HTTPS. Make sure the port is open. If blocked, allow it in settings.
Port forwarding helps access the service from outside networks. Open your router settings. Find the port forwarding section. Enter the local IP address and port number. Save changes. Test by entering the external IP in the browser. Ensure the service is active. If issues occur, check firewall settings. Make adjustments if needed.
Securing Your Localhost Environment
Hosting a web service on localhost involves setting up a secure environment. Start by installing necessary software and configuring firewall settings. Regular updates and monitoring are crucial to protect against vulnerabilities.
Implementing Basic Security Measures
Keep your localhost safe. Always update your software. Updates fix bugs and security holes. Use strong, unique passwords. Weak passwords are easy to guess. Protect your data with encryption. Encryption hides your data from bad people.
Limit access to your localhost. Only allow trusted devices to connect. This step is crucial. Be careful with plugins and scripts. Some can harm your system. Choose trusted sources only.
Understanding Firewall Configurations
Firewalls guard your computer. They block unwanted traffic. Learn your firewall settings. Set rules to allow only safe connections. A strong firewall is like a locked door. It keeps bad people out.
Sometimes, you may need to open ports. Do this carefully. Only open ports for services you need. Closing unused ports is important. It reduces risk. Always check your firewall logs. Logs show who tried to connect.
Advanced Configuration Options
Change the server settings to suit your needs. Start by opening the server configuration file. Locate the settings you want to change. These may include port numbers or root directories. Save the file after changes. Restart the server to apply new settings. This is important. Without restarting, changes won’t take effect.
Virtual hosts allow hosting multiple sites on one server. Create separate host files for each site. Specify the domain name and document root. This helps in organizing files better. Each site appears as a separate entity. Ensure all files are in the correct folders. This avoids confusion and errors. Virtual hosts make management easy. They are a good choice for complex setups.
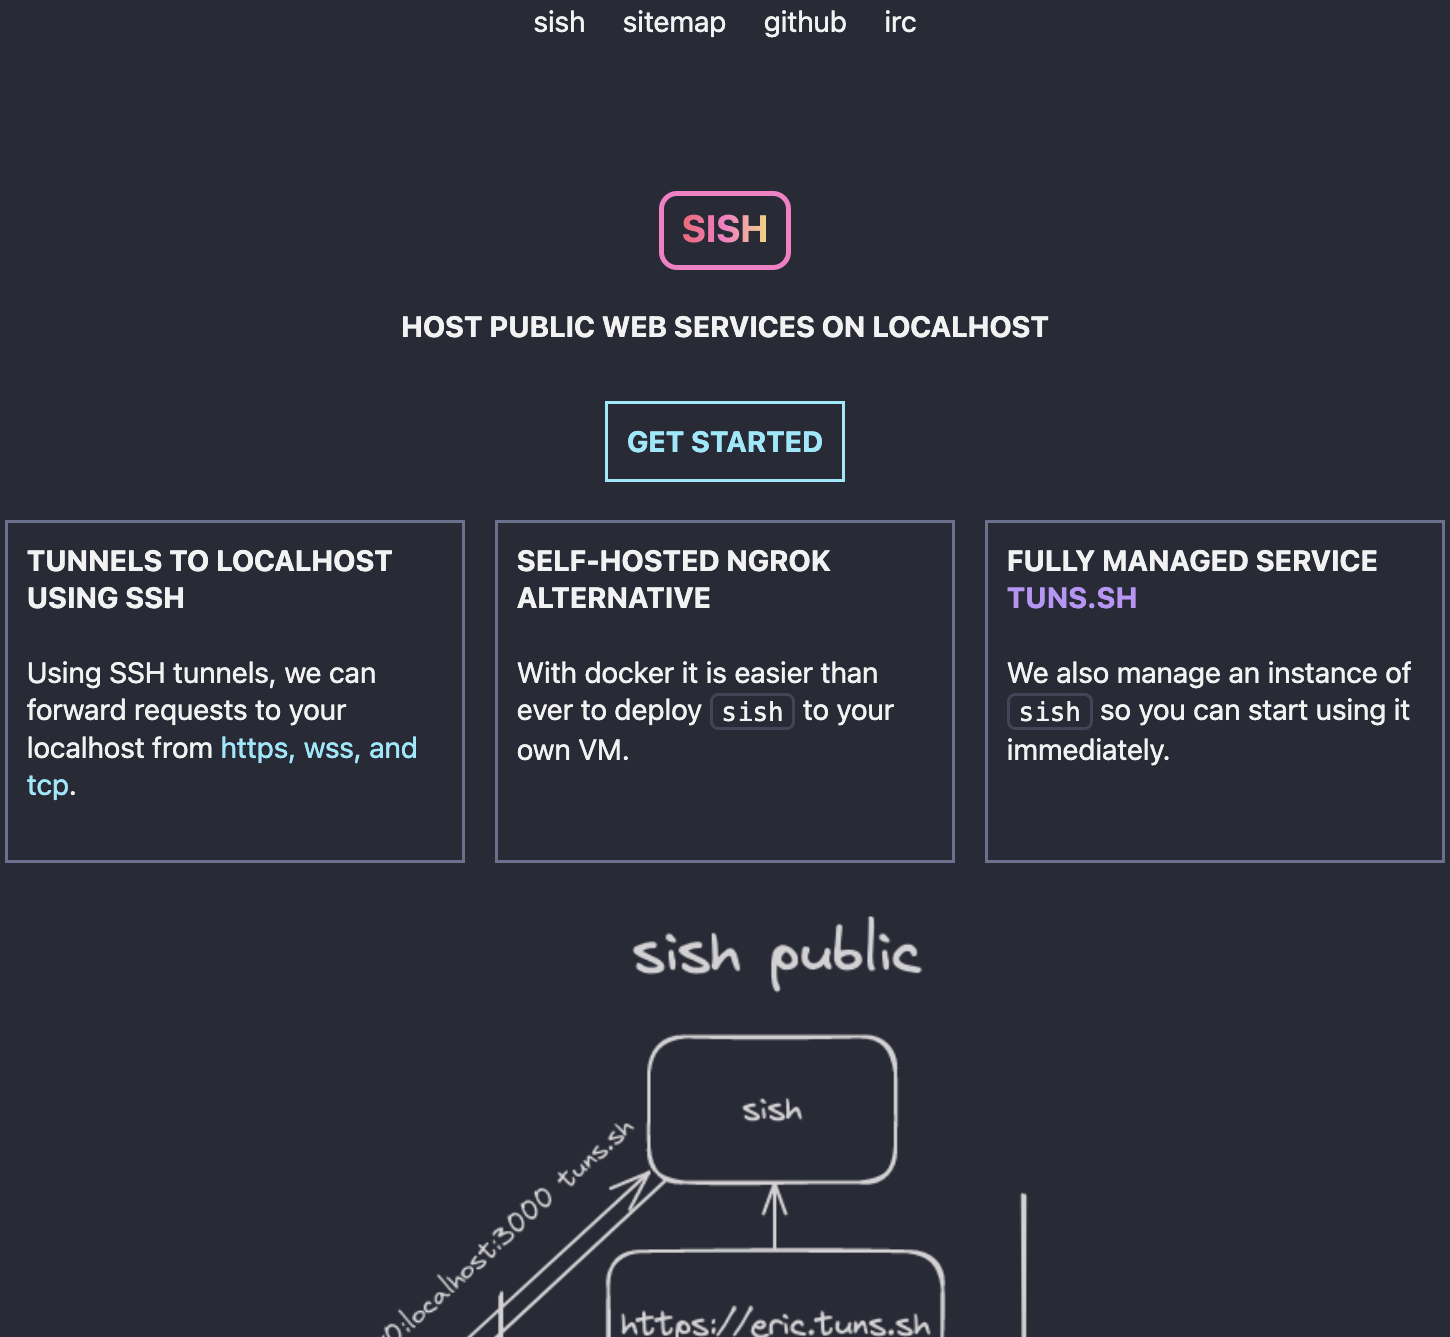
Credit: antoniomika.me
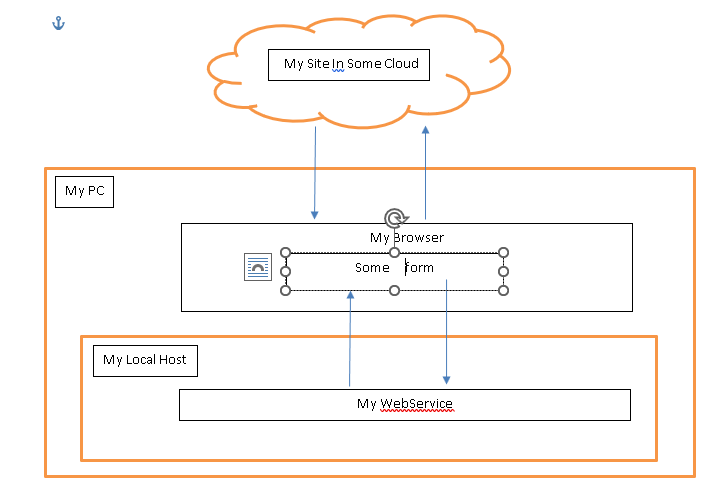
Credit: en.delphipraxis.net
Frequently Asked Questions
How To Host A Website In Localhost?
Install software like XAMPP or WAMP. Place website files in the ‘htdocs’ directory. Run the server. Access the site via ‘localhost’ in your browser.
How Do I Run A Web Application On Localhost?
Install a local server like XAMPP or WAMP. Place your web app files in the server’s directory. Start the server, open a browser, and type “localhost” followed by the project’s folder name in the address bar. Your web application will run locally.
How To Call A Web Service From Localhost?
Use tools like Postman or curl to call a web service from localhost. Ensure the web server is running. Use the correct URL, such as `http://localhost:port/endpoint`. Check firewall settings if needed. Use proper HTTP methods like GET, POST, PUT, or DELETE as required.
Can A Website Be Hosted Locally?
Yes, you can host a website locally using your computer. Install server software like Apache or Nginx. This allows development and testing without needing external hosting. Ensure your computer meets the necessary requirements and security measures to host successfully. It’s ideal for private or development purposes.
Conclusion
Hosting a web service on localhost is straightforward. Follow the steps carefully. You’ll gain confidence with practice. Local testing is crucial before going live. It helps identify bugs early. Secure your localhost to keep data safe. Regular updates improve performance.
Make sure to check configurations. They affect how your service runs. Troubleshooting skills are essential. They help resolve common issues quickly. Experiment with different tools. Find what suits your needs best. Remember, patience is key. Every developer started somewhere. Now, you’re ready to host locally.
Enjoy the learning journey ahead!


