Imagine transforming your tiny Raspberry Pi into a powerful web server right at home. You might think it’s complicated, but it’s surprisingly straightforward.
Whether you’re a tech enthusiast or someone curious about exploring new digital avenues, setting up a web server with Raspberry Pi can be an exciting project. Why settle for expensive hosting services when you can create your own? With just a few steps, you can host websites, manage your own server, and enjoy the freedom of customization.
Plus, it’s a great way to learn more about networking and server management. You’ll discover the simple steps to turn your Raspberry Pi into a fully functional web server. You’ll learn how to make the most of its capabilities without breaking a sweat. Ready to unlock the potential of your Raspberry Pi? Let’s dive in and see how you can make it happen.
Choosing The Right Raspberry Pi Model
Raspberry Pi is a tiny computer. It can host a web server. Choosing the right model is very important. Some models are faster. Others may use less energy. Consider what you need. Raspberry Pi 4 is a strong option. It is fast and has more memory. Raspberry Pi Zero is small. It is good for simple tasks. Think about your needs. Do you need speed or size?
Price also matters. Some models are cheaper. But they might not have enough power. Look for the best balance. Wi-Fi and Ethernet are important too. Check if the model has these features. This helps in connecting to the internet easily.
Credit: fireship.io
Setting Up The Raspberry Pi
First, you need a microSD card. Make sure it’s at least 8GB. Download the Raspberry Pi Imager software. This tool helps install an operating system. Choose Raspberry Pi OS for best results. Insert the microSD card into your computer. Open the Imager software. Select the OS and the SD card. Click “write”. Wait for the process to finish. This may take a few minutes. Once done, remove the card. Insert it into the Raspberry Pi.
Connect the Raspberry Pi to a monitor. Use an HDMI cable for this. Also, connect a keyboard and mouse. Turn on the Raspberry Pi. The OS will load and show the desktop. Click on the Wi-Fi icon. Choose your network from the list. Enter the password and connect. To find the IP address, open the terminal. Type hostname -I and press enter. Note the IP address. This helps in remote connections.
Installing The Web Server Software
Apache and Nginx are popular web servers. Apache is easy for beginners. Nginx is faster with many users. Both have strengths and weaknesses.
Apache uses more memory. Nginx uses less memory. Choose based on your needs. For small sites, Apache is fine. For busy sites, try Nginx.
Step-by-step Installation
First, update your Raspberry Pi. Use the command sudo apt update. Next, install Apache or Nginx. For Apache, type sudo apt install apache2.
For Nginx, type sudo apt install nginx. Start the server with sudo systemctl start apache2 for Apache. Use sudo systemctl start nginx for Nginx.
Check the server. Open a browser. Type your Pi’s IP address. You should see a welcome page.
Configuring The Web Server
Virtual hosts allow your server to manage multiple websites. Begin by editing the configuration file. Each website needs its own configuration. Use a simple text editor to create these files. Make sure each file has a unique name. This helps the server know which site to show.
Add the DocumentRoot line. This tells the server where the website files are. Save the file and restart the server. Now, your server can handle multiple sites.
Security is very important. First, update your server software. This ensures you have the latest security fixes. Next, install a firewall. A firewall blocks unwanted traffic. Use strong passwords for all accounts.
Consider using HTTPS. This encrypts data between the server and users. It keeps information safe. Always check your server logs. They show who visits your server. This helps you spot any problems quickly.
Hosting A Website
To host a website, you first need a server. A Raspberry Pi can be a great option. It is small and affordable. Start by installing the necessary software. Apache is a popular choice. Use commands to set it up. Follow guides for the right steps.
After setting up your server, upload your website files. Use SFTP or FTP. Both are safe ways to transfer files. Make sure files are in the right folder. The main folder is often called www or public_html. Check file permissions after uploading. Correct permissions are crucial.
Testing is important to ensure everything works. Open a browser and type your IP address. Your website should load. If it doesn’t, check your server settings. Confirm the website files are in the right place. Check your code for errors. A working website means your setup is successful.
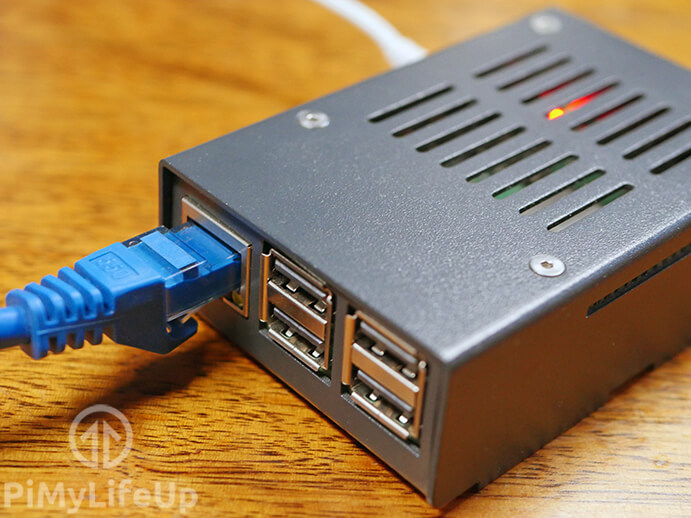
Credit: pimylifeup.com
Managing And Maintaining The Server
Keep an eye on your server’s health. Use tools to check the CPU usage. Watch the memory and disk space. Make sure the server is not getting too hot. Check the temperature often. If the server gets too hot, it might slow down. It could even stop working. Use a small fan to keep it cool. Keep the server area clean and dust-free.
Regular backups are important. They keep your data safe. Back up your server weekly. Use an external drive or a cloud service. If something goes wrong, you won’t lose your data. Always check the backup files. Make sure they are complete. You can set up automatic backups. It saves time and effort. Backups give peace of mind.
Troubleshooting Common Issues
Network issues can stop your Raspberry Pi server. Check if the Wi-Fi is working. Make sure the Ethernet cable is plugged in well. You might need to restart your router. Try to ping your Raspberry Pi from another device. This helps check if it is connected. Sometimes, the IP address changes. Use a static IP to avoid this. If nothing works, check if your network settings are correct.
Server errors can be tricky. See if the server software is up-to-date. Outdated software can cause problems. Restarting the server can fix many issues. Look at the error logs for clues. They show what went wrong. Check the server settings too. Wrong settings can stop the server. Make sure you have enough memory and CPU power. Low resources can slow down your server.

Credit: www.youtube.com
Frequently Asked Questions
How To Host A Website On A Raspberry Pi 5?
Install Raspberry Pi OS and connect to the internet. Install Apache or Nginx for web hosting. Upload your website files to the server’s root directory. Ensure your Raspberry Pi has a static IP. Forward port 80 on your router to the Raspberry Pi’s IP for external access.
Are Raspberry Pis Good For Server Hosting?
Raspberry Pis are suitable for light server tasks. They handle small websites, file storage, and personal projects well. Their low power consumption and affordability make them popular for hobbyists. However, they may struggle with heavy traffic or resource-intensive applications. For demanding tasks, consider more powerful hardware.
Is The Raspberry Pi 3 Good For A Web Server?
Yes, the Raspberry Pi 3 can run a web server efficiently. It handles small-scale projects well. With its quad-core processor and 1GB RAM, it supports basic websites. Ensure proper optimization for best performance. It’s suitable for learning, experimentation, and hosting lightweight applications.
Can You Use A Raspberry Pi As A Home Server?
Yes, you can use a Raspberry Pi as a home server. It handles tasks like file sharing, media streaming, and web hosting efficiently. It’s cost-effective, energy-efficient, and user-friendly for beginners. Choose the right operating system and setup for optimal performance.
Conclusion
Setting up a web server with Raspberry Pi is simple and rewarding. This tiny computer is powerful and affordable. Perfect for small projects and learning. Follow the steps to get your server running smoothly. Customize your setup as needed. Experiment with different configurations and software.
Troubleshoot issues with online resources and forums. Enjoy the satisfaction of hosting your own server. Gain valuable skills and knowledge. Share your creations with friends or the world. Dive into this project and watch your confidence grow. Raspberry Pi offers endless possibilities for tech enthusiasts.
Start your journey today.