
Imagine transforming a tiny Raspberry Pi into a fully functioning web server. Yes, you can create your own corner of the internet with just this compact device.
Whether you’re a tech enthusiast or a curious newbie, hosting a web server on a Raspberry Pi offers a unique and rewarding challenge. Have you ever wondered how websites work behind the scenes? Or perhaps you’re looking to develop your skills without investing in expensive equipment?
This guide will show you how to turn your Raspberry Pi into a web hosting powerhouse. You’ll learn each step in simple, clear terms, so even if you’re not a tech wizard, you’ll feel confident and excited about taking on this project. Get ready to unlock the potential of your Raspberry Pi. With a little time and effort, you can host your own website, build web applications, or even run a local server for development. Let’s delve into the world of Raspberry Pi web hosting and discover just how easy it can be.
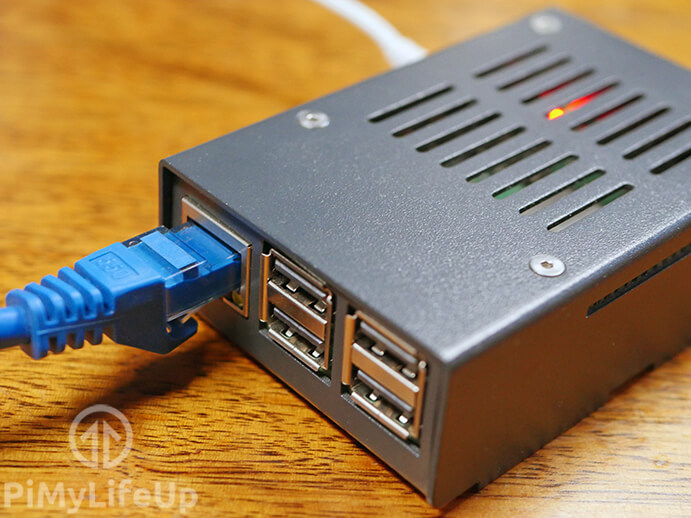
Credit: pimylifeup.com
Setting Up Raspberry Pi
Raspberry Pi comes in different models. Each has its own features. For hosting, the Raspberry Pi 4 is a great choice. It has enough power and memory. It is also small and affordable. The Raspberry Pi Zero is cheaper but less powerful. Choose based on your needs and budget. Consider the speed and memory. These affect how fast your server will run. A good model will make your work easier.
You need an operating system for your Raspberry Pi. Raspberry Pi OS is the best choice. It’s easy to use and free. First, download the OS to your computer. Use software like Balena Etcher to write it on a microSD card. Then, insert the card into the Raspberry Pi. Connect to power and watch it boot up. This will take a few minutes. Follow the on-screen instructions to finish setup.

Credit: www.youtube.com
Network Configuration
Use a cable or Wi-Fi to connect the Raspberry Pi. Check your router settings. Find the IP address of your Raspberry Pi. Type ifconfig in the terminal. Look for the address after inet. Write it down. This is your Pi’s address. You need this to connect to the internet.
Open the terminal on your Raspberry Pi. Type sudo nano /etc/dhcpcd.conf. Scroll down to the end of the file. Add interface wlan0 for Wi-Fi. For Ethernet, use interface eth0. Set static ip_address. Choose an address in your network range. Save and exit the file.
Restart the network service. Type sudo service dhcpcd restart. Check the IP address again. Use the command ifconfig. Confirm the static IP is set correctly. This helps your web server stay connected.
Web Server Installation
Apache is a popular web server. Start by updating your Raspberry Pi. Use the command sudo apt update. Next, install Apache with sudo apt install apache2. This will download and install Apache. After installation, check if Apache is running. Open your browser. Type http://localhost. You should see the Apache default page. This means Apache is installed. Apache is now ready to serve web pages.
Nginx is another web server option. First, update the system. Use sudo apt update. Then, install Nginx with sudo apt install nginx. Check if Nginx is running. Type http://localhost in your browser. The Nginx welcome page should appear. This shows Nginx is installed. Now, Nginx can serve your web pages.
Credit: fireship.io
Security Measures
Setting up a web server on a Raspberry Pi? Secure it with strong passwords and regular software updates. Use firewalls to block unwanted traffic and ensure data encryption for safe transmissions.
Enabling Firewall
Firewalls protect your Raspberry Pi. They block unwanted traffic. Install a firewall like ufw. It is easy to use. Enable it with simple commands. Check its status regularly. This ensures your server is safe. Use rules to allow only needed traffic. Block everything else. This keeps hackers away. Always update your firewall. New updates fix security gaps. Your server stays secure.
Securing Ssh Access
SSH lets you access your server from far away. Use strong passwords. Weak passwords are easy to break. Change the default SSH port. This makes it harder to find. Disable root login. It keeps your server safer. Use SSH keys instead of passwords. They are more secure. Keep your keys private. Never share them. Always update your SSH software. New updates fix problems. Your server stays safe.
Testing The Web Server
Setting up a web server on Raspberry Pi involves installing necessary software and configuring network settings. Test the server by accessing your site through a web browser. Ensure everything runs smoothly for an optimal experience.
Creating A Sample Web Page
Start by making a simple HTML file. Name it “index.html”. Write some text inside. For example, “Hello, World!”. Save this file. Place it in the web server’s folder. This folder is usually called /var/www/html. Now, your web server has a basic page. It’s ready for testing.
Checking Server Response
Open a web browser. Type your Raspberry Pi’s IP address. Add “/index.html” to the address. Press enter. Your sample web page should appear. If it shows, the server works. If not, check your setup again. Make sure the Raspberry Pi is on. Ensure the web server is running. Also, check your file path. These steps help solve any issues.
Troubleshooting
Setting up a web server on Raspberry Pi requires troubleshooting skills. Common issues include network configuration errors and software installation problems. Double-check connections and ensure the correct software versions are installed to resolve these.
Common Errors
Raspberry Pi users often face common errors. One error is the “port already in use” issue. This happens when another process uses the same port. To fix it, find the process and stop it. Another error is “access denied”. This means you need root permissions. Use commands like sudo to gain access.
Network issues are also frequent. Check your internet connection first. Make sure your Raspberry Pi is on the same network. Sometimes, the server might crash. Look at the logs to find the problem. Logs show where the error happens.
Performance Optimization
To make your server faster, reduce unnecessary processes. Close apps that you don’t use. This saves memory. Optimize your code for better speed. Check your server settings. Use lightweight software like Nginx. It’s faster than Apache.
Keep your system updated. Updates fix bugs and improve speed. Use a cooling system to prevent overheating. Hot devices can slow down. If you’re using a database, optimize queries. Shorter queries run faster. Use caching to save time.
Extending Functionality
Setting up a web server on a Raspberry Pi enhances its functionality, turning it into a versatile platform. This compact device can efficiently host your website, making it accessible worldwide. With simple steps, you can transform your Raspberry Pi into a practical web server.
Adding Database Support
Raspberry Pi can handle databases. Install MySQL or SQLite for this task. These databases are small and perfect for Raspberry Pi. Use the terminal to install them. Type simple commands. Follow easy steps on the screen. Database helps store and manage data. It’s important for websites. Many websites use databases. They help keep information organized. Raspberry Pi can do this well. It makes your web server stronger. Now, your Raspberry Pi has more power. It can handle many tasks. Adding a database is smart. It boosts your server’s capabilities.
Integrating Php
PHP is a coding language. It helps create dynamic web pages. Install PHP on Raspberry Pi. Use terminal commands for this. PHP works with HTML and databases. It connects them together. PHP makes web pages interactive. Users can see changes in real-time. Raspberry Pi supports PHP. It’s small but powerful. Many websites use PHP. It’s popular and easy to learn. PHP adds more features to your server. It helps display data from the database. Now your Raspberry Pi can run complex websites. This integration is useful. It expands what your web server can do.
Frequently Asked Questions
How Do I Start Hosting On Raspberry Pi?
To start hosting a web server on Raspberry Pi, first, install Raspbian OS. Then, set up Apache or Nginx. Configure PHP and MySQL if needed. Finally, deploy your website files to the server’s root directory. Ensure your network settings allow external access.
Is Raspberry Pi Suitable For Web Hosting?
Yes, Raspberry Pi is suitable for small-scale web hosting. It offers low-cost, energy-efficient solutions for hosting personal sites. However, for high-traffic sites, consider server limitations like processing power and RAM. It’s best for learning, testing, or hosting lightweight applications.
What Software Is Needed For Raspberry Pi Server?
To host a web server on Raspberry Pi, you’ll need a web server software like Apache or Nginx. Additionally, you may install PHP and MySQL for dynamic content. These tools help you serve and manage your website efficiently on Raspberry Pi.
Can Raspberry Pi Handle Multiple Websites?
Raspberry Pi can handle multiple websites using virtual hosts configuration. It allows separate domains or subdomains to operate on a single server. This setup is ideal for small-scale projects. Consider resource limitations when hosting several sites on Raspberry Pi.
Conclusion
Setting up a web server on Raspberry Pi is straightforward. It offers learning and fun. You explore new skills and save money. The Raspberry Pi is small but powerful. Perfect for experiments. Follow the steps carefully. Double-check connections and configurations.
Enjoy hosting projects at home. Share your creations with the world. Troubleshoot and learn from challenges. Raspberry Pi can handle various web tasks. It’s a great starting point. Dive into more advanced projects later. Keep learning and innovating. Your Raspberry Pi journey begins now.
Happy coding and hosting!


