Your website’s title is the first thing visitors notice—it sets the tone for everything on your site. If your site title isn’t clear or catchy, you could be losing visitors before they even explore your content.
Luckily, editing your site title on WordPress is easier than you think. In this guide, you’ll learn exactly how to change your site title step-by-step, so your website stands out and makes a great first impression. Keep reading, and you’ll have your perfect site title up and running in no time.
Accessing WordPress Dashboard
Accessing the WordPress dashboard is the first step to editing your site title. The dashboard is the control panel for your website. It lets you make changes, add content, and manage settings. Understanding how to reach and use the dashboard saves time and effort. This section explains how to access it easily.
Logging Into Your WordPress Account
Start by opening your web browser. Type your website address followed by /wp-admin. For example, www.yourwebsite.com/wp-admin. This brings you to the login page. Enter your username and password. Click the “Log In” button to continue.
Navigating The Dashboard Interface
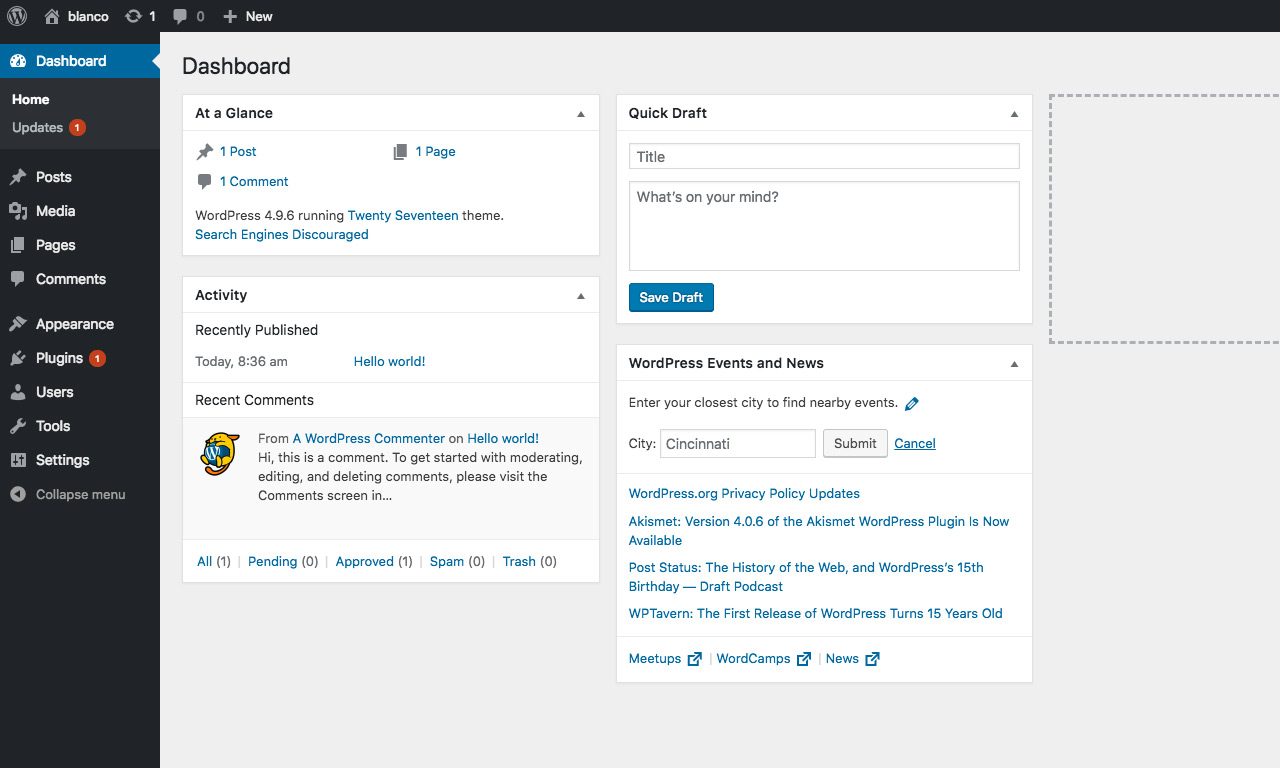
Once logged in, you see the dashboard home screen. It shows menus on the left side. These menus control different parts of your site. You can find posts, pages, settings, and more here. Take a moment to explore the layout.
Finding The Site Title Settings
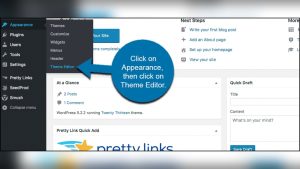
Look for the “Settings” menu in the left sidebar. Hover or click on it to expand options. Select “General” from the list. The site title option appears near the top of this page. This is where you will change your website’s title.
Credit: mekshq.com
Navigating To Site Identity Settings
Navigating to the Site Identity settings in WordPress is the first step to change your site title. This section lets you update the name that visitors see on your website. Finding these settings is simple and quick.
Accessing the Site Identity allows you to edit the title and tagline easily. These details appear on browser tabs and search engines. Keeping them accurate helps visitors recognize your site.
Accessing The WordPress Dashboard
Start by logging into your WordPress dashboard. Use your username and password to enter. The dashboard is the control center for your website.
Opening The Customizer Menu
On the left menu, find and click “Appearance.” Then select “Customize.” This opens the WordPress Customizer where many settings live.
Locating The Site Identity Section
Inside the Customizer, look for “Site Identity.” Click on it to open the options. Here, you can change the site title and tagline easily.
Changing The Site Title
Changing the site title on WordPress is a simple way to give your website a clear identity. The site title appears in the browser tab and search engines. It helps visitors know what your site is about. Keeping the title updated improves your site’s professionalism and SEO.
This section explains how to change the site title quickly. Follow these steps to update your site title easily.
Accessing The WordPress Dashboard
Start by logging into your WordPress dashboard. Use your username and password to enter the admin area. The dashboard is where you manage all site settings.
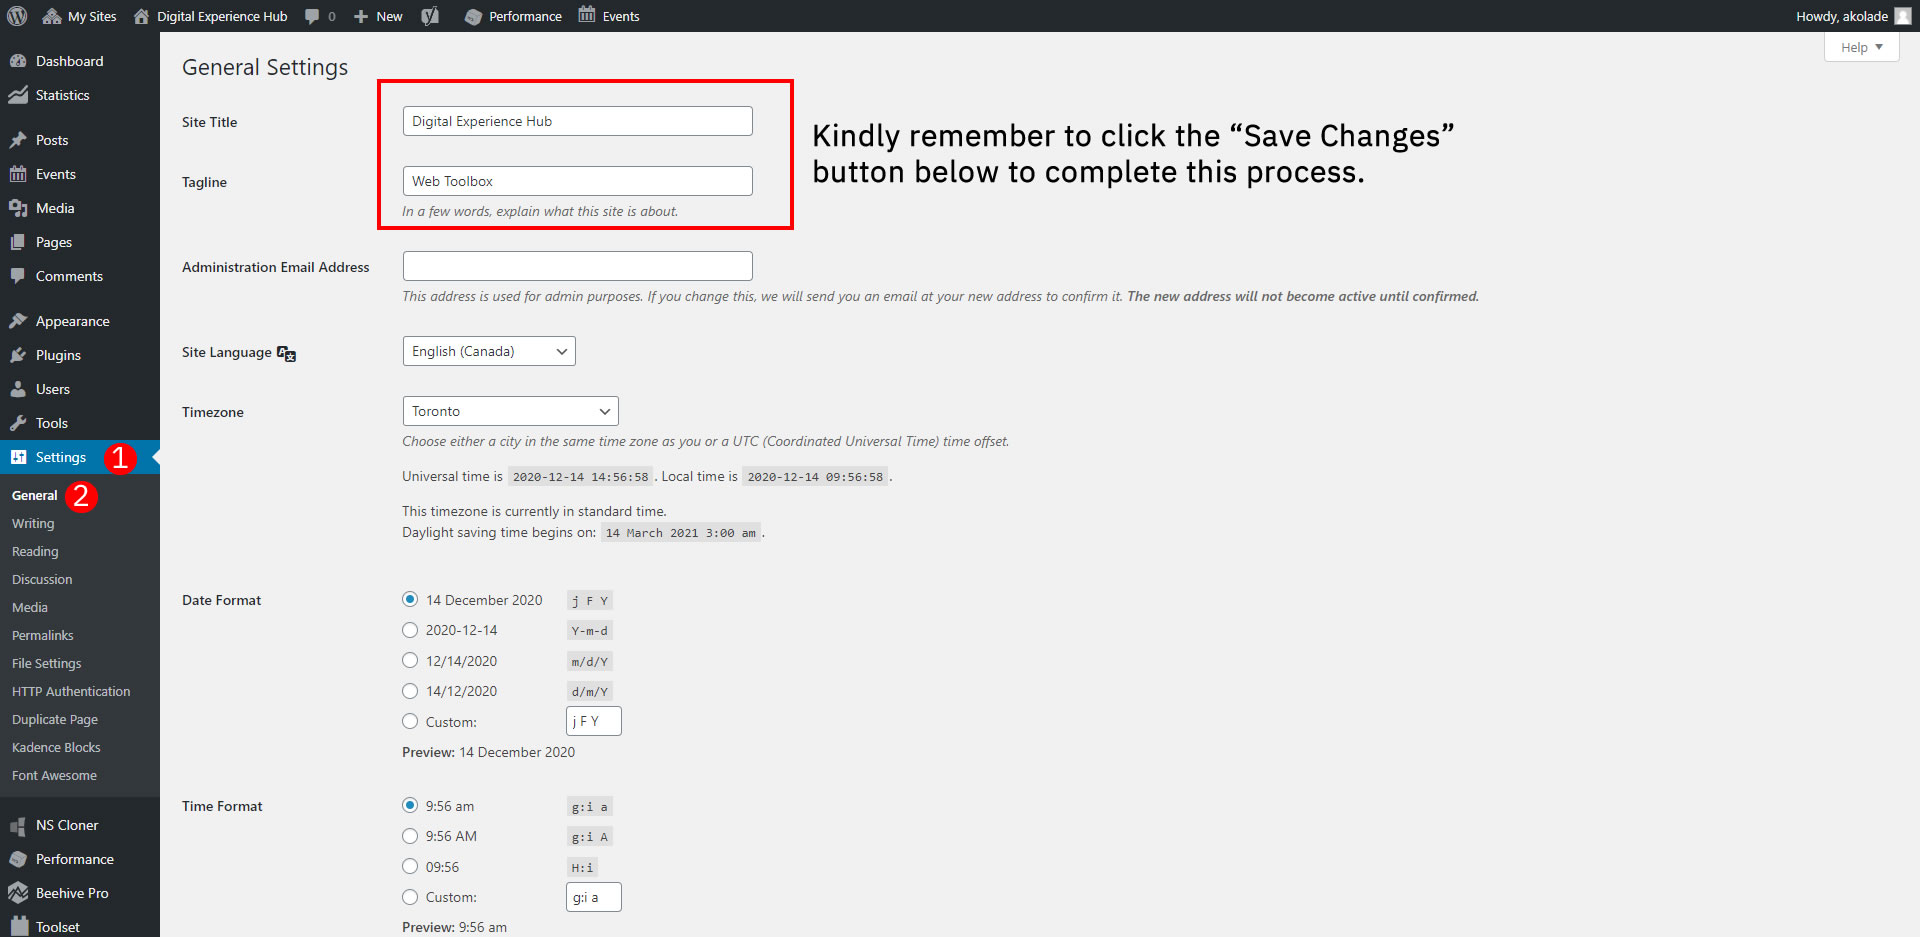
Navigating To General Settings
In the dashboard menu, find the “Settings” option. Click on it to expand the list. Select “General” from the options. This page holds basic site information including the site title.
Editing The Site Title Field
Look for the “Site Title” box at the top of the General Settings page. Click inside the box and delete the old title. Type your new site title clearly and simply. Make sure it matches your brand or purpose.
Saving Your Changes
Scroll down to the bottom of the page. Click the “Save Changes” button to apply your new site title. Wait for the page to refresh. Your updated title now appears on your website and browser tab.
Editing The Site Tagline
The site tagline is a brief phrase that describes your website’s purpose. It appears near the site title on your WordPress site. Editing the tagline helps visitors quickly understand what your site offers. A clear and catchy tagline makes your website more memorable.
Changing the tagline is simple and takes only a few steps. You can update it anytime to match your site’s focus or branding. Keeping it relevant helps improve your site’s professionalism and user experience.
Accessing The WordPress Customizer
Start by logging into your WordPress dashboard. On the left menu, find and click on Appearance. Then select Customize. This opens the WordPress Customizer where you can edit many site settings.
Finding The Site Identity Section
Inside the Customizer, look for the Site Identity option. Click on it. This section contains settings for both the site title and the tagline. It is the place to make quick changes to your site’s identity.
Editing And Saving Your Tagline
Locate the tagline text box under the site title. Delete the old tagline and type a new one. Make sure your new tagline is short and clear. After editing, click the Publish button at the top. Your new tagline will appear on your website immediately.
Saving And Previewing Changes
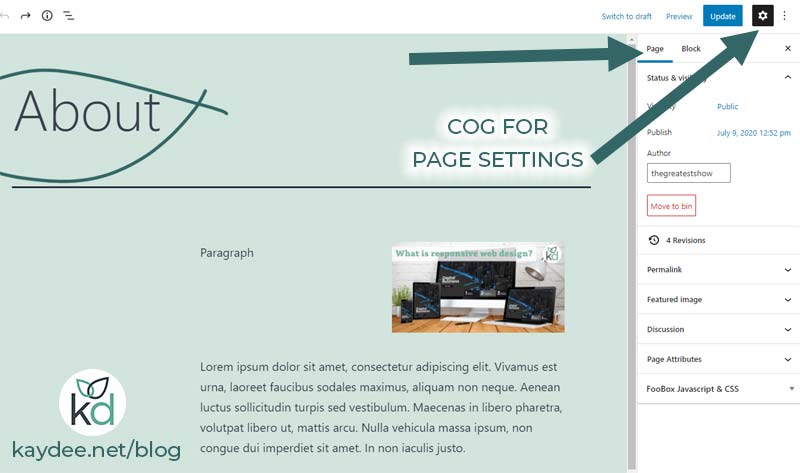
Saving and previewing changes is an important step after editing your site title in WordPress. It helps you check how the new title looks before making it live. This process avoids mistakes and ensures your site appears professional.
Always save your edits to keep them from disappearing. Previewing lets you see the title on your site without publishing right away. This way, you can make more changes if needed.
Saving Your Site Title Changes
After typing your new site title, find the Save button. It is usually at the top or bottom of the settings page. Click it once to store your changes.
Do not close the page before saving. Unsaved changes will be lost. Saving confirms that WordPress remembers your new title.
Previewing The Updated Site Title
Look for the Preview option after saving. It opens your site with the new title visible. Check the title on different devices if possible.
Previewing helps spot errors or design issues. If the title looks wrong, return to the settings and edit again.
Making Final Adjustments
Use the preview to decide if the title fits your site well. Change the font size or style if needed. Keep your title clear and easy to read.
After final checks, save once more to confirm. Your site is now ready with a fresh new title.
Credit: kaydee.net
Using Plugins For Advanced Title Editing
Using plugins for advanced title editing on WordPress gives more control and options. Plugins let you customize site titles beyond the basic settings. You can add extra information, change titles by page, and improve SEO easily.
Many plugins offer features like automatic title formatting and templates. These tools help keep your site titles consistent and clear. They also save time by updating titles in bulk or based on rules you set.
Edit Site Titles With Yoast Seo
Yoast SEO is a popular plugin for managing titles and metadata. It lets you create custom title templates for pages, posts, and categories. The plugin also shows a preview of how titles appear in search results.
You can add variables like site name, page title, and separator. This flexibility helps maintain a professional and SEO-friendly title structure.
Use All In One Seo Pack For Title Control
All in One SEO Pack offers easy title customization options. It supports automatic title generation and manual editing per post or page. You can set default title formats for different content types.
The plugin also integrates with social media for better sharing titles. It is a simple tool for users wanting more than default WordPress title settings.
Customize Titles With Title Experiments Free
Title Experiments Free allows testing different titles to see what works best. You can run A/B tests on site titles or post titles. This helps improve click-through rates and user engagement.
The plugin tracks visitor responses and shows performance results. It is useful for sites focused on marketing and user interaction.
Common Issues And Fixes
Editing the site title in WordPress is usually simple. Sometimes, changes do not show up right away. This happens because of common issues. Knowing these problems and their fixes saves time and frustration.
Title Not Updating
Sometimes, the new title does not appear on your site. This can happen if the browser still shows the old version. Try refreshing the page using Ctrl + F5 or Command + Shift + R. Check the site title in the WordPress dashboard under Settings > General. Make sure you saved the changes correctly.
Theme Overrides
Some themes use their own settings for the site title. This can block WordPress from showing the new title. Look in the theme’s options or customizer for a site title setting. Change it there if you find one. If not, try switching to a default theme to test if the title updates.
Caching Problems
Cache stores copies of your site to make it load faster. Sometimes, it keeps the old title. Clear your browser cache first. Then, clear any caching plugins on your WordPress site. If you use a CDN, clear its cache too. After clearing, check your site again to see the new title.
Credit: www.yorku.ca
Tips For Choosing A Site Title
Choosing the right site title is a key step in setting up your WordPress website. Your site title appears in search results and browser tabs. It helps visitors know what your site is about at a glance. A good title can attract more visitors and improve your site’s ranking. Keep it clear and simple.
Think about your audience and what words they might use to find your site. Use keywords that describe your content well. Avoid long or confusing titles. Make it easy to remember and type.
Keep It Short And Clear
Short titles are easier to read and remember. Aim for two to four words. Avoid complex phrases or jargon. Clear titles help users understand your site quickly.
Include Relevant Keywords
Keywords help search engines find your site. Use words that describe your content or business. Place them naturally in your title. Don’t overuse keywords to avoid penalties.
Make It Unique
Your title should stand out from competitors. Avoid copying other site titles. Unique names build your brand and identity. Check for available domain names matching your title.
Reflect Your Brand Or Purpose
Your site title should match your brand or site focus. Use words that reflect your mission or services. This creates a strong connection with visitors.
Test For Readability
Read your title out loud. Ensure it sounds natural and easy. Ask others for feedback. A readable title invites more clicks and visits.
Frequently Asked Questions
How Do I Change My WordPress Site Title?
To change your site title, log into your WordPress dashboard. Go to Settings > General. Edit the “Site Title” field and save changes. Your new title will appear on your website and browser tabs.
Can I Edit The Site Title Without Plugins?
Yes, you can edit the site title directly in WordPress settings. No plugins are required. Simply navigate to Settings > General and update the “Site Title” field.
Will Changing The Site Title Affect Seo?
Changing your site title can impact SEO if done thoughtfully. Use relevant keywords and keep it concise. Ensure the new title reflects your brand and content focus for better search rankings.
Where Does The WordPress Site Title Appear?
The site title appears in browser tabs, search engine results, and website headers. It helps visitors identify your site and improves branding across platforms.
Conclusion
Editing your site title on WordPress is simple and quick. Just follow the steps carefully. A clear title helps visitors understand your site easily. It also improves your site’s visibility on search engines. Keep your title short and relevant to your content.
Remember to save changes after editing. Regularly updating your title can keep your site fresh. Now, you can confidently change your WordPress site title anytime. This small change makes a big difference in how people find you.