
Are you ready to take your online presence to the next level? Connecting your Namecheap domain to Google Sites is a crucial step in building a professional and trustworthy website.
Imagine how seamless it would be to have a custom domain that reflects your brand’s identity, making it easier for your audience to find and remember you. In this guide, we’ll walk you through the simple steps to link your Namecheap domain with Google Sites.
No tech jargon or confusing processes—just clear, actionable instructions. You’re on the verge of creating something great, so let’s dive in and make your website stand out.
Benefits Of Linking Namecheap Domain To Google Sites
Connecting your Namecheap domain to Google Sites enhances your site’s credibility. It improves your site’s visibility in search results. A custom domain also provides a professional appearance for your website.
Connecting your Namecheap domain to Google Sites can offer a range of benefits that enhance your online presence. With a custom domain, you can present a more professional image, making it easier for clients and visitors to remember your site. This connection also provides improved search engine visibility, boosting your website’s ranking on search results.1. Enhanced Professionalism
Using a Namecheap domain with Google Sites instantly elevates your brand’s credibility. Imagine visiting a website with a custom domain versus a generic URL. Which one would you trust more? A professional domain shows that you’re serious about your online presence. It signals to your audience that you are committed to providing quality content and services. This small investment can make a significant difference in how your brand is perceived.2. Improved Seo
A custom domain is not just about looking good; it helps you rank better in search engines. Search engines prioritize custom domains over generic ones. This means more eyes on your content. Think about the last time you searched for something online. Did you click on the first few links? Linking your Namecheap domain to Google Sites can help you reach that coveted spot, driving more traffic to your website.3. Easy Branding
Branding becomes simpler with a custom domain. Your domain name is part of your brand’s identity. It should reflect who you are or what you do. Consider your favorite brands. Their domain names are easy to remember and relate directly to their business. By connecting a Namecheap domain to Google Sites, you ensure your brand is consistently represented across platforms.4. Increased Trust And Security
Visitors are wary of unknown sites, especially with the rise of online scams. A custom domain reassures them. It tells them your site is legitimate. Google Sites offers robust security features. When paired with a Namecheap domain, you provide visitors with a safe browsing experience. This combination builds trust, encouraging them to return and engage with your content. Incorporating these benefits into your strategy can be game-changing. Why settle for less when you can have a professional, branded, and secure online presence? Connecting your Namecheap domain to Google Sites might just be the boost your website needs.
Credit: www.youtube.com
Prerequisites For Domain Connection
Connecting a Namecheap domain to Google Sites requires some preparation. Understanding the prerequisites ensures a smoother connection process. Before diving into technical steps, gather the necessary tools and information. This foundational knowledge is essential for a successful domain connection.
Necessary Tools And Accounts
Ensure you have a Namecheap account. This is where your domain is registered. You also need a Google account. This account should have access to Google Sites. These accounts are crucial for managing domain settings and site configurations.
Access to the Namecheap dashboard is essential. Here, you will adjust DNS settings. These settings connect your domain to Google Sites. Having both accounts ready simplifies the entire process.
Domain Verification Requirements
Domain verification is a critical step. Google requires proof that you own the domain. This protects against unauthorized use. Prepare your Namecheap login details. You will use them to verify ownership.
Google provides a verification code. You must add this code to your Namecheap DNS settings. This step confirms your domain ownership. Once verified, Google Sites will recognize your domain as legitimate. This is an important security measure in connecting your domain.
Setting Up Google Sites
Linking your Namecheap domain to Google Sites enhances your site’s professionalism. Access your Namecheap account. Update DNS settings with Google’s verification details. Complete the setup by verifying ownership in Google Sites. This process ensures your website has a custom domain.
Setting up Google Sites is a straightforward process that allows you to create a professional-looking website without any coding skills. Whether you’re starting a blog, showcasing a portfolio, or setting up a small business site, Google Sites provides the tools you need. Let’s dive into how you can set up your Google Site and get it ready for your Namecheap domain. ###Creating A New Site
To begin, navigate to Google Sites and log in with your Google account. Once logged in, you’ll see a “+ Create” button—click it to start a new site. This is your blank canvas. You’ll be prompted to choose a template. Opt for a template that suits your site’s purpose, whether it’s a simple blank page or a more structured business layout. Templates can save you time and offer pre-designed styles that look great from the get-go. Once you’ve chosen your template, give your site a name. This name will appear in the browser tab and can also help with search engine recognition. Choose something that clearly represents your content. ###Customizing Site Design
Customizing your site design is where the fun begins. Google Sites offers a variety of themes and design tools to make your site stand out. Start by selecting a theme from the right-hand panel. Themes control the overall look and feel of your site, including colors and fonts. Don’t hesitate to play around with different options until you find one that aligns with your vision. After selecting a theme, consider the layout of your pages. Use the drag-and-drop editor to add text boxes, images, and other elements. Arrange them in a way that guides your audience through your content seamlessly. Remember, your site’s design should reflect its purpose. If you’re creating a portfolio, make sure your work is front and center. For a business site, ensure contact information is easily accessible. Have you ever visited a site and felt lost because of cluttered information? Ensure your site isn’t one of those by maintaining a clean, organized design. By the end of this process, your Google Site should be a beautiful, functional representation of your ideas. Now that you’ve set it up, you’re ready to connect it with your Namecheap domain and take it live!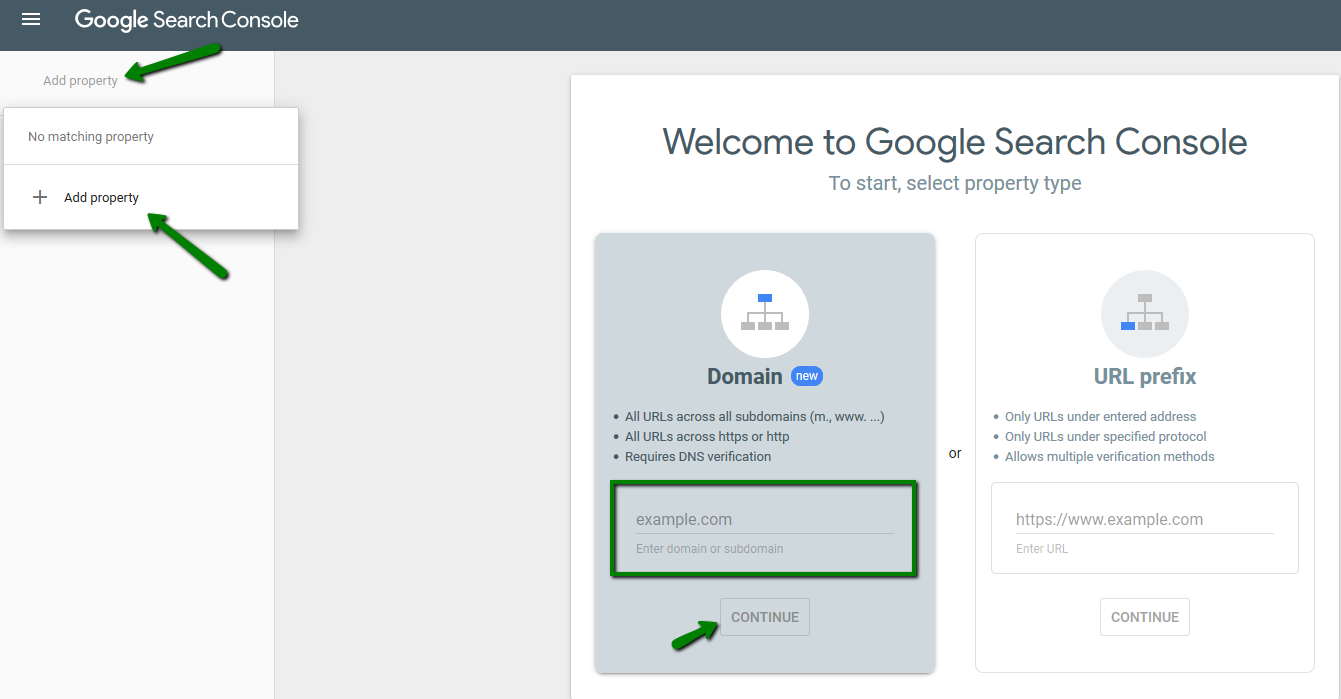
Credit: www.namecheap.com
Configuring Dns Settings In Namecheap
Connecting a Namecheap domain to Google Sites involves configuring DNS settings. Access your Namecheap dashboard and update the DNS records. Ensure accurate settings for seamless integration with Google Sites.
Configuring DNS settings in Namecheap is crucial for connecting your domain to Google Sites. This process ensures your domain functions smoothly. It involves accessing your Namecheap dashboard and updating DNS records. Follow these steps to achieve a seamless connection.Accessing Namecheap Dashboard
First, log into your Namecheap account. Use your username and password. Once logged in, find the “Dashboard” tab. This tab displays all your domains. Select the domain you want to connect to Google Sites. Click on the “Manage” button next to your domain. This will take you to the domain settings page.Updating Dns Records
On the domain settings page, locate the “Advanced DNS” tab. Here, you can manage your DNS records. To connect to Google Sites, you need to add specific records. Start by clicking “Add New Record.” Choose “CNAME Record” from the dropdown menu. Enter “www” in the “Host” field. In the “Value” field, type “ghs.googlehosted.com.” Next, you need to set up an “A Record.” Click “Add New Record” again. Select “A Record” from the dropdown list. Leave the “Host” field empty. Enter the IP address provided by Google Sites in the “Value” field. Make sure to save your changes. These steps configure your domain’s DNS settings. Your domain will now point to your Google Site. Ensure you double-check the entries for accuracy.Linking Domain In Google Sites
Connecting a Namecheap domain to Google Sites involves updating DNS settings. First, access Namecheap’s dashboard and locate the domain’s DNS settings. Then, configure the CNAME and A records to point to Google Sites, ensuring seamless integration.
Linking your Namecheap domain to Google Sites is crucial. It establishes your online presence seamlessly. This integration allows you to use your custom domain with Google Sites. It enhances the professionalism of your website and boosts its credibility. Follow these steps to successfully link your domain and enjoy a streamlined online experience.Accessing Google Sites Settings
First, log into your Google Sites account. Open the site you want to link with your domain. Look for the settings icon, usually a gear symbol. Click on it to access the site’s settings. This section is where you manage all important aspects of your site. It includes customization and domain settings.Entering Domain Information
Once in the settings, find the section for domain management. Enter your Namecheap domain information here. Make sure you type the domain name correctly. Double-check for any spelling errors to avoid issues. Save the changes to confirm the domain linkage. This process connects your domain efficiently. It ensures your Google Site reflects your chosen domain. Now, visitors can access your site using your custom domain.Troubleshooting Common Issues
Connecting a Namecheap domain to Google Sites can be tricky. Start by adjusting DNS settings in Namecheap’s dashboard. Ensure Google verification codes are added correctly to verify ownership.
Connecting your Namecheap domain to Google Sites can feel like an exciting step towards establishing your online presence. But what if things don’t go as planned? It can be frustrating when technical issues arise. Don’t worry; you’re not alone. Many people face common issues during this process. Let’s dive into two frequent problems and how you can tackle them effectively. ###Domain Not Verified
Your domain needs to be verified for Google to recognize it as yours. Without verification, your site might not go live. If you find your domain isn’t verified, check if you’ve added the correct TXT record provided by Google to your Namecheap DNS settings. Ensure that there are no typos in the record. A simple mistake can lead to verification failure. Double-check the record’s format and any extra spaces that might be there. If everything seems correct but verification is still pending, patience might be key. Sometimes it takes a bit longer for changes to register. Have you given it enough time? ###Dns Propagation Delays
DNS propagation is another common hurdle that can test your patience. Once you update your DNS settings, the changes don’t reflect immediately. This delay can last from a few minutes to 48 hours. Wondering why it takes so long? Different servers across the globe update at different times. It’s a waiting game but checking your site’s status using tools like “What’s My DNS” can give you real-time insights. If you’re still facing issues after 48 hours, it’s time to revisit your settings. Make sure all the records are correctly entered. Is there a missing CNAME or an incorrect A record? A thorough review can save you from prolonged delays. Troubleshooting these issues might seem daunting, but remember, each problem has a solution. Have you encountered any of these issues? Share your experiences or tips in the comments below!Tips For Ensuring Seamless Connection
Connecting a Namecheap domain to Google Sites can feel daunting. But with the right guidance, it becomes a breeze. Ensuring a seamless connection is crucial for your website’s functionality. It also guarantees a professional appearance. Below, discover essential tips that can simplify this process. These will help you connect your Namecheap domain to Google Sites smoothly.
Checking Domain Status
Before starting, check your domain’s status on Namecheap. Make sure it is active and properly registered. This prevents potential issues later on. Use Namecheap’s dashboard to verify domain settings. Look for any alerts or notifications. This ensures your domain is ready for connection.
Regular Updates And Maintenance
Maintain regular updates on your domain settings. This keeps your website running smoothly. Check for DNS changes and update them as needed. Regularly review Google Sites’ requirements. They may change over time. Staying updated prevents connectivity issues. It ensures your site remains accessible to visitors.

Credit: www.youtube.com
Frequently Asked Questions
How Do I Connect My Domain To Google Sites?
To connect your domain to Google Sites, go to “Settings” in your site, select “Custom URLs,” and enter your domain. Verify ownership in the Google Search Console. Update your domain’s DNS settings with the provided CNAME records. Save changes and wait for DNS propagation.
Can I Use A Namecheap Domain With Google Workspace?
Yes, you can use a Namecheap domain with Google Workspace. Connect them by updating DNS settings in Namecheap.
How Do I Connect My Namecheap Domain To My Website?
Log in to Namecheap account. Go to “Domain List” and click “Manage” next to your domain. Select “Advanced DNS” tab, add your host records under “Host Records”. Set the A record to your website’s IP address and save changes. Wait for DNS propagation.
How Do I Link My Website To Google Sites?
To link your website to Google Sites, navigate to the “Insert” tab. Select “Embed” and input your website URL. Click “Add” and then “Insert” to display it on your Google Site. Ensure your website is publicly accessible for proper embedding.
Conclusion
Connecting your Namecheap domain to Google Sites can be easy. Just follow these simple steps. First, log in to Namecheap and access your domain settings. Then, update the DNS records as needed. Next, configure your Google Sites account. This ensures the correct domain linkage.
Remember to double-check your settings. Small mistakes can cause issues. Once everything is set, your domain should connect seamlessly. Enjoy your new professional website. A little patience and attention go a long way. Happy building!
