Are you ready to give your WordPress website a fresh new look? Changing your WordPress theme can be an exciting way to revamp your online presence and keep your visitors engaged.
But if your website is hosted on Azure, you might be wondering how to smoothly transition to a new theme without any hiccups. Don’t worry, you’re not alone. Many WordPress users on Azure face similar challenges, but with the right guidance, you can easily navigate the process.
In this guide, you’ll discover simple steps to change your WordPress theme in Azure, ensuring your website looks stunning while maintaining its performance. So, let’s dive in and get your website looking exactly how you envision it!
Setting Up Azure For WordPress
First, visit the Azure website. Then, click on “Start free”. Fill in the details like name and email. Make sure to use a valid email. Next, choose a payment method. You might need a credit card. This is for verification. Once done, you will have your Azure account.
Open the Azure dashboard. Find the Marketplace option. Search for “WordPress”. Select the option and click “Create”. Fill in the necessary details. Choose a resource group. Also, pick a region close to you. Finally, click on “Review + create”. Wait for the process to finish. You now have a WordPress instance.
Credit: 10web.io
Accessing WordPress Dashboard
Start by opening your web browser. Enter your WordPress website URL. Add “/wp-admin” at the end. Press enter. The login page will appear. Type your username and password. Click the login button. You are now inside the dashboard.
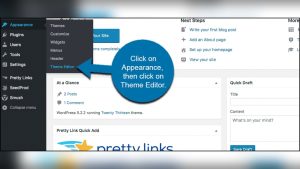
Look at the left side menu. Find the Appearance option. Click on it. A list will appear. Choose Themes from the list. Now, you can see all available themes. Pick the theme you like. Click Activate to change it. Your new theme is now live.
Selecting A New Theme
Choosing the right theme is important. It affects your website’s look. Start by browsing WordPress’s theme library. There are many free and paid options. Consider themes that match your site’s purpose. Look at the ratings and reviews. This helps find a reliable theme. Make sure the theme is updated often. This ensures it works well with new WordPress updates. A responsive theme is key. It should work on both computers and phones.
To install a theme, go to your WordPress dashboard. Click on “Appearance,” then “Themes.” Choose “Add New” to find your theme. After selecting a theme, click “Install.” This downloads the theme files. Once installed, click “Activate.” This changes your website’s look. Always check the theme settings after activation. Make sure everything looks right. If needed, customize the theme to fit your style. Always make a backup before big changes. This keeps your data safe.
Activating The Theme
Before making changes live, check the theme. Click on the preview button. This shows how the theme looks. Ensure everything fits well. Check the layout and colors. Are they right? If not, choose another theme. Always double-check the mobile view. Many people use phones to browse. A good preview helps spot issues.
Once happy with the preview, click activate. This makes the theme live. Your site changes right away. Visit the site to see new looks. Check all pages carefully. Ensure all works as planned. Fix any problems if you see them. Remember, a good theme makes sites better.
Customizing The Theme
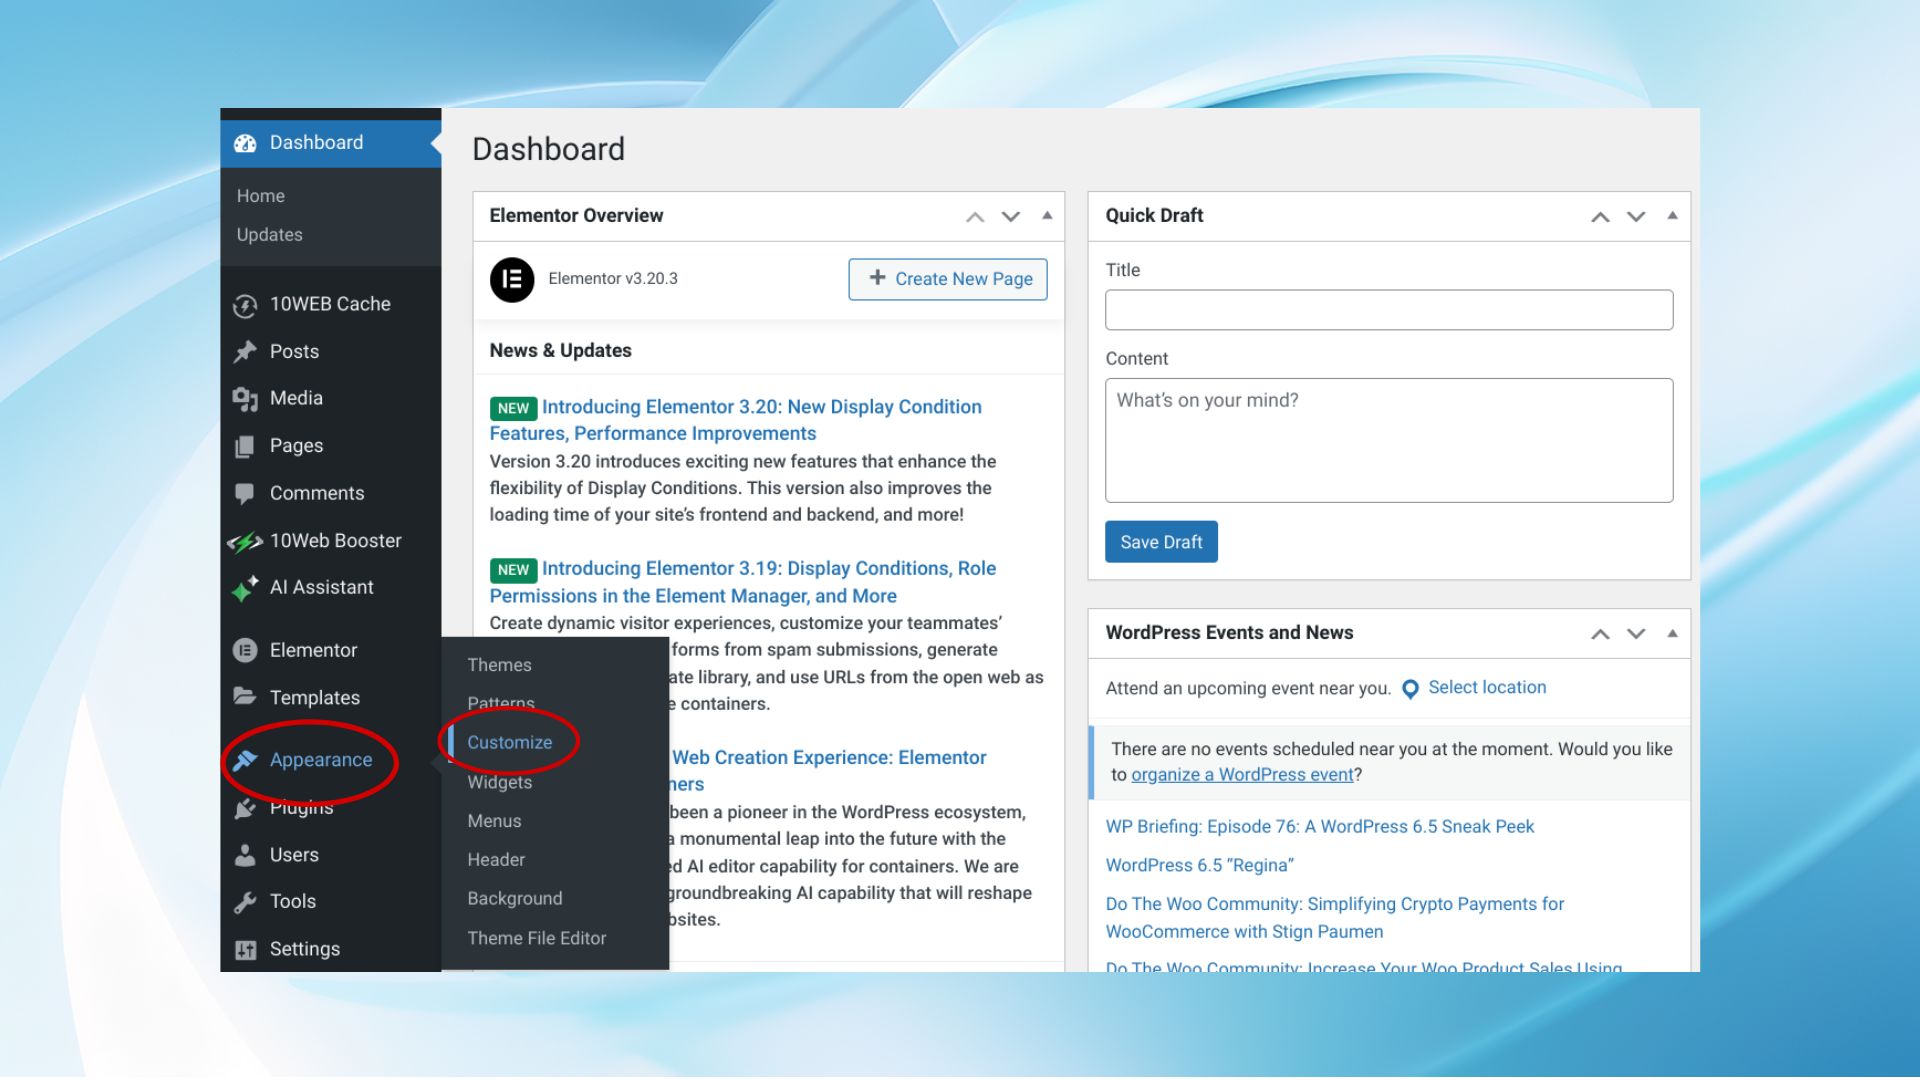
The WordPress Customizer helps change theme easily. Open the dashboard. Click on Appearance. Choose Customize. See options for your theme.
Change the site’s title. Choose colors and fonts. Use preview to see changes. You can adjust settings. Make the site look nice.
Theme settings make your site unique. Choose layouts and widgets. Add menus for easy navigation. Adjust headers and footers. Control the site’s look.
Save changes to keep them. Settings help create a fun site. Make visitors happy. Themes make sites look cool.

Credit: learn.microsoft.com
Testing The New Theme
Switching your WordPress theme on Azure can be simple. First, log into your Azure portal. Navigate to your WordPress site. Access the “Appearance” section and select “Themes. ” Choose your new theme, then click “Activate. ” Ensure the new theme displays correctly on your website.
Checking Site Functionality
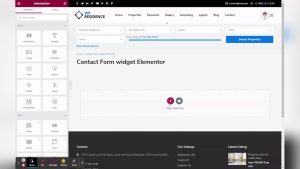
First, ensure all pages load correctly. Click on every link. Check for broken links or missing images. Test forms and buttons. Make sure they work. Look for any errors. Pay attention to plugins. Some may not work with the new theme. Fix any issues you find. Make a note of all problems for later.
Ensuring Responsive Design
Open your site on different devices. Test it on a phone, a tablet, and a computer. Check for mobile-friendliness. Make sure the text is easy to read. Images should adjust to screen sizes. Menus must be easy to navigate. If something looks off, adjust the theme settings. Many themes have options to fix this. Your site should look good everywhere.
Troubleshooting Common Issues
Changing a WordPress theme in Azure can face issues. Ensure backups and check theme compatibility. Follow precise steps to avoid disruptions.
Resolving Theme Conflicts
Theme conflicts can cause problems on your site. These conflicts often happen when two themes try to use the same resources. To fix theme conflicts, deactivate the new theme. Then, activate your previous theme. Check if the problem goes away. If it does, your new theme may be the issue. Consider updating or replacing it. Always backup your site before changing themes. This helps prevent data loss. Regularly update all themes and plugins. This keeps your site running smoothly.
Restoring Previous Theme
Restoring a previous theme is easy. First, log in to your WordPress dashboard. Go to the “Appearance” section. Click on “Themes.” Find your old theme in the list. Click “Activate” next to it. Your site will return to the old theme. Always save a backup before making changes. This prevents loss of content. Keeping a backup is a smart choice. It provides peace of mind. Avoid frequent theme changes. They can cause issues and confuse visitors.
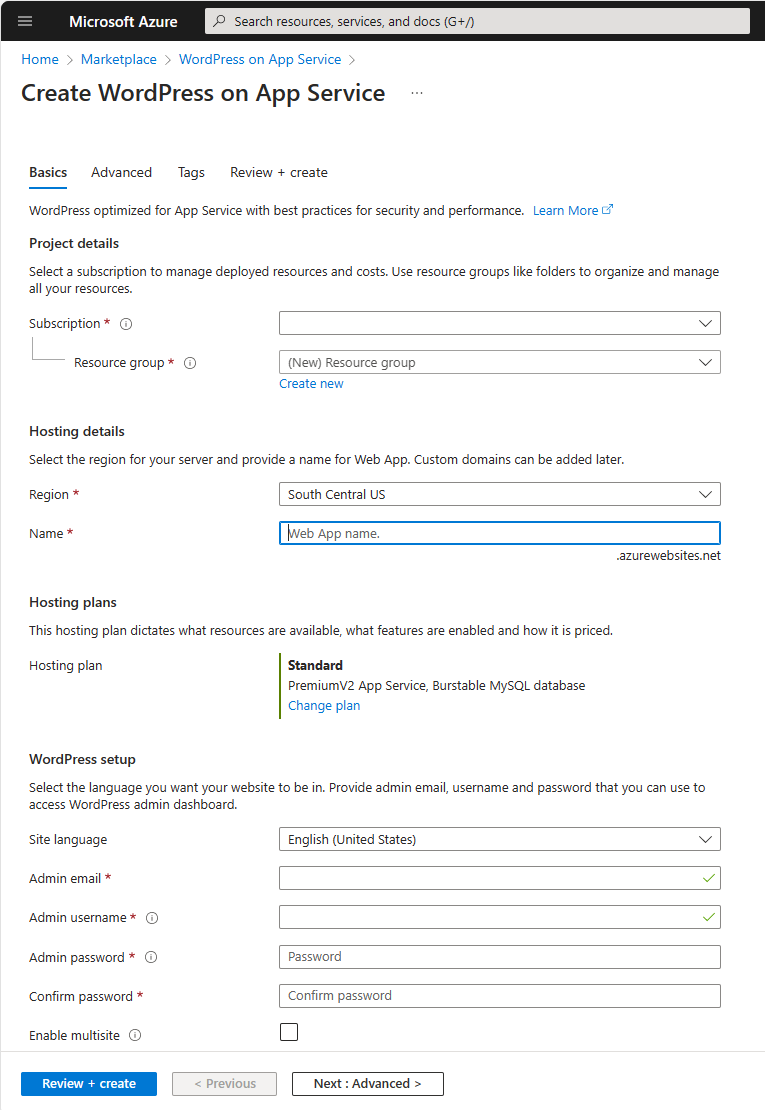
Credit: learn.microsoft.com
Frequently Asked Questions
How Do I Access Azure To Change Themes?
To change themes, log into your Azure portal. Navigate to your WordPress installation. Access the WordPress dashboard, then choose “Appearance” and “Themes”. From there, select a new theme or upload one. Ensure your new theme is compatible with your WordPress version for seamless integration.
Can I Change WordPress Themes Without Downtime?
Yes, you can change themes without downtime. Use a staging environment in Azure to test new themes. This lets you check compatibility and design before going live. Once satisfied, apply changes to your live site. This method prevents disruptions and maintains your site’s functionality.
Are There Specific Themes For Azure-hosted WordPress?
While Azure doesn’t limit themes, choose themes optimized for performance. Look for lightweight, responsive designs that offer compatibility with Azure’s infrastructure. Popular choices include Astra and GeneratePress. Always test themes in your staging environment to ensure seamless integration with your existing setup.
What Should I Check Before Changing Themes?
Before changing themes, backup your current theme and data. Verify the new theme’s compatibility with plugins and WordPress version. Check customization options to match your site’s design. Use Azure’s staging environment to test the theme, ensuring no loss of functionality or design elements.
Conclusion
Changing a WordPress theme in Azure is simple. Follow these steps carefully. First, access your Azure portal. Locate your WordPress installation. Navigate to the themes section. Choose your new theme. Ensure compatibility with your plugins. Test your site after changes.
Verify the layout and functionality. Your new theme should enhance user experience. Keep updates regular for security. Always have a backup before making changes. Experiment with different themes. Find the one that best suits your needs. Customization options are vast.
Azure offers reliable hosting. Enjoy your refreshed website look. Happy blogging!