Struggling with your WordPress theme header? You’re not alone.
Many WordPress users find it tricky to customize this part of their site. But don’t worry, you’re about to discover how simple it can be. Imagine the impact of a beautifully tailored header that captures your brand’s essence and grabs your visitors’ attention.
With just a few changes, you can transform your website’s look and feel, making it more inviting and professional. Ready to learn how to change your WordPress theme header and make your site stand out? Let’s dive in and get started!
Accessing The WordPress Dashboard
First, log in to your WordPress site. Use your username and password. Look for the WordPress Dashboard. It’s your site’s control center. Find it on the left side. The Dashboard is where you manage your site. From here, you can change settings and themes. It’s easy to navigate. The Dashboard has many options. Explore them to learn more.
Locate the Appearance option. It’s on the left menu. Click on it to open the menu. Select the Themes option. This is where you change the look of your site. Find the theme you want to edit. Click Customize to enter the editor. Here, you can change the header. The header is the top part of your site. Make changes as you like.
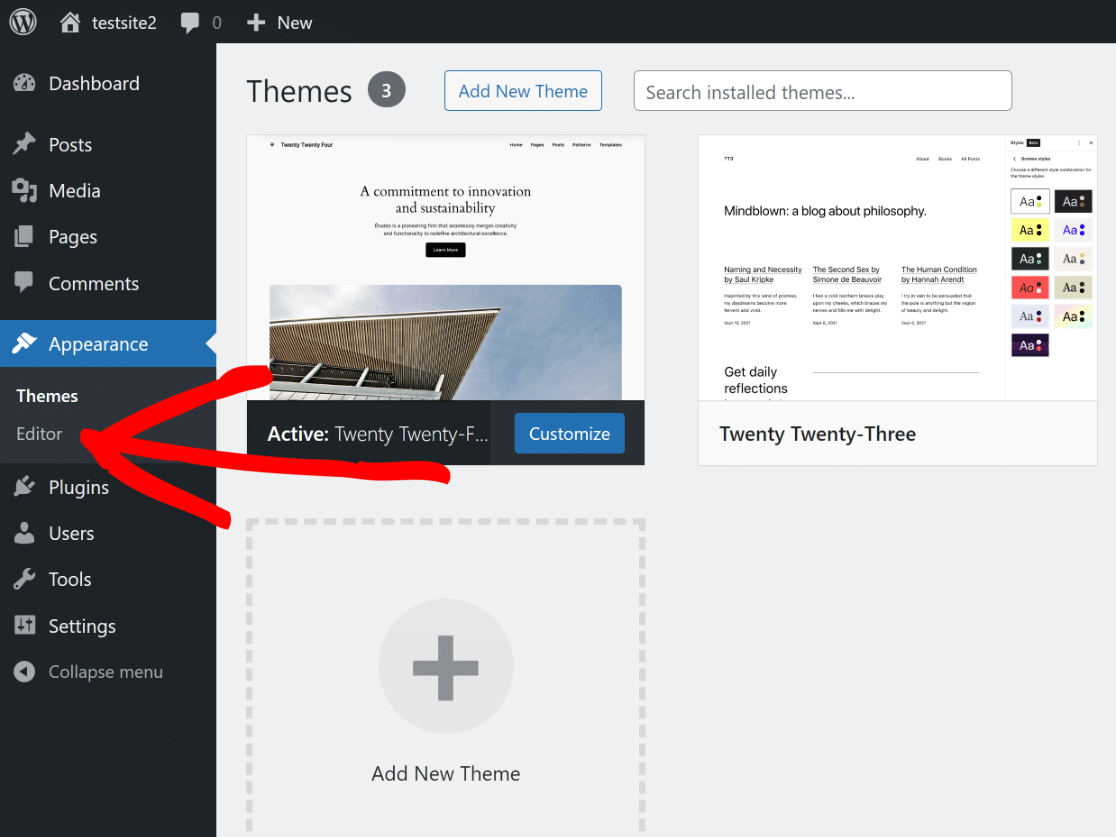
Credit: wpforms.com
Locating The Theme Editor
To change your theme header, first find the Theme Editor in WordPress. Open the admin dashboard. On the left, look for Appearance. Click it. Then, select Theme Editor. The screen shows theme files on the right. Locate the header.php file. This file controls the header. Click to open it. Now, you can edit the header. Be careful when making changes. Wrong edits can break your site. Always save your changes.
For safety, use a child theme. This keeps your edits safe. If themes update, your changes stay. Also, backup your site before editing. This helps if something goes wrong. Understanding these steps makes header changes easy.
Understanding Theme Files
The stylesheet, named style.css, is crucial for your theme’s design. It controls colors, fonts, and layout styles. This file makes your site look unique. Every theme has its own style.css file. You can find it in the theme folder. Editing this file changes the site’s appearance. But be careful. Changes might affect the whole site.
The header.php file is important for the top part of your site. It includes the site title, logo, and navigation menu. This file is found in the theme folder too. Editing it changes the header layout. You can add or remove items from the header. Always backup before making changes. Mistakes can break your site.
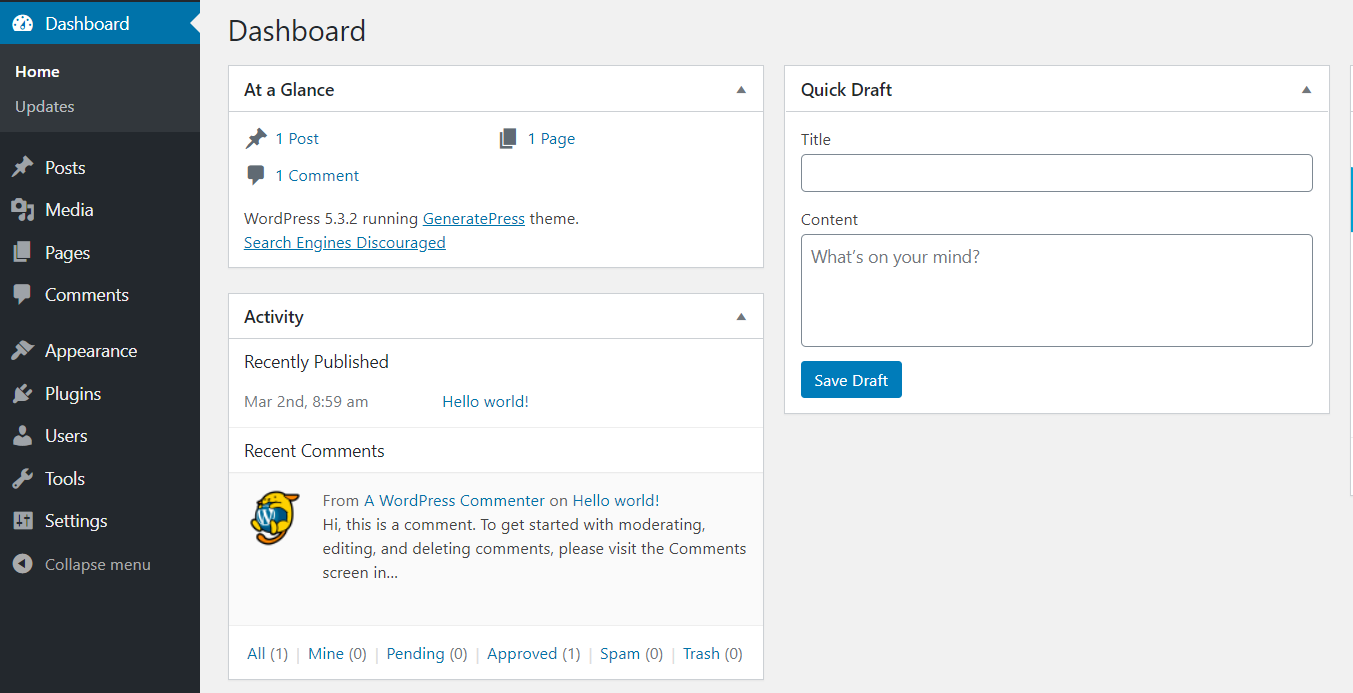
Credit: quadlayers.com
Editing The Header File
Editing the header file in WordPress allows you to customize your theme’s appearance. Access the WordPress dashboard, navigate to Appearance, and select Theme Editor. Make changes directly in the header. php file to update your theme’s header.
Adding Custom Code
Open your WordPress dashboard. Go to Appearance and then Theme Editor. Look for the header.php file. This file controls the top of your website. Add your custom code here. Remember to save changes. Your new code will now appear in the header. Be careful with changes. Wrong code might break your site. Always make a backup before editing.
Adjusting Header Layout
Go to your theme’s settings. Find the Header section. You can change the layout here. Move elements around to fit your needs. Many themes have a drag-and-drop feature. Use it to rearrange items. Save changes to see results. Some themes offer extra options. Explore these for more customization. Always preview your site after making changes.
Using Theme Customizer
The Theme Customizer helps you change your website header. First, go to your WordPress dashboard. Click on “Appearance” then “Customize“. This opens the customizer tool. Look for “Header Options” or “Header“. Click it. You see many choices. Colors, fonts, and layouts. Choose what you like.
You can preview changes before saving. Use the Live Preview button. It shows how your site looks. If you like the new look, press “Publish“. This saves changes. Now your header is updated.
Installing A Header Plugin
First, find the right plugin for your theme header. Look in the WordPress plugin directory. Many plugins are free. Some offer extra features for a fee. Read user reviews and check ratings. This helps in choosing a reliable plugin.
Choosing The Right Plugin
Consider your site’s needs. Some plugins offer simple changes. Others give advanced options. Check if the plugin works with your theme. Compatibility is important. A popular choice is the Elementor header plugin. It’s easy to use. Another option is WP Header plugin. It offers many features.
Configuring Plugin Settings
After installation, go to the plugin settings. Customize the header as you like. Change colors, fonts, and layout. Save changes to see the new header. Preview your site. Check if the header looks good. Adjust settings if needed. You can always try different settings.
Creating A Child Theme
Changing the theme header in WordPress involves creating a child theme. This ensures your customizations remain intact after updates. First, set up a new folder for the child theme. Then, copy and modify the header file as needed.
Setting Up A Child Theme
A child theme lets you change a theme safely. First, create a new folder in your WordPress themes directory. Name it after your theme, adding “-child” to the end. Next, create a style.css file in this folder. Inside, write the theme details like this:
/
 Theme Name: My Theme Child
 Template: mytheme
 /
Make sure the Template line matches your parent theme’s folder name. Now, create a functions.php file in the same folder. Add the following code to connect your child theme with the parent theme:
php
function my_theme_enqueue_styles() {
    wp_enqueue_style('parent-style', get_template_directory_uri() . '/style.css');
}
add_action('wp_enqueue_scripts', 'my_theme_enqueue_styles');
?
Modifying The Header Safely
Copy the header.php file from your parent theme. Place it into your child theme folder. Open the copied file in a text editor. Here, you can change the header layout or style. Remember, changes in the child theme do not affect the original theme. This keeps your updates safe during theme updates. Always save your work after editing.
Custom Css For Header
Want to change your WordPress theme header? Use custom CSS to make your header look unique. Customize colors, fonts, and layout easily without coding knowledge.
Adding Custom Css
Adding Custom CSS helps to change your header look. Open your WordPress dashboard. Go to Appearance and then Customize. Find the Additional CSS section. Click on it. You will see a blank space. Here, you can type your CSS code. Type carefully to avoid mistakes.
Testing Css Changes
After adding your CSS, check your header. Visit your website. Look at the header. Did it change? If not, go back to the CSS section. Double-check your code. Fix any errors you find. Refresh your site to see the changes.
Troubleshooting Common Issues
Changing the theme header in WordPress can be tricky. Start by accessing the WordPress dashboard. Navigate to Appearance, then select Customize. Find the Header section to make your changes. Save the changes to see the update live on your site.
Reverting Changes
If a new theme header looks bad, revert back. Go to the WordPress dashboard and click “Appearance.” Select “Themes” and pick your old theme. Then click “Activate.” This will restore the previous header. It’s quick and easy!
Fixing Display Problems
Sometimes, a theme header won’t display right. First, clear your browser cache. This helps see recent changes. Next, check the theme’s settings. Make sure the header image is the correct size. If problems persist, look at the theme’s support page. There may be known issues with fixes listed. Keeping your theme updated is also important. Updates often fix display bugs.
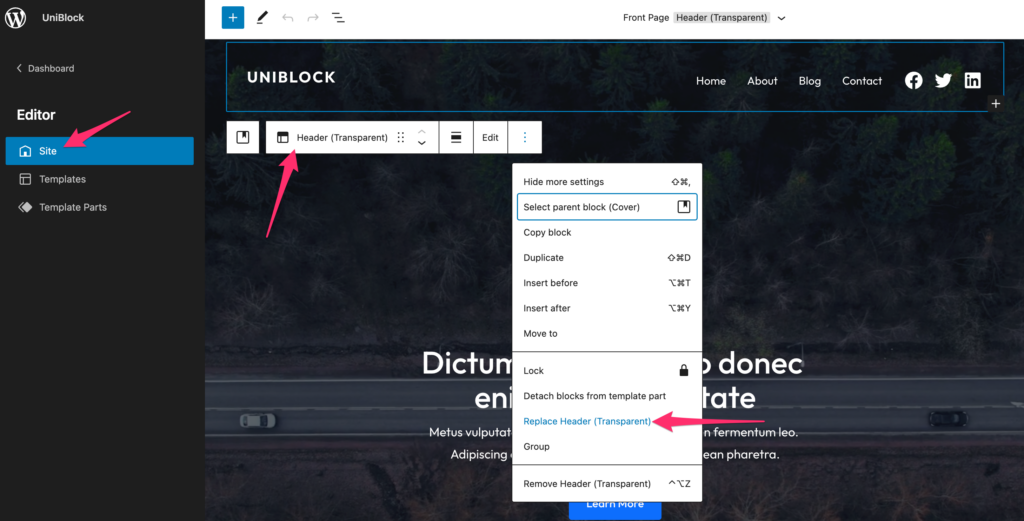
Credit: www.wpzoom.com
Best Practices For Custom Headers
Maintaining theme updates is important when changing headers. Updates keep your site safe. They fix bugs and improve features. Always check for updates. This keeps your theme fresh. Updated themes prevent security risks. They also enhance performance.
Backing up before changes is wise. Backups save your data. They protect against mistakes. You can restore your site if needed. Use backup plugins for ease. Plugins automate the process. You won’t lose any work. It’s a safety net for your site.
Frequently Asked Questions
How Do I Customize The Header In WordPress?
To customize your WordPress header, navigate to Appearance > Customize. Select Header to access various customization options like logo, menu, and colors. Save changes to apply them instantly. You may also use header-specific plugins for advanced features.
Can I Change The Header Without Coding?
Yes, you can change the header without coding. Use the WordPress Customizer by going to Appearance > Customize. Many themes offer built-in options for header customization. Alternatively, header plugins offer user-friendly interfaces for customizing without code.
What Plugins Help With Header Customization?
Several plugins can assist with header customization in WordPress. Popular ones include Elementor, WP Header Builder, and Beaver Builder. These plugins offer drag-and-drop interfaces, allowing you to customize headers easily. They provide extensive options for layout, design, and functionality enhancements.
Why Is My Header Not Updating?
Your header might not update due to caching issues. Clear your browser cache or use a cache plugin to refresh it. Ensure you save changes in the Customizer. Sometimes, theme conflicts or outdated plugins may cause issues; update them regularly.
Conclusion
Changing your WordPress theme header is simple. Follow these easy steps. Start by selecting a theme. Customize using the WordPress dashboard. Choose colors and fonts that fit your style. Add images for a personal touch. Save your changes to see the new header.
Experiment with different designs. Keep it clear and user-friendly. Remember to test your site on different devices. A fresh header can improve user experience. Make your site stand out. Enjoy your new look and keep learning. Happy customizing!