Are you looking to give your WordPress site a personal touch by changing the “Designed by” theme credit? You’re not alone.
Many WordPress users want their websites to reflect their unique brand, and that includes customizing every little detail, right down to the footer credits. While it might seem like a minor tweak, altering this text can significantly enhance your site’s professional appearance and branding.
In this guide, we’ll walk you through the simple steps to change the “Designed by” theme credit in WordPress. Whether you’re a beginner or a seasoned WordPress user, you’ll find these steps easy to follow and implement. Stay with us, and by the end of this article, you’ll have the skills and knowledge to make this change effortlessly, giving your website that personalized finish it deserves.
Credit: wpengine.com
Choosing A New Theme
Evaluating theme options can be fun and exciting. Look for themes that match your style. Some themes are free. Others might cost money. Make sure the theme fits your needs. A good theme should be easy to use. It must also look nice. Check the theme’s ratings and reviews. They help you know if it’s a good choice. Always choose a trusted source for themes. This keeps your site safe.
Considering user experience is very important. The theme should be easy for visitors to use. Menus and links should be clear. Visitors like sites that are simple and neat. Colors and fonts should be easy to read. A good design makes people stay longer. Happy visitors come back again.
Ensuring responsiveness is a must. Your site should work on phones and tablets. Many people use these devices today. A responsive theme changes size to fit any screen. This means all visitors have a good experience. Test your theme on different devices. Make sure it looks good everywhere.
Credit: jetpack.com
Backing Up Your Website
Backup plugins help to save your site data. They are easy to use. Click a button to start a backup. Popular plugins include UpdraftPlus and BackupBuddy. These plugins make sure you don’t lose data. They store it safely. You can restore it anytime.
Manual methods require some steps. First, log into your hosting account. Next, find your file manager. Download important files to your computer. Don’t forget the database. This step is crucial. You need it to restore your site later.
Restoring your site is simple. Use the backup file you saved. Upload it back to your hosting account. Use the plugin or do it manually. Check everything works. This ensures your site is safe and ready.
Installing A New Theme
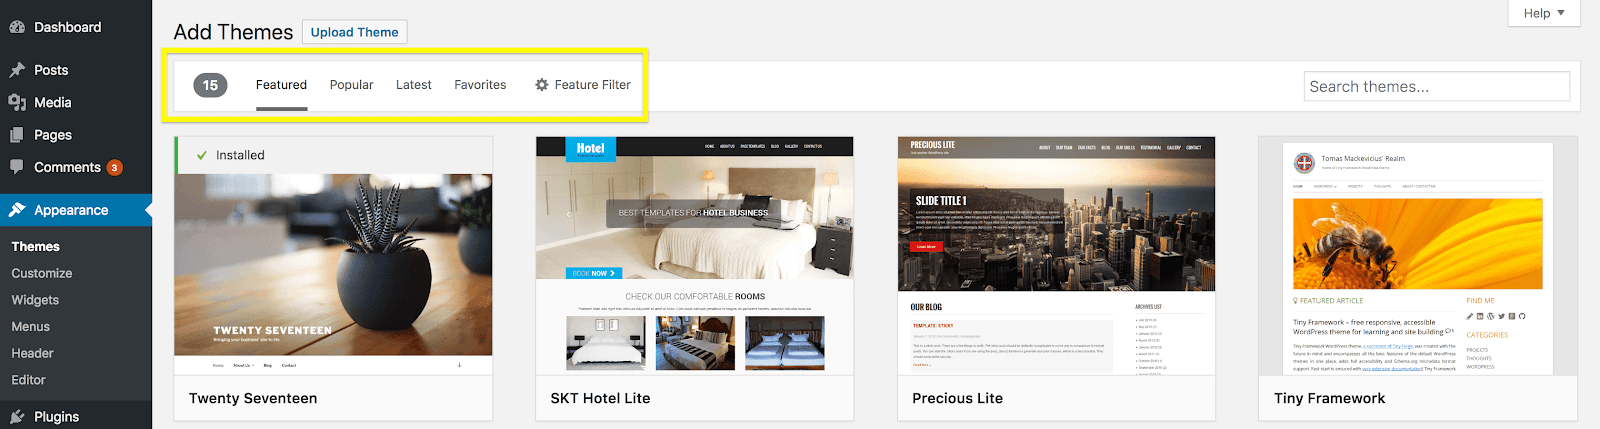
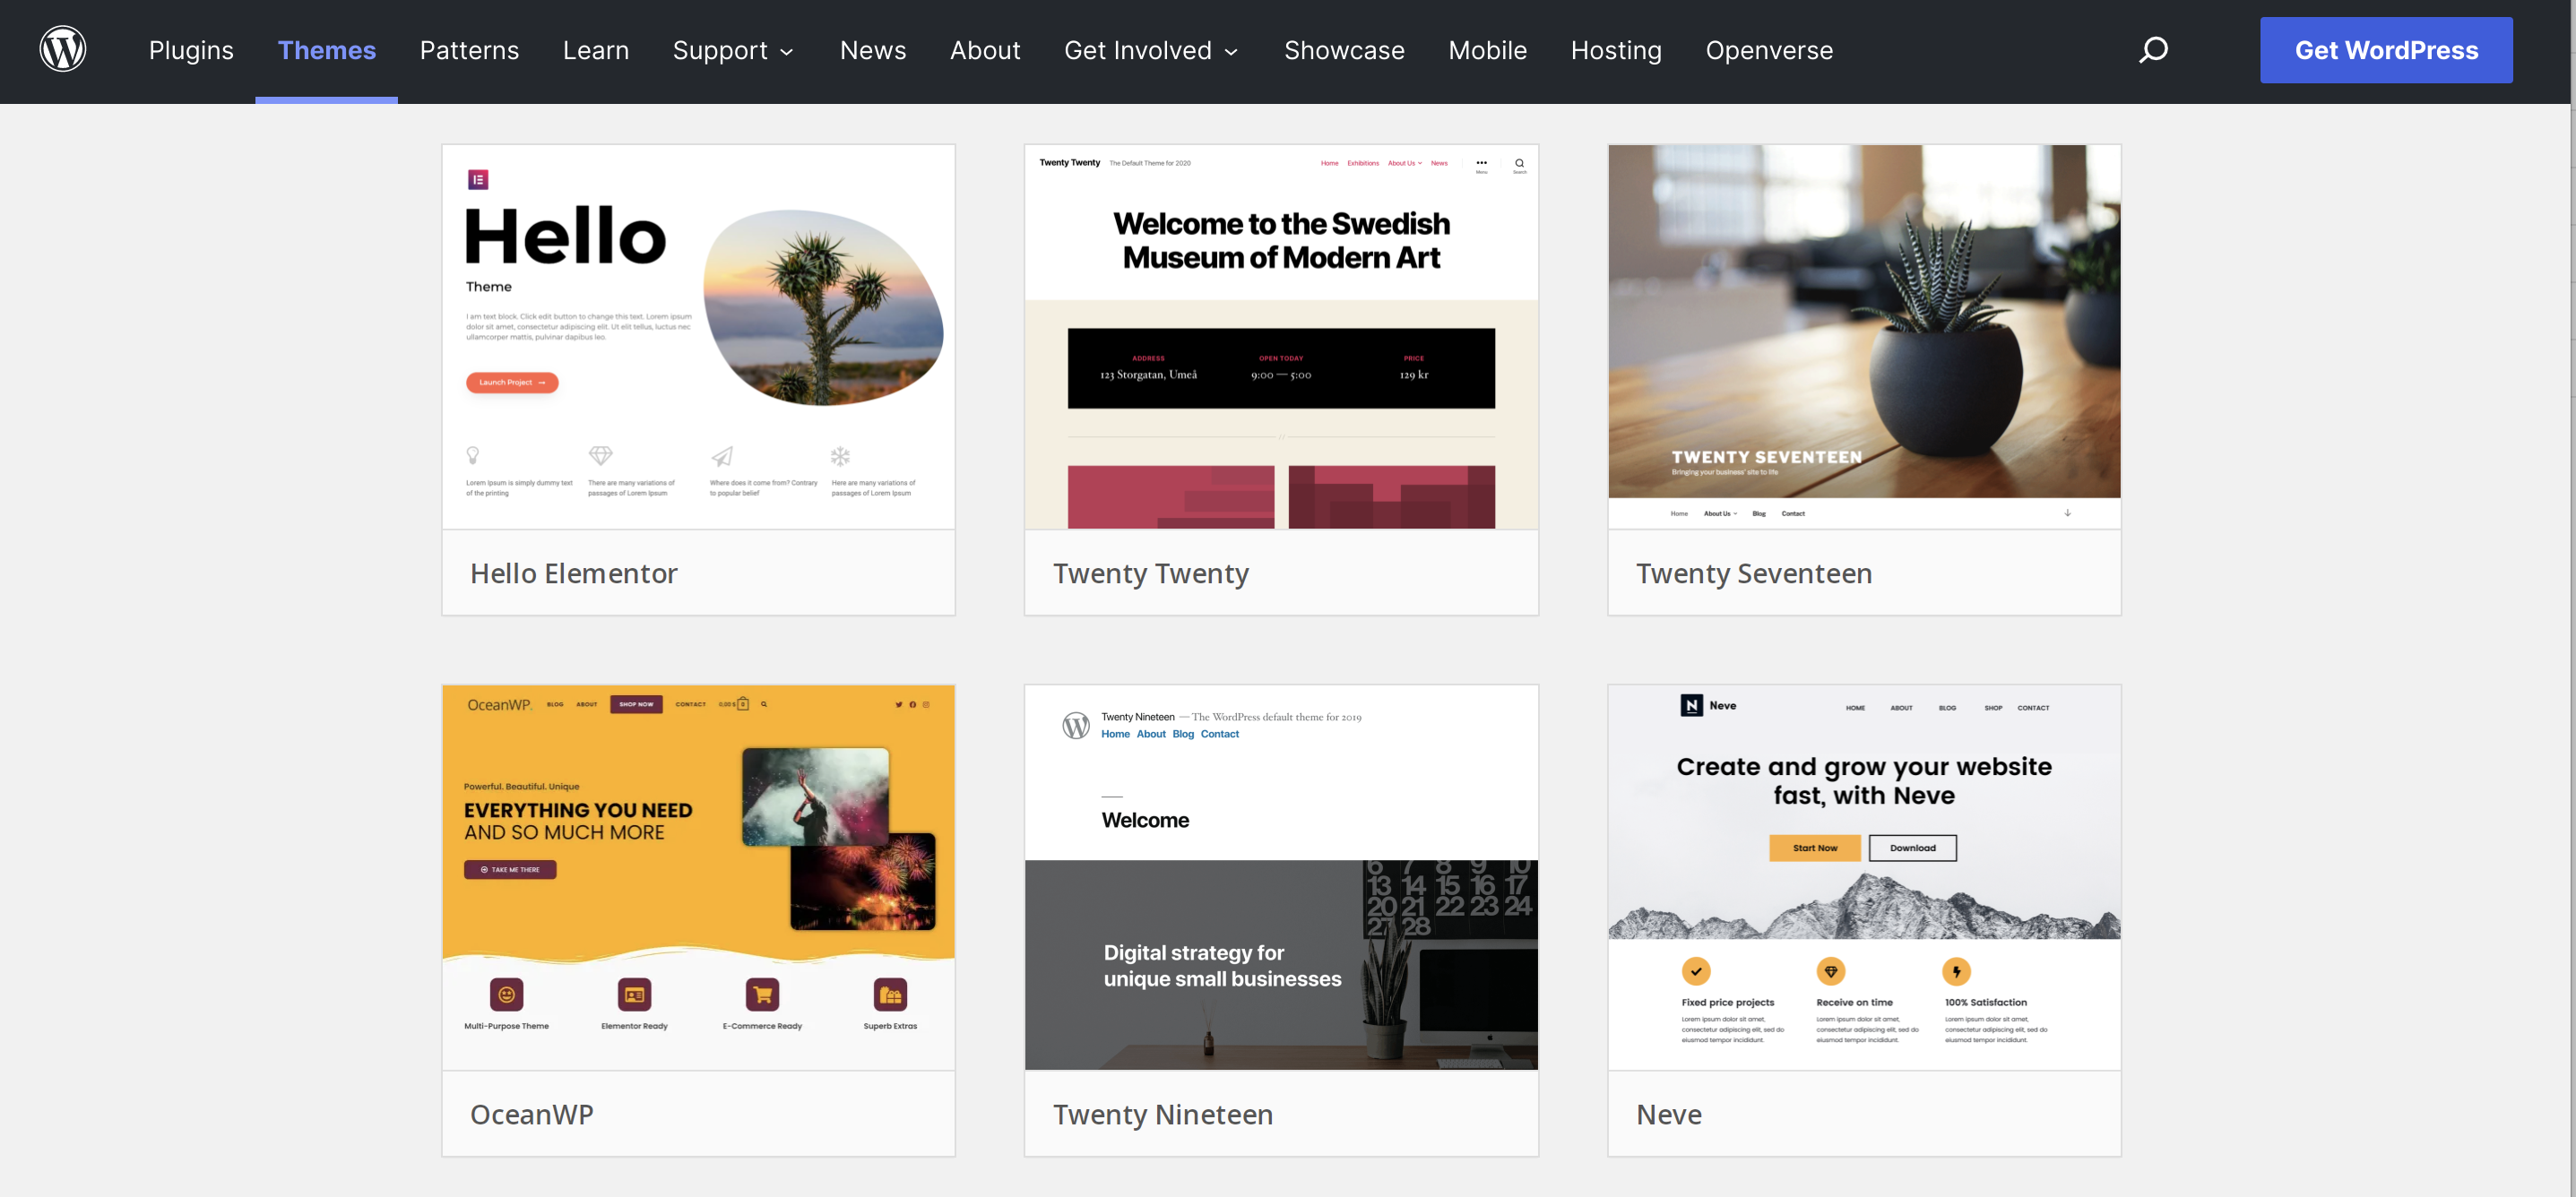
Open the WordPress dashboard. Click on Appearance. Choose Themes. Here is the theme directory. You can find many themes here. Free and paid. Choose one that you like.
Have a theme file? Click Add New in the theme directory. Select Upload Theme. Choose your theme file. It should be a zip file. Click Install Now. Wait for the upload to finish.
After installing, find the theme in your directory. Click Activate. Your new theme is now live. Check your site to see changes. Make sure it looks good. Adjust settings if needed.
Customizing The Theme
Open the WordPress Customizer from your dashboard. It is easy to find. You can see different settings there. Click on the Footer section. Look for the “Designed by” text. Change it to your own words. Save your changes. Now, your theme shows your custom text. It is that simple!
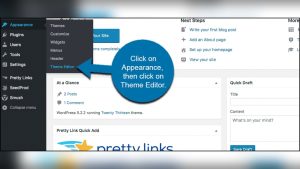
Go to the Appearance menu. Click on Theme Editor. You will see a list of files. Find the footer.php file. Open it. Look for the “Designed by” line. Change it to your text. Save the file. Check your site. The footer now has your words. Always be careful when editing files.
Open the Additional CSS section in the Customizer. Add your own CSS rules here. You can hide the “Designed by” text. Use code like display: none. Save your changes. The text will not show on your site. This is a simple trick. It keeps your site clean.
Testing The New Design
Ensure the site looks good on phones. Resize the browser to check. Check buttons and menus. They should be easy to tap. Text must be readable. No need to zoom. Images should fit nicely. Make sure everything is visible. Mobile users should find the site easy to use.
Test the site on different browsers. Use Chrome, Firefox, and Safari. Check layout and design. They must look the same. Colors should match across browsers. Functions need to work smoothly. Avoid errors and bugs. Consistency matters for all users.
Test all features. Make sure links work. Forms should submit correctly. Plugins need to function well. Look for errors in scripts. Interactive elements should respond. Check loading speed. Fast sites keep visitors happy. Fix any issues quickly.
Managing Plugins And Widgets
Plugins help make your site better. Some plugins may not work together. Check each plugin for issues. Look at reviews and ratings online. Always update plugins to their latest version. This helps keep your site safe. Disable plugins that cause problems. Test the site after changes.
Widgets add features to your site. Find the widgets you need. Remove extra widgets to keep things simple. Drag and drop to rearrange them. Check if widgets look good on mobile devices. Make sure widgets work well with your theme. Click save after changes to keep them.
Fast sites make users happy. Slow sites can lose visitors. Remove unused plugins and widgets. They can slow down your site. Use a caching plugin to speed up loading times. Compress images for quicker load times. Check your site speed with online tools. Keep your site running fast and smooth.
Maintaining Seo Settings
Preserving SEO metadata is crucial. This ensures search engines know your page details. Always back up your metadata before changing themes. Use plugins to manage this easily. They help keep your SEO intact.
Checking URL structure is important. URLs should remain consistent. Changes can confuse search engines. Ensure the new theme doesn’t alter them. This keeps your site rankings stable.
Ensuring site speed helps with SEO. A fast site attracts visitors. Optimize images and use caching tools. This keeps your site running smoothly. Fast sites rank better in search results.
Monitoring Site Performance
Switching the “Designed by Theme” in WordPress enhances site performance. Navigate to the theme editor in your dashboard. Look for theme footer settings, make changes, and save your new design. Regularly monitor performance to ensure optimal results.
Using Analytics Tools
Analytics tools help track how users interact with your site. They show where visitors click and how long they stay. This information highlights which pages are popular and which need improvement. Tools like Google Analytics are easy to use. They offer insights into user behavior and traffic sources. Regular monitoring of these metrics ensures your site runs smoothly.
Tracking User Engagement
Tracking user engagement tells you if your site is interesting. Look at bounce rates and page views. High bounce rates may mean users leave quickly. Page views show which content attracts readers. Engaged users spend more time on your site. Use this data to create better content and improve user experience.
Addressing Performance Issues
Performance issues can slow your site. Slow sites frustrate users. Check site speed often. Use tools like GTmetrix or Pingdom to find problems. Optimize images and reduce large files. Fast sites keep users happy. Regular checks ensure your site performs well.

Credit: wordpress.com
Frequently Asked Questions
How Do I Change ‘designed By’ In WordPress?
To change the ‘Designed by’ text in WordPress, access the theme editor via Appearance > Theme Editor. Locate the footer. php file and edit the relevant code. Ensure you create a child theme to avoid losing changes during updates. Always backup your site before making modifications.
Can I Remove ‘designed By’ Without Coding?
Yes, use a plugin like “Remove Footer Credit” to change or remove ‘Designed by’ text without coding. Install the plugin, navigate to its settings, and customize the footer credits. This method is simple and doesn’t require technical skills, making it accessible for all users.
Is It Legal To Change Theme Credits?
Changing theme credits is generally legal, but check the theme’s license agreement first. Some themes have restrictions regarding modifications. Always respect the developer’s guidelines and ensure you comply with legal requirements. If unsure, consult with a legal expert to avoid potential issues.
Will Changing ‘designed By’ Affect Seo?
Changing ‘Designed by’ text has minimal impact on SEO. Footer credits don’t significantly influence search rankings. Focus on optimizing other aspects like content and site speed for better SEO results. However, ensure any changes maintain site integrity and user experience.
Conclusion
Changing the “Designed by Theme” in WordPress is simple. It personalizes your site. Follow the steps for a clean look. Make sure to backup your website first. This prevents any loss of data. Use the theme editor carefully. Mistakes can affect your site’s display.
Explore different themes for variety. Each theme has unique styles. Regular updates keep your site secure. Stay informed about new features. These enhance your site’s functionality. Remember, the right theme reflects your brand. It’s your chance to showcase creativity. Enjoy customizing your WordPress site.
Make it uniquely yours.