

Are you struggling to make your WordPress website’s text stand out? Maybe your font size feels too small or too large, making your content hard to read or less appealing.
Changing the font size can dramatically improve your site’s look and keep visitors engaged longer. Luckily, adjusting font size in WordPress is easier than you think—even if you’re not a tech expert. You’ll discover simple, step-by-step methods to change font size for your entire site, specific pages, or even menus.
Stick with me, and you’ll have your WordPress text perfectly sized in no time!
Credit: www.inmotionhosting.com
Changing Font Size With Site Editor
Changing font size with the Site Editor in WordPress is simple and effective. This feature allows you to adjust text size across your entire site without coding. It works well with block themes and offers a visual way to customize typography.
Follow these steps to quickly change font sizes. The process involves accessing the Site Editor, navigating to typography settings, adjusting sizes, and saving your changes.
Accessing The Site Editor
Start by logging into your WordPress dashboard. From the left menu, click on Appearance. Then select Editor. This opens the Site Editor where you can edit your site’s design and styles.
Navigating To Typography Settings
Inside the Site Editor, find the Styles icon on the left sidebar. Click it to open style options. Look for Typography and select it. This section controls font styles, sizes, and spacing for your site.
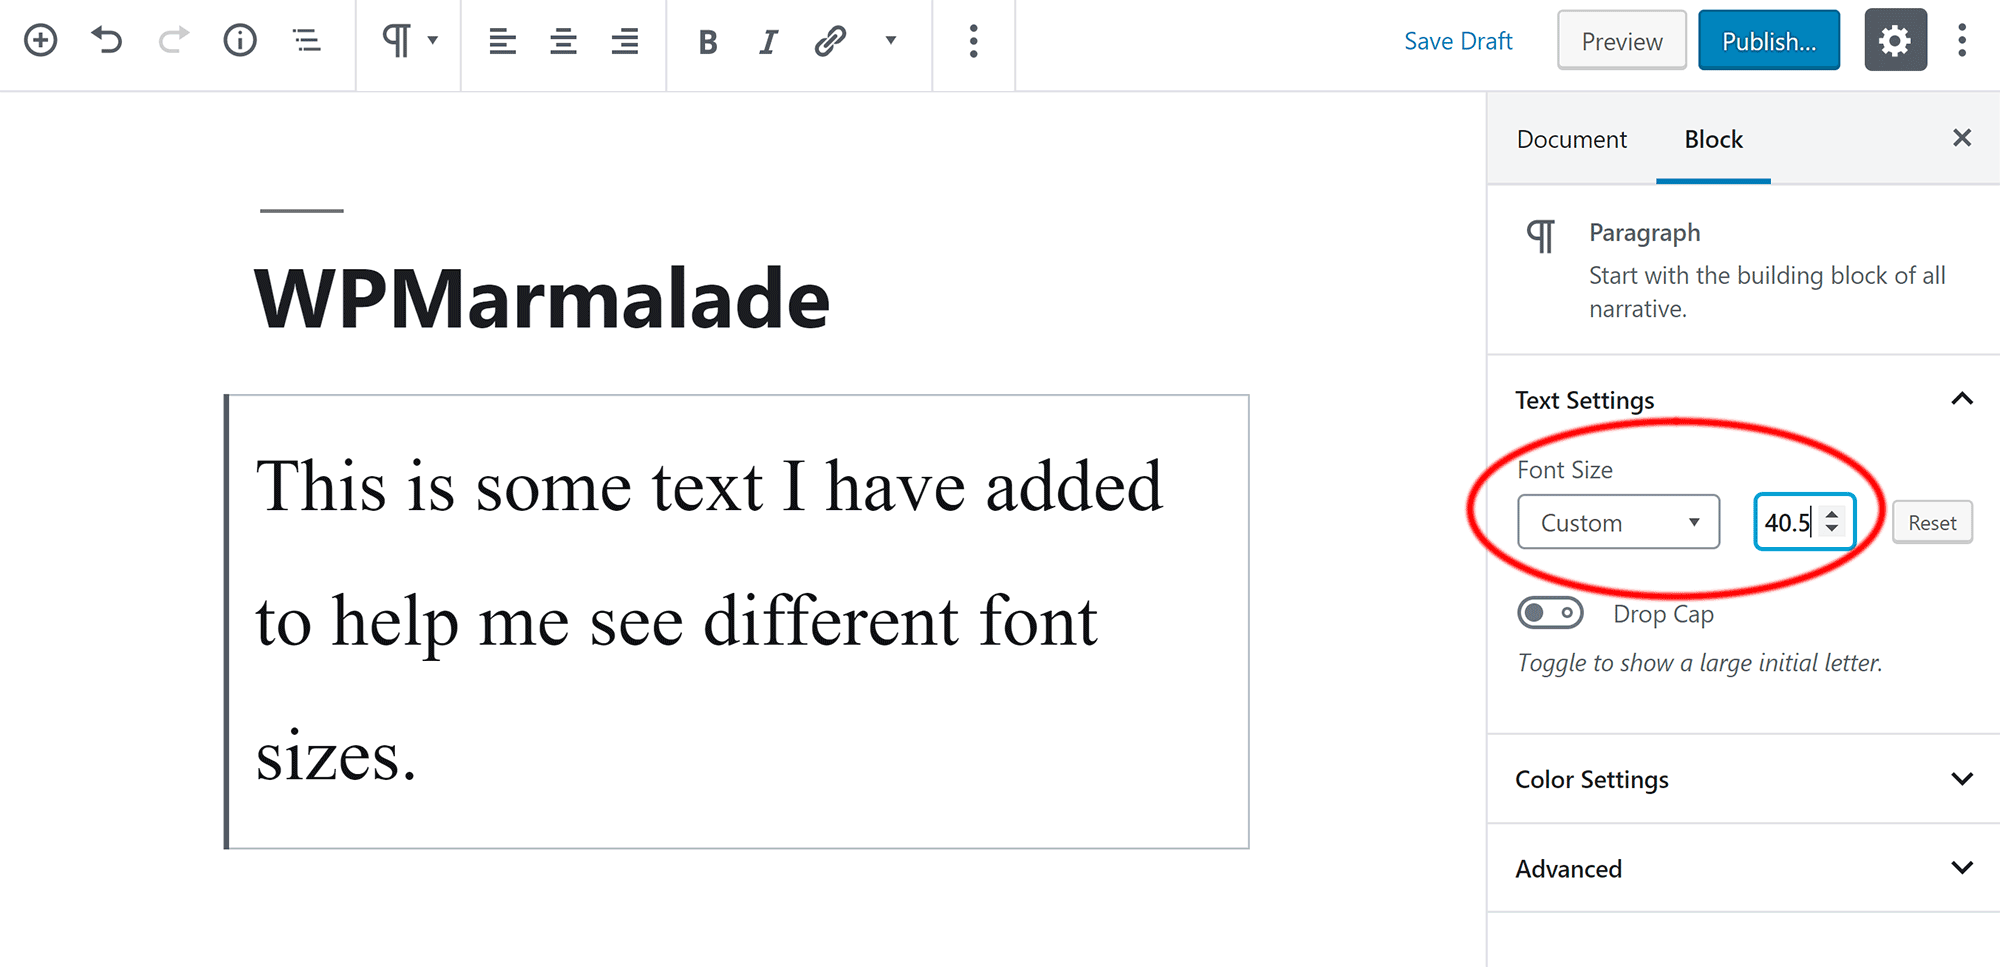
Adjusting Text And Heading Sizes
In Typography settings, choose the element to edit. Pick Text for paragraphs or Headings for titles. Use the size dropdown or slider to change font size. Changes update instantly in the preview.
Saving And Publishing Changes
After adjusting font sizes, click the Save button at the top right. Then select Publish to make changes live. Your site will now display the new font sizes to all visitors.
Credit: wpmarmalade.com
Adjusting Font Size In Customizer
Adjusting font size in the WordPress Customizer helps improve your site’s readability. It allows you to change text size without coding. The Customizer offers a live preview, so you see changes instantly. This makes it easier to create a balanced, user-friendly design.
Opening The Customizer
Start by logging into your WordPress dashboard. Navigate to Appearance > Customize. This action opens the Customizer panel on the left side. Your website preview appears on the right side. This setup shows your changes as you make them.
Finding Typography Or Fonts Section
Look for a section named Typography, Fonts, or Theme Settings. The exact name depends on your theme. Click on this section to access font options. Here, you find settings to adjust font size, style, and family.
Modifying Fonts For Specific Elements
Inside the Typography section, you can choose specific elements. These might include headings, paragraphs, or menus. Select the element you want to change. Use the font size slider or input box to set your desired size. The preview updates immediately to reflect your choice.
Applying And Saving Changes
After adjusting the font sizes, review your changes in the live preview. Make sure text looks clear and balanced across your site. Click the Publish button at the top to save your settings. Your new font sizes will now be visible to all visitors.
Using Plugins For Font Size Control
Plugins offer a simple way to control font sizes in WordPress. They provide easy tools for users without coding skills. Plugins can adjust fonts site-wide or on specific pages. They often come with extra typography options. Using plugins saves time and adds flexibility to your design.
Installing Font Plugins
Start by logging into your WordPress dashboard. Go to Plugins > Add New. Use the search bar to find font-related plugins. Popular options include “Easy Google Fonts” or “WP Google Fonts.” Click “Install Now” on your chosen plugin. After installation, click “Activate” to enable the plugin.
Configuring Plugin Typography Options
Once activated, find the plugin settings in your dashboard. Usually, it appears under Appearance or Settings menu. Open the typography options to explore font controls. You can select font families, styles, and sizes. The interface shows real-time previews for easy adjustments.
Customizing Font Size With Plugins
Select the text elements you want to change. Options include headings, paragraphs, and menus. Use sliders or input fields to set font size values. Some plugins allow responsive font size settings for different devices. Adjust sizes until you find the perfect look for your site.
Saving Plugin Settings
After customizing, always save your changes. Most plugins have a “Save” or “Publish” button. Click it to apply font size changes to your website. Refresh your site to see the new font sizes live. Regularly check plugin updates to keep features working smoothly.
Changing Font Size In Menus
Changing font size in your WordPress menus helps improve readability and overall site design. Adjusting the menu text size can make navigation easier for visitors. It also enhances the visual appeal of your website.
Locating Menu Font Settings
Start by logging into your WordPress dashboard. Go to Appearance > Customize. Here, look for sections named Typography, Fonts, or Menu. Some themes offer direct menu font controls. In other cases, you might find font options under general typography settings. If your theme lacks these options, consider using a plugin that controls menu fonts.
Adjusting Menu Text Size
Within the font settings, find the option to change menu font size. This might be a slider or a number input box. Increase or decrease the size to suit your design needs. Use small increments to avoid drastic changes. Save your changes to apply the new font size.
Previewing Menu Font Changes
After adjusting the font size, preview your site to see how the menu looks. Check on different devices like desktop and mobile for consistency. Make sure the menu text remains clear and easy to read. Return to the settings to fine-tune the size if needed. Always save and publish after finalizing your changes.
Tips For Stunning Text Appearance
Creating stunning text appearance improves your website’s readability and appeal. Adjusting font size is key to achieving this. Proper text styling helps visitors focus and enjoy your content.
Small changes to font size can make a big difference. The right size keeps your text clear and easy to read on all devices. This section shares simple tips for beautiful text styling in WordPress.
Choosing Readable Font Sizes
Select font sizes that readers can easily see without strain. Avoid fonts that are too small or too large. For body text, sizes between 16px and 18px work well on most screens. Headings should be bigger but not overwhelming. Clear, readable sizes improve user experience and keep visitors longer on your site.
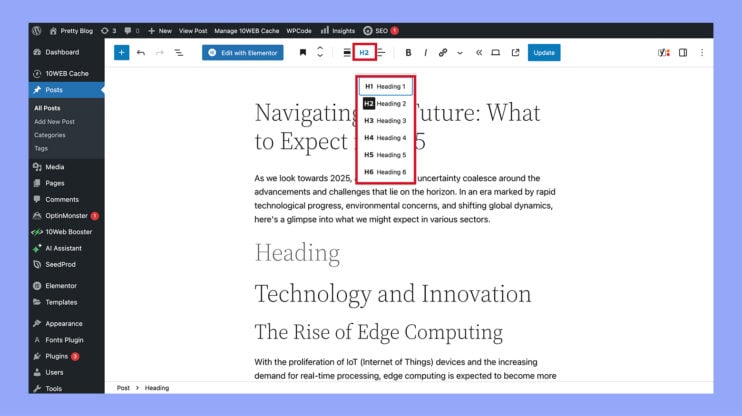
Balancing Headings And Body Text
Headings guide readers through your content. Make sure headings stand out by using larger font sizes than body text. A good rule is to keep heading sizes at least 1.5 times bigger than the body font. Balanced text creates a smooth flow and helps readers understand your page structure.
Combining Font Size With Weight And Spacing
Font weight and spacing affect how text looks with different sizes. Use bold weight for headings to add emphasis. Adjust line height and letter spacing for better readability, especially in paragraphs. Proper spacing prevents crowded text and makes reading comfortable. Together, these settings create a polished and attractive text appearance.
Credit: 10web.io
Frequently Asked Questions
How Do I Change The Font Size In WordPress Menu?
Go to WordPress dashboard, then Appearance > Editor (block themes) or Appearance > Customize (classic themes). Select Typography to adjust menu font size. Save changes. Alternatively, use a font plugin like Easy Google Fonts to customize menu fonts easily.
How Do I Change The Font On My WordPress Website?
Change fonts in WordPress via Appearance > Editor > Styles > Typography for block themes. For classic themes, use Appearance > Customize > Fonts. Alternatively, install a font plugin, then select and apply your preferred fonts. Save changes to update your website’s font style instantly.
How To Change Font Size Settings?
Go to WordPress dashboard, then Appearance > Editor or Customize. Select Typography or Fonts. Choose your font size and save changes.
How To Make Text Wider In WordPress?
To make text wider in WordPress, adjust the typography settings in Appearance > Editor or Customize. Increase letter spacing or font size. Alternatively, use a font plugin like Easy Google Fonts for more control. Save changes to apply the wider text on your site.
Conclusion
Changing font size in WordPress is simple and quick. You can use the Site Editor, Customizer, or a plugin. Each method lets you pick the size that fits your style. Adjust fonts to make your content easy to read. Small changes improve your website’s look and feel.
Try different sizes until you find the best fit. Keep your site clear and user-friendly for all visitors. Now, you have the tools to update your font size easily. Start making your WordPress site more readable today.


