Are you ready to start accepting payments directly on your WordPress site but don’t know where to begin? Adding a payment gateway might sound complicated, but it doesn’t have to be.
Imagine turning your website into a powerful sales tool that works for you 24/7, making it easy for your customers to buy what you offer. In this guide, you’ll discover simple, step-by-step ways to add a payment gateway to your WordPress site—no technical jargon, just clear instructions you can follow right now.
Keep reading, and by the end, you’ll have the confidence to set up secure payments that boost your sales and grow your business.

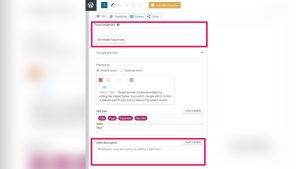
Credit: formidableforms.com
Choosing The Right Payment Gateway
Choosing the right payment gateway is key to running a smooth online store. It affects how your customers pay and how you get paid. A good gateway offers security, ease, and low costs. Picking the right one helps build trust and boosts sales.
Popular Payment Gateways For WordPress
Many payment gateways work well with WordPress. PayPal is a top choice for many sellers. It is easy to set up and trusted worldwide. Stripe is popular for its flexibility and supports many payment types. Square offers simple tools and integrates well with online shops. Authorize.Net is good for businesses needing advanced features. Each gateway fits different needs and business sizes.
Factors To Consider
Security is a must. Choose gateways with strong protection against fraud. Check if the gateway supports your country and currency. Look for ease of use for both you and your customers. Consider the speed of payments and customer support. Compatibility with your WordPress theme and plugins matters. Mobile payment options can help reach more buyers.
Comparing Fees And Features
Payment gateways charge different fees. Some take a percentage of sales, others add fixed fees. Look at setup costs and monthly fees too. Features vary, like recurring billing or multi-currency support. Some gateways offer fraud detection tools. Others provide detailed reports and analytics. Balance cost and features for your business needs.
Preparing Your WordPress Site
Preparing your WordPress site is the first step before adding a payment gateway. This stage ensures the site is ready and secure. It helps avoid errors and smoothens the setup process. Follow these steps carefully to prepare your site well.
Ensuring Compatibility
Check if your WordPress version supports the payment gateway plugin. Some plugins need the latest WordPress update. Also, verify your theme works well with the payment gateway. Compatibility avoids conflicts that may break your site.
Backing Up Your Site
Always back up your website before changes. This saves your data if anything goes wrong. Use backup plugins or your hosting service’s backup feature. A full backup includes files and the database. It’s your safety net.
Installing Required Plugins
Most payment gateways need specific plugins to work. Find the official plugin for your chosen gateway. Install and activate it from the WordPress dashboard. Some plugins may require additional setup or add-ons. Follow the plugin instructions for best results.
Installing The Payment Gateway Plugin
Installing a payment gateway plugin is the key step to accept payments on your WordPress site. This process connects your website to payment services safely and easily. Proper installation ensures smooth transactions and better user experience.
The process involves finding the right plugin, installing it, and then activating it for use. Each part is important to get your payment system running.
Finding The Plugin
Start by going to your WordPress dashboard. Click on “Plugins” and then “Add New.” Use the search bar to type the name of the payment gateway you want. You can also search by keywords like “payment gateway” or “online payments.”
Look for plugins with good ratings and many active installations. Check the plugin details to make sure it supports your payment methods.
Step-by-step Installation
After choosing the plugin, click the “Install Now” button. Wait a few seconds for WordPress to download and install it. Do not close the page during this process.
Once installed, WordPress will show the “Activate” button. Installation is complete, but the plugin is not active yet. You need to activate it to use it.
Activating The Plugin
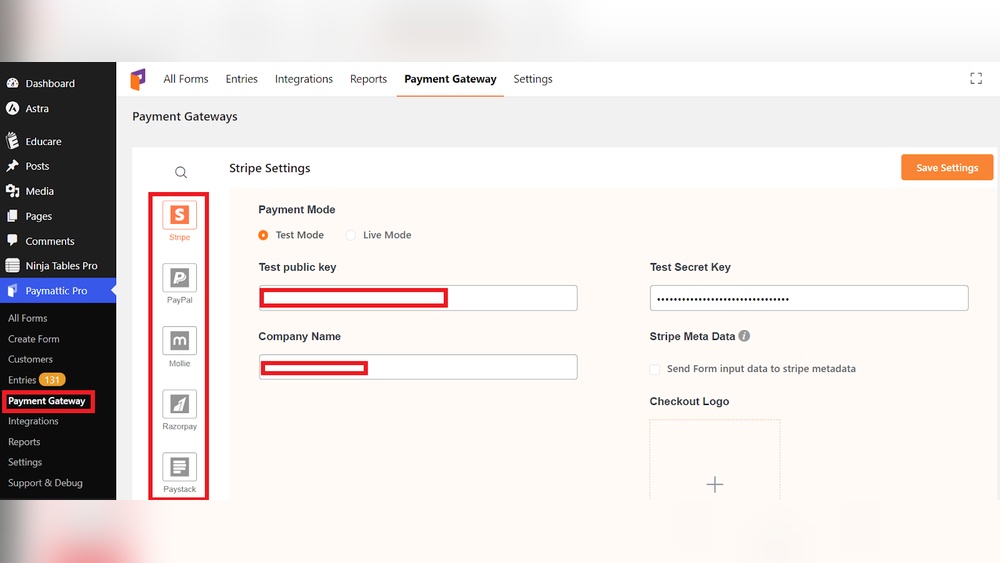
Click the “Activate” button after installation. The plugin will now appear in your dashboard menu. Some plugins require extra setup, like entering API keys or connecting to your payment account.
Follow the plugin’s setup guide carefully. Make sure all settings match your payment provider’s instructions. After activation, test the payment gateway to ensure it works correctly.
Credit: wpdeveloper.com
Configuring Payment Gateway Settings
Configuring payment gateway settings is a key step to accept online payments securely. It involves linking your merchant account, choosing the right currency, and setting payment options. You also need to enable security features to protect customer data and build trust.
Connecting Your Merchant Account
Start by entering your merchant account details into the payment gateway plugin. This step allows your website to process payments directly. Ensure your account information matches exactly to avoid errors. Double-check API keys or credentials provided by your payment provider. Correct connection ensures smooth transactions and quick payment processing.
Setting Currency And Payment Options
Select the currency that matches your target market. Choose payment methods like credit cards, debit cards, or digital wallets. Offering multiple options improves customer experience and boosts sales. Set minimum and maximum payment limits if required. Clear payment settings avoid confusion and reduce failed transactions.
Enabling Security Features
Activate SSL certificates to encrypt data during transactions. Turn on fraud detection tools if your gateway supports them. Enable 3D Secure or two-factor authentication for extra protection. Regularly update your payment plugin to fix security issues. These steps protect your site and customer information from threats.
Integrating Payment Gateway With Woocommerce
Integrating a payment gateway with WooCommerce is vital for online stores. It lets customers pay safely and smoothly. Setting up the right gateway ensures your business runs well.
This process involves a few clear steps. First, install WooCommerce on your WordPress site. Then, link your chosen payment gateway. Finally, test the setup to avoid issues.
Installing Woocommerce
Start by going to your WordPress dashboard. Click on “Plugins” and then “Add New.” Search for “WooCommerce.” Click “Install Now” and then “Activate.”
WooCommerce adds all the tools needed to run a store. It creates product pages, shopping carts, and checkout options.
Linking The Gateway To Woocommerce
Next, go to WooCommerce settings. Click the “Payments” tab. Here, you see available payment methods.
Choose your payment gateway plugin. Install and activate it if not done yet. Enter your gateway credentials like API keys or merchant ID.
Save changes to connect WooCommerce with your payment gateway. This link allows payments to process through your store.
Testing The Integration
Testing is essential to ensure everything works well. Use sandbox or test mode in your payment gateway.
Make a small test purchase on your site. Confirm the payment goes through without errors.
Check email notifications and order status in WooCommerce. Fix any problems before going live.
Troubleshooting Common Issues
Adding a payment gateway to your WordPress site can sometimes cause problems. Troubleshooting common issues helps keep your payment system running smoothly. This section covers simple fixes for typical problems.
Payment Failures
Payment failures often happen due to incorrect API keys or settings. Double-check the gateway credentials in your plugin settings. Also, verify the currency and payment methods allowed by your gateway. Test transactions with a small amount to confirm success. Clear cache to prevent old data from causing errors.
Plugin Conflicts
Conflicts between plugins can stop your payment gateway from working. Disable other plugins one by one to find the cause. Update all plugins and WordPress to their latest versions. Use a staging site to test changes safely. Look for plugins that modify checkout or payment processes.
Ssl Certificate Problems
An SSL certificate secures your payment data. Without it, payments may be blocked or show warnings. Ensure your site uses HTTPS and your SSL certificate is valid. Renew expired certificates quickly to avoid disruptions. Some gateways require SSL to function properly.
Optimizing For Better User Experience
Optimizing the payment gateway in WordPress improves how users interact with your site. A smooth payment process builds trust and encourages repeat customers. Clear steps and easy options reduce confusion and cart abandonment. Focus on making the checkout simple and quick for all users.
Streamlining Checkout Process
Keep the checkout page clean and free of distractions. Use clear labels and simple forms. Avoid asking for too much information. Show progress steps so users know how many steps remain. Fast loading times keep users from leaving.
Mobile-friendly Payment Options
Many users shop on phones or tablets. Make sure your payment gateway works well on small screens. Buttons should be big and easy to tap. Forms must fit the screen without zooming. Mobile-friendly design improves completion rates.
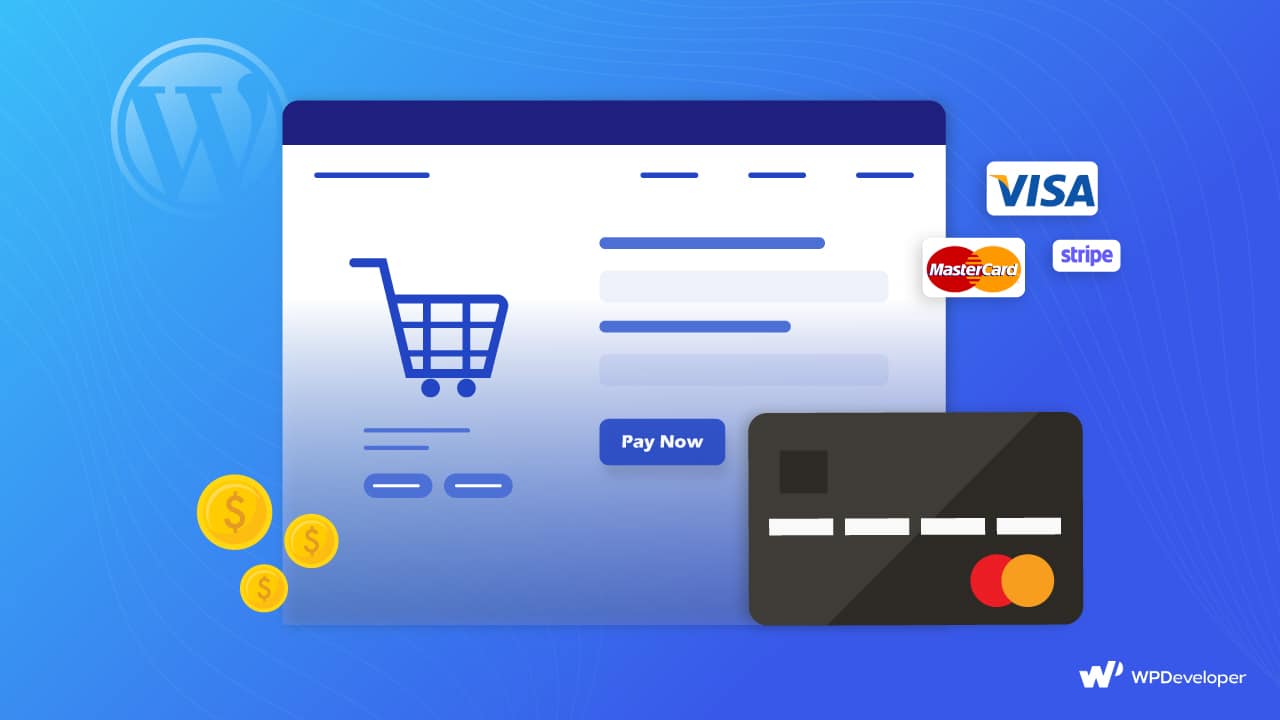
Providing Multiple Payment Methods
Offer different payment choices like credit cards, PayPal, and digital wallets. More options meet diverse customer needs. Show all available methods clearly. This helps users pick their favorite way and pay faster.

Credit: wpdeveloper.com
Frequently Asked Questions
What Is The Easiest Way To Add A Payment Gateway In WordPress?
The easiest way is using a dedicated plugin like WooCommerce or Easy Digital Downloads. These plugins simplify integration and support multiple gateways. You can set up payment options without coding knowledge, ensuring secure and smooth transactions on your WordPress site.
Which Payment Gateways Are Best For WordPress Websites?
Popular options include PayPal, Stripe, Square, and Authorize. Net. They are widely supported by WordPress plugins and offer secure, reliable transactions. Choose based on your business needs, transaction fees, and customer preferences to optimize payment processing.
How Do I Secure My WordPress Payment Gateway?
Use SSL certificates to encrypt data during transactions. Keep your WordPress, themes, and plugins updated. Use trusted payment gateways and strong passwords. Regularly monitor transactions and backups for enhanced security and fraud prevention.
Can I Add Multiple Payment Gateways In WordPress?
Yes, you can add multiple gateways using plugins like WooCommerce. This allows customers to choose their preferred payment method. Managing several gateways improves flexibility and customer satisfaction without complicating your checkout process.
Conclusion
Adding a payment gateway to your WordPress site is simple and useful. It helps you accept payments safely and grow your business. Choose the right plugin that fits your needs and follow the setup steps carefully. Test the system before going live to avoid problems.
Keep your site and payment tools updated for security. This small step can make a big difference for your online store. Start today and make payments easy for your customers.