Are you feeling overwhelmed trying to customize your WordPress site with the Highend theme? You’re not alone.
Navigating through WordPress themes can often feel like deciphering a complex puzzle, especially when it comes to adding a menu. But worry not! You’re about to discover a simple, step-by-step guide that will transform this daunting task into a breeze.
Imagine having a clean, professional menu that not only enhances your site’s navigation but also elevates your user experience. This article is designed with you in mind, breaking down each step into easy, manageable parts. By the end, you’ll have the confidence and skills to craft a stunning menu that aligns perfectly with your site’s aesthetics. Stay with us, and let’s unlock the full potential of your Highend WordPress theme together.
Credit: ultimateelementor.com
Accessing The WordPress Dashboard
First, log in to your WordPress account. Use your username and password. Find the dashboard on the left side. It’s like a control panel. You can manage your website here.
Look for the Appearance section. It’s below the dashboard. Click on Menus under Appearance. Now, you are ready to add a menu.
Menus help visitors find pages. They keep your site organized. Make sure you choose the right options. This will make your website easy to use.
Navigating To Appearance Settings
First, find the WordPress dashboard. It is your main control center. Next, locate the Appearance tab. This tab helps you change the look of your site. Click on it to see more options.
Look for the Menus option. This is where you can make your menu. Click it, and you will see a new page. This page lets you add, remove, or edit items. Be sure to give your menu a name. Names help you remember what each menu is for.
Creating A New Menu
Start by opening your WordPress dashboard. Look for the Appearance tab. Click it. Then select Menus. You will find an option to create a new menu. Click on it. A box will appear. Enter a name for your menu. Click the Create Menu button.
Choose what to add to the menu. You can add pages, posts, or custom links. Check the boxes next to your choices. Then click Add to Menu.
Arrange the order of items. Drag and drop them. Save the menu by clicking the Save Menu button. Your new menu is ready!
Adding Pages To The Menu
First, open your WordPress dashboard. Find the “Appearance” option on the left. Click on it. A drop-down menu will appear. Select “Menus” from the list. Now, you are in the Menu settings. Look for the “Pages” box on the left. You will see a list of your pages.
To add a page, check the box next to it. Then, click on the “Add to Menu” button. Your page will now be on the right side. This is your menu structure. Drag and drop to arrange the pages. Remember to click on “Save Menu”. This will keep your changes.
Custom Links And Categories
Custom links are important for your website. They help users find information. Categories group related pages together. This makes your site easy to explore. Adding them to a menu is simple.
First, go to the WordPress dashboard. Find the Appearance section. Click on Menus. You will see options to add links and categories.
To add a custom link, enter the URL. Then, type a name for the link. Click Add to Menu. For categories, check the box next to each category. Click Add to Menu.
Arrange items by dragging them. Place them in the order you like. This helps visitors see important parts first. Save changes when done. Your menu is now updated.
Credit: documentation.hb-themes.com
Organizing Menu Structure
Menus help users find pages on your site. Start by clicking on Appearance in the WordPress dashboard. Then choose Menus. Click Create a new menu button. Give your menu a name. Now, add pages to the menu. Select pages from the list. Click Add to Menu. Arrange pages by dragging them into place. Create sub-menus by dragging items slightly to the right. Check the box for Primary Menu to make it main menu. Save changes by clicking Save Menu.
Preview your site to see the new menu. Adjust if needed. Return to the menu page anytime. Menus can be edited easily. Just drag and drop items. Add new pages or remove old ones.
Assigning Menu Locations
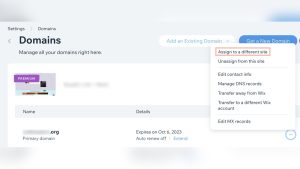
Assigning menu locations is easy in the Highend theme. First, go to the WordPress dashboard. Click on Appearance, then Menus. Select the menu you want to assign. Look for Menu Settings. You’ll find options for menu location. Choose the location where you want the menu to appear. Common locations include Primary, Footer, and Social. After selecting, click on Save Menu.
You can also create new menus. Click on Create New Menu. Give your menu a name. Then add items to the menu. Use pages, posts, or custom links. Add items by checking boxes. Click Add to Menu after selecting items. Rearrange menu items by dragging them. Save your changes again.
Styling The Menu
Highend WordPress theme offers great menu styles. First, visit the Appearance section. Click on Menus to start. Choose your menu from the list. A panel opens with style options.
Select the Font style you like. Choose colors for background and text. Pick the hover effect for your menu items. Add icons next to menu names. This makes your menu look cool.
Adjust padding and margin for spacing. Preview changes before saving. Save your new menu style when happy. This gives your site a fresh look.
Saving And Previewing Changes
After adding a menu, click Save. The Save button is usually at the top. This saves your new menu settings. Always save after making changes. It keeps your work safe.
Preview your changes to check how it looks. Use the Preview button for this. It helps see the menu on your site. Check for errors or missing items. Preview often to catch mistakes early.
The Preview option is your friend. It shows changes without making them live. This is great for testing. You can change things before saving. Avoid surprises by previewing first.
Troubleshooting Common Issues
Menus sometimes don’t show up. It can be confusing. First, check if the theme is updated. Updates fix many problems. If the menu isn’t visible, check the display location. It should be set correctly. Sometimes menus overlap with other items. This can make them hard to click. Try changing the menu style. Different styles may work better.
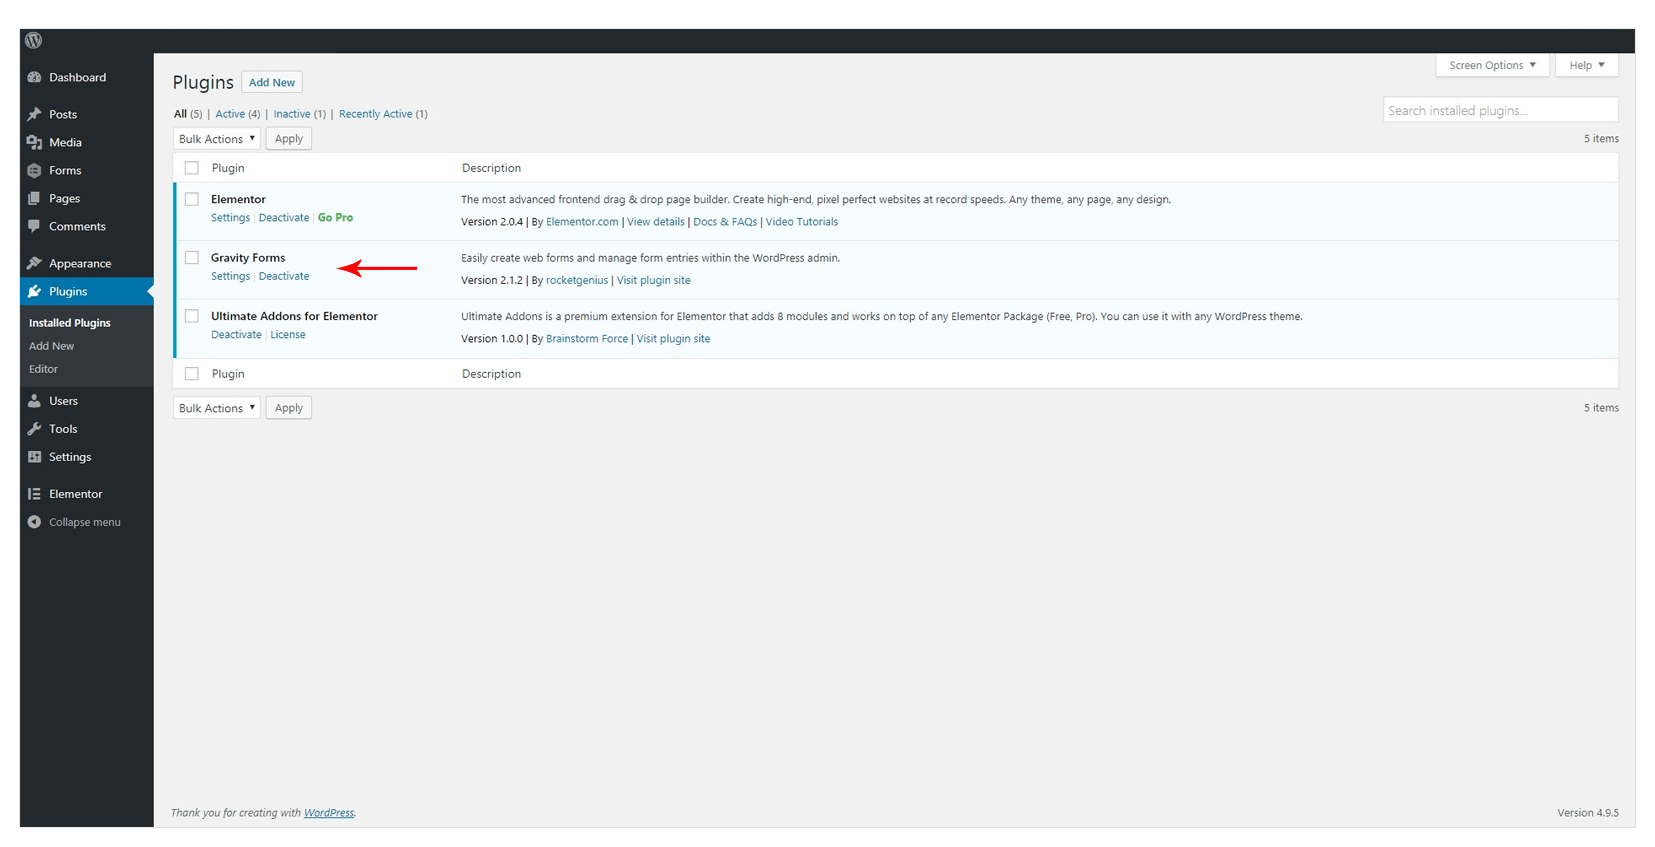
Missing menu items? Check the menu settings. Ensure every item is added. Save the changes after editing. Forgetting to save is a common mistake. Plugins can also cause issues. Deactivate plugins one by one. See if the menu works after each one. Some plugins interfere with the theme.
Seek help if needed. Contact support for more help. They know the theme best. They can help fix any issue quickly.

Credit: docs.themegoods.com
Frequently Asked Questions
How Do I Add A Menu In Highend Theme?
To add a menu in the Highend theme, navigate to the WordPress dashboard. Go to ‘Appearance’ and then ‘Menus’. Click ‘Create New Menu’, add items, and save it. You can then assign it to a theme location under ‘Manage Locations’.
Where Can I Find The Menu Settings?
You can find the menu settings in the WordPress dashboard. Go to ‘Appearance’, then click ‘Menus’. Here, you can manage menu items, create new menus, and assign them to locations.
Can I Customize Menu Design In Highend Theme?
Yes, you can customize the menu design. Use the ‘Customize’ feature in WordPress to change colors, fonts, and styles. Access it through ‘Appearance’ and ‘Customize’. Explore the ‘Menus’ and ‘Header’ sections for specific menu design options.
How To Assign A Menu To A Location?
Assigning a menu to a location is easy. After creating a menu, go to ‘Appearance’ then ‘Menus’. Click on ‘Manage Locations’. Choose the menu you want to assign to each theme location and save changes.
Conclusion
Adding a menu in the Highend WordPress theme is simple. Follow the steps closely. Customize your menu to fit your needs. Make navigation easy for your visitors. A well-organized menu boosts user experience. It helps users find what they need quickly.
Use clear labels for menu items. Keep your menu neat and uncluttered. This enhances your site’s professionalism. Regularly update your menu for fresh content. Check mobile responsiveness too. A functional menu is key to a successful site. Start creating and improve your site’s usability.
Your audience will appreciate it. Happy website building!