Are you looking to make your WordPress site stand out by customizing the header? Adding content or code to your header can improve your site’s design, functionality, and even SEO.
But if you’re not sure where to start or worried about breaking your site, don’t worry—you’re in the right place. This guide will walk you through simple, clear steps to add to your WordPress header safely and effectively. By the end, you’ll know exactly how to make your header work harder for you.
Ready to take control of your site’s header? Let’s dive in!
Choose The Right Header Area
Choosing the right header area helps place important content where visitors see it first. This makes your site easy to navigate and looks neat. Start by picking a spot that fits your website’s style and goals.
Identify Header Sections
The header is the top part of your website. It usually includes the logo, navigation menu, and sometimes contact info or search bars. Some themes have multiple header areas, such as a top bar, main header, and sticky header.
Knowing these sections helps you decide where to place your content. For example, you might want to add a phone number in the top bar or a special message in the main header. Each section serves a different purpose and catches different attention.
Check Theme Compatibility
Not all WordPress themes allow the same header options. Some themes have fixed headers that do not support custom content. Others come with built-in areas for widgets or custom code.
Check your theme’s documentation or settings to find header customization options. Some themes provide drag-and-drop builders or custom header layouts. Understanding your theme’s limits saves time and effort.
Choose a theme that fits your needs for header customization. This ensures your added content displays correctly and looks good on all devices.
Use WordPress Customizer
The WordPress Customizer is an easy tool to change your website’s header. It lets you add text, images, or menus without coding. This tool shows your changes live, so you see exactly how your header looks.
Using the Customizer saves time and makes editing simple. You can access it directly from your WordPress dashboard. It works well for beginners and those who want quick updates.
Access The Customizer
Log in to your WordPress dashboard. Find the “Appearance” menu on the left side. Click on “Customize” to open the Customizer panel. This panel shows options for your site’s design. Look for “Header” or similar settings in the panel.
Add Content To Header
Inside the Customizer, select the header section. Choose the element you want to add, like text or an image. Enter your content or upload a file. Some themes allow adding menus or widgets here too. Make sure your additions fit well in the header space.
Preview Changes
The Customizer shows a live preview of your site on the right. Watch how your header changes as you add content. Check on different screen sizes using the preview icons. If satisfied, click “Publish” to save your changes. Your header updates immediately on your live site.
Add Header With Widgets
Adding a header with widgets in WordPress is a simple way to customize your website. Widgets let you place content like menus, search bars, or images in your header area. This method does not need coding skills. You can change your header look quickly and easily.
Locate Header Widget Area
First, find the header widget area in your WordPress dashboard. Go to Appearance, then Widgets. Some themes have a special header widget section. If your theme supports it, you will see it listed here. This area is where you can add widgets for the header.
Select And Add Widgets
Next, choose widgets that fit your header design. You can add a text widget, image, or navigation menu. Drag the widget from the available list to the header widget area. Drop it in the right spot. This action adds the widget to your header instantly.
Customize Widget Settings
After adding widgets, adjust their settings for the best look. Click on the widget in the header area to open options. Change titles, add links, or upload images. Save your changes to see them on your site. Customize each widget to match your style and needs.

Credit: kinsta.com
Edit Header Using Plugins
Editing your WordPress header with plugins makes customization simple. Plugins let you change your header without coding. You can add logos, menus, and text easily.
Choose a plugin that fits your needs. Many free and paid options exist. These tools help you design a header that matches your site style.
Choose A Header Plugin
Search for header plugins in the WordPress plugin directory. Look for popular and well-rated tools. Check if the plugin updates regularly and supports your WordPress version.
Read user reviews and plugin descriptions carefully. Pick a plugin that offers drag-and-drop or visual editing features. These options are easier for beginners.
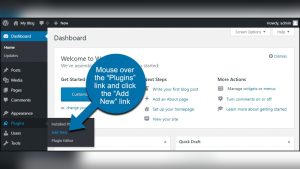
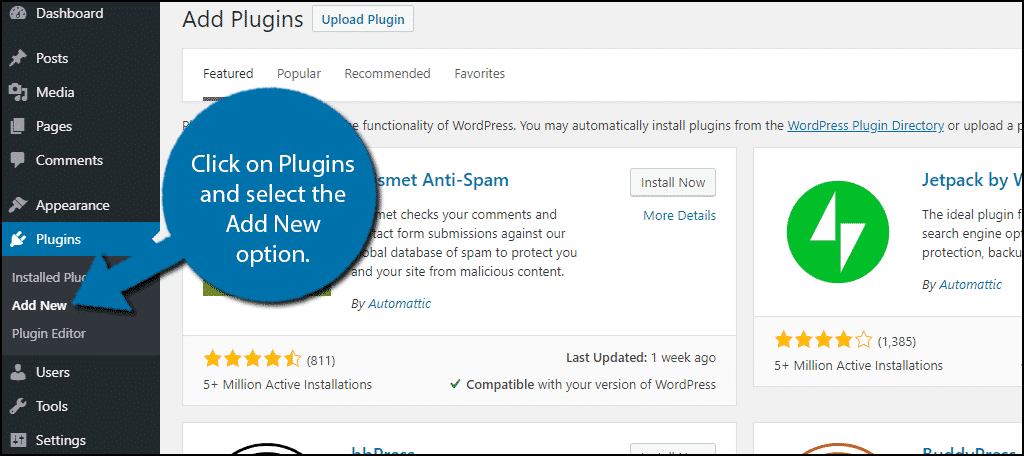
Install And Activate Plugin
Go to your WordPress dashboard and open the Plugins menu. Click “Add New” and type the plugin name in the search bar. Find the plugin and click “Install Now.”
After installation, click “Activate” to enable the plugin. The plugin will appear in your dashboard menu. You can start using it to edit your header.
Configure Header Elements
Open the plugin settings to customize your header. Add or change logos, text, and menu items. Drag elements to arrange their order and layout.
Adjust colors, fonts, and sizes to match your site design. Preview changes before saving to ensure everything looks right. Save your settings to apply the new header.
Modify Header With Code
Modifying the header with code lets you customize your WordPress site deeply. It gives full control over what appears in the header area. This method works best for users comfortable with basic coding. Small code snippets can change logos, menus, or add scripts in the header.
Editing the header directly changes how your site looks and functions. It requires careful handling to avoid errors. Always back up your site before changing files. Let’s explore how to do this safely and effectively.
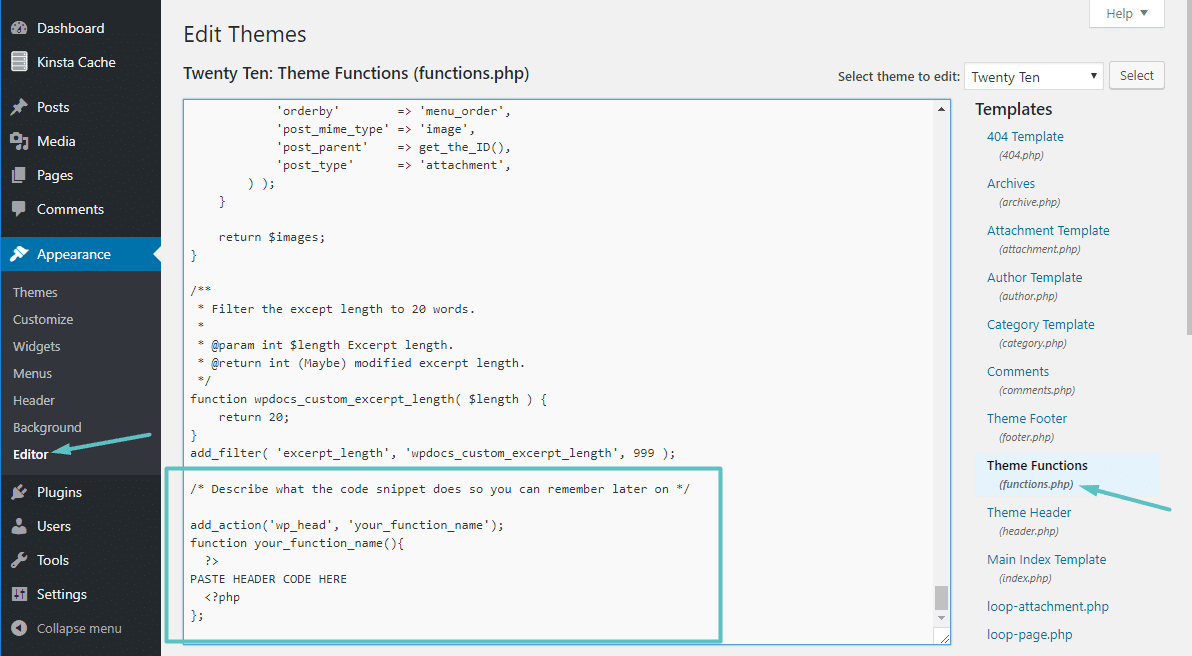
Access Theme Files
Start by accessing your WordPress theme files. Use the WordPress dashboard or an FTP client. In the dashboard, go to Appearance > Theme Editor. Find the file named header.php. This file controls the header section of your site.
Accessing files through FTP is safer for big changes. Connect to your site using FTP software. Navigate to /wp-content/themes/your-theme/. Download the header.php file for editing.
Edit Header.php Safely
Never edit header.php directly on a live site. Mistakes can break your website. Use a code editor to make changes offline first. Look for clear places to insert your code. Usually, this is before the closing tag.
Test your changes locally or on a staging site. Upload the edited file only when sure it works. Keep a copy of the original file for backup. This way, you can restore it if something goes wrong.
Use Child Themes For Changes
Child themes keep your changes safe from theme updates. Create a child theme and copy header.php into it. Edit the copied file, not the original. This method keeps your edits intact after updates.
Activate the child theme in your WordPress dashboard. Your site will use the modified header without losing custom code. Using child themes is the best practice for coding changes.
Credit: www.greengeeks.com
Add Logo And Navigation
Adding a logo and navigation to your WordPress header helps visitors find your site easily. A clear logo builds brand trust. A simple menu guides users to important pages. Together, they improve user experience and site professionalism.
Upload And Position Logo
Go to your WordPress dashboard and click on Appearance > Customize. Find the Site Identity section. Click “Select logo” to upload your image file. Choose a clear, small-sized logo for fast loading. After uploading, adjust the logo position. Most themes let you place it left, center, or right. Save changes and preview your site.
Create Custom Menus
Open Appearance > Menus in the dashboard. Click “Create New Menu” and name it. Add pages, posts, or custom links to the menu. Drag items to arrange their order. Assign the menu to the Header location. This connects the menu to your header area. Save the menu. Your navigation now shows on the site.
Style Navigation Bar
Use the Customizer to change your menu’s look. Go to Appearance > Customize > Menu or Header options. Change colors for background and text for better contrast. Adjust font size and style for readability. Add spacing between menu items for clarity. Use simple, clean styles that match your brand. Save your settings and check how it looks on different devices.
Optimize Header For Mobile
Optimizing the header for mobile is crucial for a good user experience. Mobile users expect fast loading and clear navigation. A well-optimized header helps visitors find what they need quickly. It also improves your site’s ranking on search engines.
Enable Responsive Design
Responsive design makes your header adjust to different screen sizes. Use a WordPress theme that supports responsive features. Check if the header changes layout on smaller screens. This keeps text readable and buttons easy to tap.
Test On Different Devices
Testing on multiple devices ensures your header looks good everywhere. Check on smartphones, tablets, and desktops. Use tools like Chrome DevTools to simulate various screen sizes. Fix any layout or loading issues you find during testing.
Adjust Header Elements
Simplify header elements for mobile screens. Reduce the number of menu items to avoid clutter. Make logos and buttons smaller but still clickable. Hide non-essential items to save space and speed up loading.
Troubleshoot Common Header Issues
Troubleshooting common header issues helps keep your WordPress site looking great. Problems with the header can affect site navigation and user experience. Quick fixes can save time and prevent frustration. Here are simple steps to solve typical header problems.
Fix Display Problems
Check your site on different devices to spot display errors. Clear your browser cache to see recent changes. Sometimes, small CSS tweaks fix alignment or size issues. Use WordPress Customizer to adjust header settings. Make sure your images fit well in the header space.
Resolve Plugin Conflicts
Plugins can sometimes cause header problems. Deactivate all plugins, then check your header. If the problem stops, activate plugins one by one. This helps find the conflict source. Update all plugins and WordPress to avoid compatibility issues. Use only trusted plugins from reliable sources.
Restore Header Defaults
Restoring header defaults resets any unwanted changes. Go to your theme settings and find the reset option. Backup your current settings before restoring. This step helps if code changes break your header. After reset, customize the header again carefully.
Credit: kinsta.com
Frequently Asked Questions
How Do I Add Code To WordPress Header?
To add code to your WordPress header, use the Theme Editor or a plugin like “Insert Headers and Footers. ” This allows you to insert scripts or meta tags safely without editing theme files directly.
Can I Add Custom Css To WordPress Header?
Yes, you can add custom CSS in the WordPress header using the Theme Customizer’s Additional CSS section or by inserting CSS code in the header. php file or a plugin.
What Is The Safest Way To Edit WordPress Header?
The safest way is to use a child theme or a plugin for header edits. Avoid direct changes in parent theme files to prevent loss during updates.
How To Add Google Analytics To WordPress Header?
To add Google Analytics, copy your tracking code and paste it into the header section via a plugin like “Insert Headers and Footers” or directly in header. php.
Conclusion
Adding content to your WordPress header is simple and useful. It helps improve your site’s look and function. Use the right tools or code to make changes safely. Always back up your site before editing. Test your header on different devices to ensure it works well.
Keep your site clean and easy to use. Small changes can make a big difference over time. Keep learning and experimenting to make your site better.