
Are you ready to take control of your online presence and host your web app on your own server? This might sound like a daunting task, but with the right guidance, it’s simpler than you think.
Imagine having complete autonomy over your app, with the flexibility to make changes whenever you need. No more restrictions from third-party hosting services, and no more costly fees. Just you, your server, and your vision coming to life. In this guide, you’ll discover step-by-step instructions to effortlessly set up your web app on your server.
We’ll break down technical jargon into bite-sized pieces, making it easy to follow along. You’ll learn about the essentials: from choosing the right server hardware to setting up the software environment. By the end, you’ll feel empowered and ready to showcase your app to the world. Let’s dive in and unlock the true potential of your web app together.
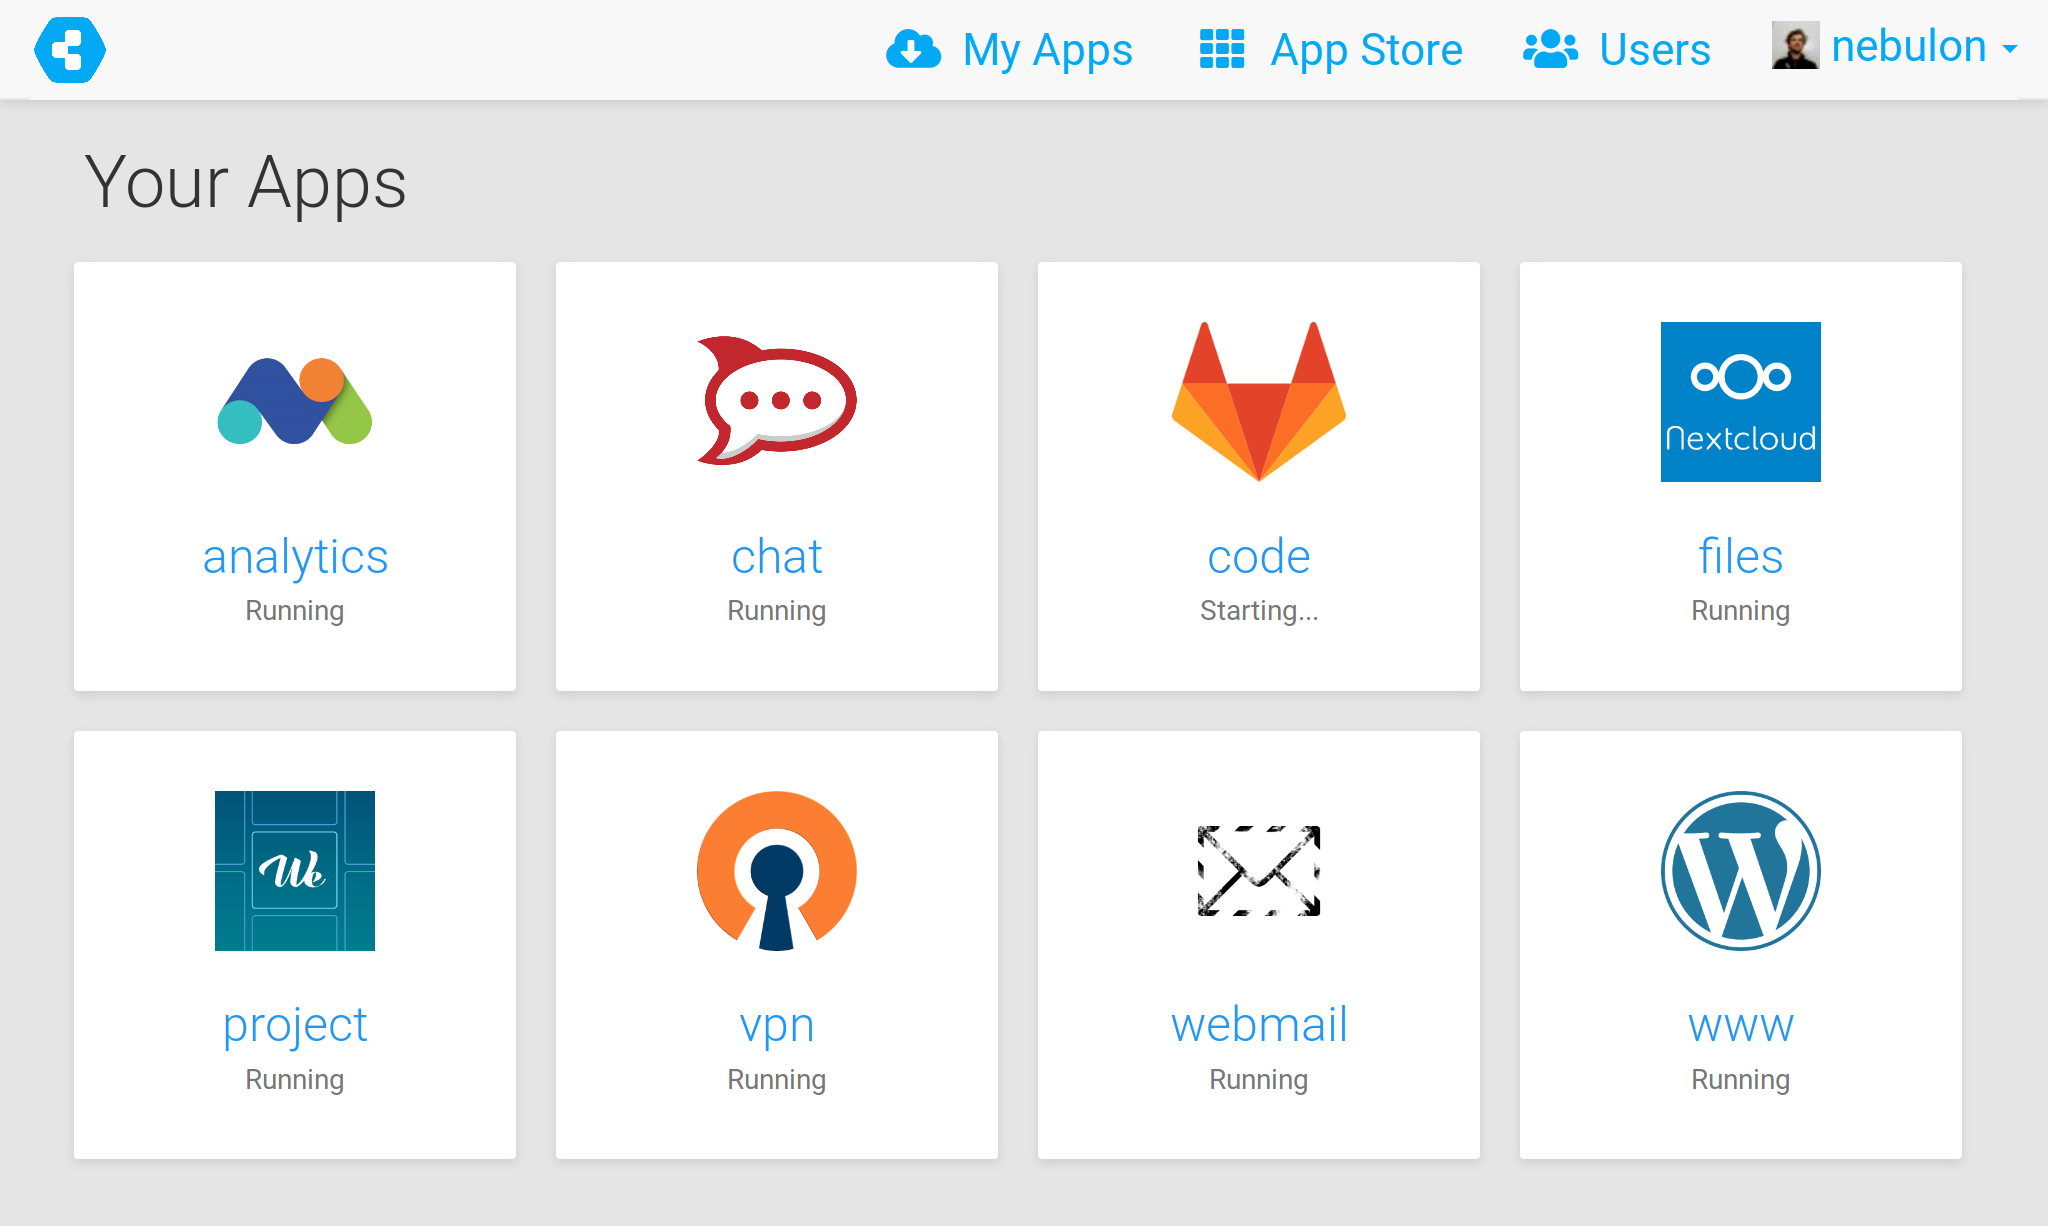
Credit: www.cloudron.io
Choosing The Right Server
Dedicated hosting means you own the whole server. It’s like having your own house. No neighbors. You get more control and more resources. Shared hosting is different. You share the server with others. Like living in an apartment. It’s cheaper but has less control. Think about your needs. If your app is big, go for dedicated. If small, shared might be okay.
CPU power is important. More power means faster app. RAM keeps your app smooth. More RAM, better performance. Storage holds your app data. Choose SSDs for speed. Bandwidth matters for traffic. High bandwidth helps many users. Make sure your server can grow with your app. Upgrade easily when needed.
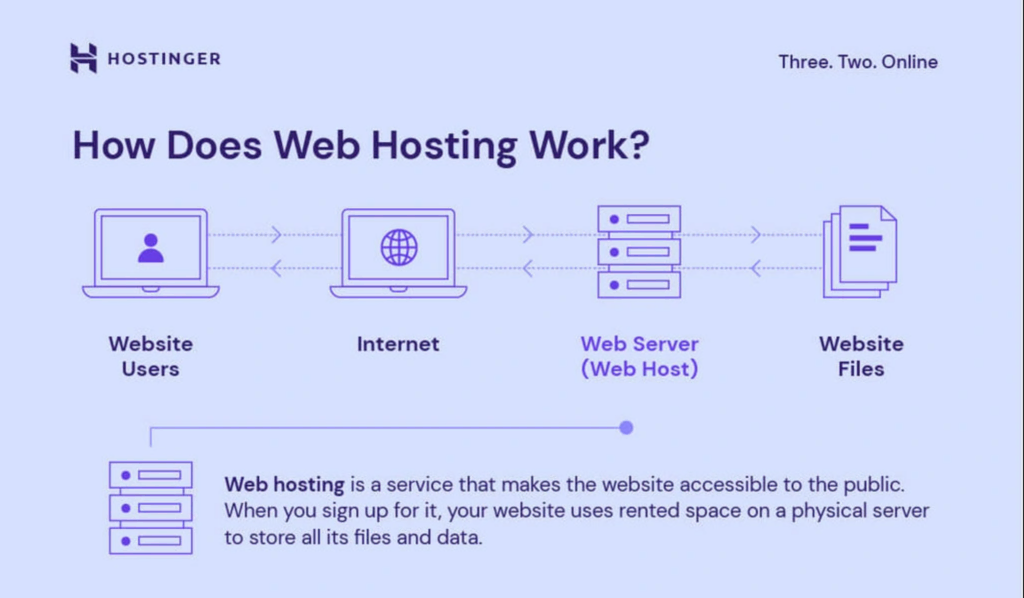
Credit: www.hostinger.com
Setting Up Your Server
Choose an operating system for your server. Popular choices are Linux or Windows. Download the OS from the official website. Prepare a bootable USB drive with the OS. Insert the USB into your server. Start the server and follow the installation steps. Set your username and password. Wait for the installation to finish.
Connect the server to the internet. Open the network settings on your OS. Choose a network type, like Ethernet or Wi-Fi. Enter the IP address, subnet mask, and gateway. These settings help your server connect to the web. Make sure your server has a static IP address. This keeps the address the same every time.
Security Measures
A firewall keeps your server safe. It blocks unwanted visitors. Always ensure your firewall is active. It acts like a wall between your app and threats. You can control what enters and leaves your server. This helps keep data safe and private. Regularly update your firewall settings. Old settings might not protect well. New threats appear often. Stay ahead with updates.
SSL certificates are vital for web apps. They encrypt data between users and your server. This keeps information secure. Users trust sites with SSL. They see a padlock symbol in their browser. Always get an SSL certificate from a trusted source. It ensures data integrity. Regularly check your SSL status. Expired certificates can lead to security issues.
Deploying Your Web App
First, gather all your web app files. Use FTP or SFTP for file transfer. FTP is fast but less secure. SFTP is safe for secure transfers. Choose a reliable FTP client. FileZilla is a popular choice. Upload your files to the server directory. Ensure files match your app’s folder structure.
Your app may need a database. Connect using your server’s database tools. Most servers support MySQL or PostgreSQL. Create a new database on the server. Use a strong password. Update your app’s configuration files. Ensure they point to the correct database. Test the connection to avoid errors.
Managing Server Resources
Keep an eye on your server’s CPU usage. Watch the memory and disk space. Check the network traffic too. Use tools to monitor these resources. This helps avoid overloading the server. Slow performance can cause problems. Your users might face delays.
Start with a small setup. Add more resources as needed. You can add more CPUs or RAM. Increase disk space if files grow. Consider using multiple servers for big apps. This helps balance the load. Your app runs smoothly.

Credit: developer.mozilla.org
Troubleshooting Common Issues
Discover solutions for hosting your web app on your server. Address common issues like server configuration and firewall settings. Ensure seamless deployment by optimizing server resources and managing DNS records effectively.
Error Logs Analysis
Reading error logs is like solving a puzzle. Logs help find issues quickly. They show what went wrong and where. Check logs often to keep your app running. Look for error messages and warnings. These clues point to the problem. Fixing errors early saves time and keeps users happy. Keep logs organized. This makes them easy to read. Use tools to manage logs. They help sort and filter data. Understanding logs improves troubleshooting skills.
Network Connectivity Problems
Network issues can make apps behave badly. Check your internet connection first. A weak signal causes problems. Ensure cables are plugged in tightly. Use a network test tool. This tool checks if your server is online. Restart your router if needed. This often fixes connection problems. Sometimes, firewalls block traffic. Adjust settings to allow app traffic. Keep your network gear updated. Updates fix bugs and improve security.
Frequently Asked Questions
Can I Host My Website On My Own Server?
Yes, you can host your website on your own server. Ensure you have a stable internet connection, security measures, and the necessary technical skills. Using your own server provides control but requires regular maintenance and monitoring. Consider the costs and responsibilities before proceeding.
How Much Does It Cost To Host An App Server?
Hosting an app server costs vary widely. Prices range from $5 to $500+ per month. Factors include server type, resources, and provider. Cloud providers like AWS, Google Cloud, and Azure offer flexible pricing. Evaluate your app’s needs for an accurate estimate.
Consider scalability, performance, and support when choosing a host.
How To Deploy A Web Application On A Server For Free?
Use platforms like Heroku or Vercel for free web app deployment. Sign up, connect your repository, and follow deployment instructions. These platforms offer free tiers with limitations. Ensure your app meets resource restrictions to avoid costs. Regularly update and monitor your app for optimal performance.
What Is The Best Hosting For A Web Application?
The best hosting for web applications often includes options like AWS, Google Cloud, or Azure. Consider factors like scalability, security, and support. Choose a provider that aligns with your application’s specific needs and budget. Prioritize reliability and performance for optimal user experience.
Conclusion
Hosting your web app on your own server can be rewarding. It offers control and flexibility. You manage security and performance. Start with choosing the right server. Install necessary software. Configure settings carefully. Test everything thoroughly. Troubleshoot issues promptly. Learn and adapt as needed.
This journey enhances your skills. You gain valuable experience. Remember, patience is key. Step by step, you achieve success. Hosting your web app yourself builds confidence. It empowers you in managing your online presence. Your server becomes your app’s home.
A place you create. A place you control. Enjoy the journey of hosting your web app!


