Imagine having the power to scale your web applications effortlessly, ensuring they are always available for your users. Hosting your Web API in Azure App Services can give you just that.
It’s not just about deploying an API; it’s about unlocking possibilities for your projects. You might be wondering how to get started, or perhaps you’re curious about the benefits Azure offers over other hosting solutions. This guide will walk you through the process, breaking down each step so it’s easy to follow, even if you’re new to cloud services.
By the end, you’ll have the confidence to host your Web API in Azure App Services, knowing you’ve made a choice that supports your application’s future growth and stability. Ready to dive in and learn how to make the most of this powerful platform? Let’s get started!
Azure App Services Overview
Azure App Services is a cloud platform. It helps to host web apps. It supports many programming languages. These include Java, Python, and Node.js. It provides built-in auto-scaling. This means apps can handle more users easily. There is also continuous deployment. Updates are quick and seamless. Security is a priority. It offers SSL and custom domains. Developers can use a friendly interface. This makes managing apps easy.
Hosting Web APIs on Azure is smart. It gives high availability. Your API is always ready. It offers global reach. Users worldwide can access your API. It ensures security. Data stays safe and private. Costs are predictable. You pay only for what you use. Maintenance is easy. Azure handles updates and patches. This saves time and effort. With Azure, your Web API is in good hands.
Preparing Your Web Api
Make sure the API settings are correct. Check the endpoint URLs. They should be valid. Set the authentication type. Choose the right one for your needs. Logging is important. It helps to track errors. Enable it for better monitoring. Review the API documentation. Ensure it is up-to-date. It guides users in understanding your API.
Ensure your API works with different systems. Test it on various platforms. Compatibility is key. Keep your code clean and standardized. This helps in easy integration. Check dependencies. Update them regularly. Use libraries that are well-supported. They reduce compatibility issues. Keep an eye on security updates. Apply them promptly to avoid risks.
Setting Up Azure Account
Start by visiting the Azure website. Click on the “Start free” button. Fill in your details. You’ll need an email address and a credit card. Don’t worry, they won’t charge you at first. Follow the steps to create your account. It’s simple and quick. After this, you’ll have a new Azure subscription.
Log into the Azure Portal. The portal is like a control center. You can see all your services here. Use the search bar to find tools quickly. On the left side, there’s a menu. Click on different options to explore. The portal helps you manage everything easily. Take your time to understand its features.
Creating An App Service
Choose a service plan to start. This plan decides your app’s performance. You can pick from basic, standard, or premium. Each plan has different features. Basic plans are good for small apps. Standard plans are better for medium apps. Premium plans suit big apps that need more power. Think about your app’s needs before choosing.
After picking the plan, configure app settings. Set the right framework for your app. Add your database connection strings. Make sure you set correct environment variables. These settings help your app run well. Check everything twice to avoid issues later. Save your settings before going ahead. This ensures your app works smoothly.
Deploying Web Api
Azure DevOps makes deployment easy. It connects code to Azure. Use pipelines to automate tasks. Save time and reduce mistakes. Build, test, and deploy in one place. Integrate with GitHub for seamless updates. Monitor deployment with detailed logs. Ensure code quality with checks. Stay informed with alerts. Keep your project moving smoothly. Azure DevOps streamlines the process.
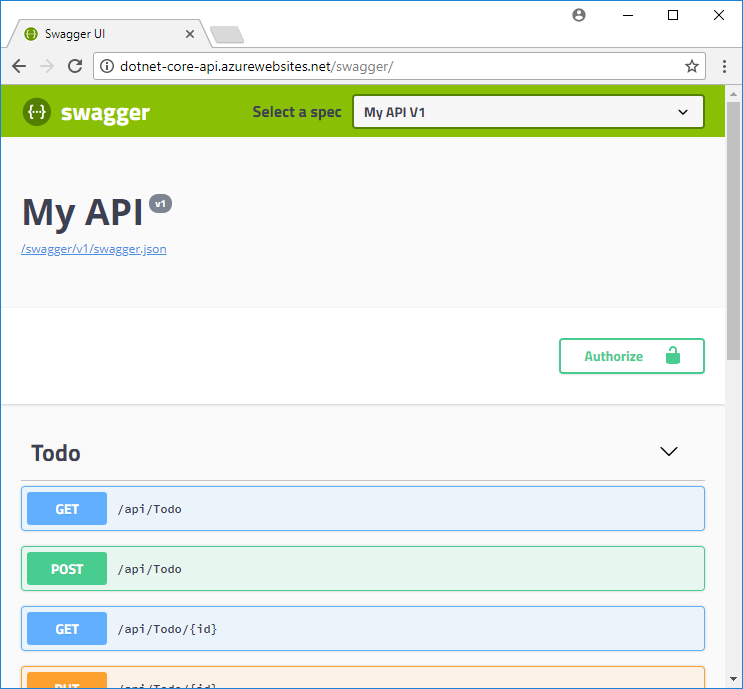
Manual deployment is straightforward. First, zip your Web API files. Next, open the Azure portal. Navigate to your App Service. Click on “Deployment Center”. Choose “Local Git” or “FTP”. Upload your zipped files. Configure settings as needed. Then, click “Sync”. Your Web API is now live. Manual deployment allows more control. Perfect for smaller projects. Follow these steps to deploy manually.
Monitoring And Managing Api
Deploying Web APIs in Azure App Services simplifies hosting and management. Azure provides tools for monitoring API performance. It ensures reliable service delivery and easy scaling.
Utilizing Azure Monitor
Azure Monitor helps track your API’s health. It shows important data like response times. Errors and user activity are easy to see. You can set alerts for sudden problems. This ensures you react quickly. Graphs and dashboards make data simple. Azure Monitor is a tool for better API management.
Scaling And Performance Optimization
APIs need to handle many users. Azure App Services helps with scaling. Resources increase when traffic is high. They decrease when traffic is low. This saves money and improves performance. Use Azure’s tools for better optimization. Keep your API fast and smooth.
Security Best Practices
Protecting your API starts with authentication. Ensure users prove their identity. Use strong password requirements and multi-factor authentication. Tokens are good for validation. They help confirm user identity. OAuth and JWT tokens are popular choices. They provide secure access. Choose the right method for your API.
Data must travel safely. Encrypt data during transmission. Use HTTPS. It secures data from hackers. SSL certificates are vital. They verify your server’s identity. They encrypt data between user and server. Protect sensitive data like personal information and payment details. This keeps user information safe.
Credit: learn.microsoft.com
Troubleshooting Common Issues
Deploying a Web API in Azure App Services can present challenges. Common issues include configuration errors and connectivity problems. Ensure proper setup and review logs to identify and resolve these obstacles quickly.
Debugging Deployment Errors
Deploying a Web API in Azure can be tricky. Deployment errors may halt progress. Check your code for typos or missing parts. Ensure your configuration settings are correct. Verify Azure permissions to access resources. Logs help find problems. Use them to trace errors. Azure portal shows deployment status. Review it for clues. Restart the service if needed. Sometimes, a simple restart solves problems.
Resolving Performance Problems
Performance issues can slow down apps. Resource allocation is key. Check if your app has enough CPU and memory. Monitor usage with Azure tools. Scaling options can handle increased load. Sometimes, code needs optimization. Look for slow queries in your database. Cache data to reduce processing time. Review network settings for bottlenecks. Load testing can identify weak spots. Adjust settings to improve speed.
Cost Management Tips
Azure has different pricing models. Choose the right plan for you. Pay-as-you-go is flexible. Reserved plans save money long-term. Each model has pros and cons. Check your needs before deciding.
Use scaling to control costs. Scale up or down as needed. This avoids wasting resources. Monitor usage regularly. Turn off unused services. This helps save money. Use auto-scaling for better efficiency.

Credit: build5nines.com
Credit: learn.microsoft.com
Frequently Asked Questions
How To Deploy Web Api To Azure App Service?
Deploy your web API to Azure App Service by using Azure Portal. Create a new app service and select your API. Configure deployment settings, including runtime and region. Publish using Visual Studio or upload directly from your local machine. Verify deployment through Azure Portal monitoring tools.
How Do I Host My Web Api?
Host your web API using cloud platforms like AWS or Azure. Choose a server, deploy your API, and ensure proper configuration. Secure your API with SSL certificates and monitor performance regularly.
How To Create A Web Api In Azure?
Create a web API in Azure by logging into the Azure portal. Select “Create a Resource” and choose “API App”. Configure settings like app name, subscription, and resource group. Deploy your API code using Visual Studio or other tools. Finally, test and manage your API through Azure’s interface.
What Is The Difference Between Web Api And Azure Api?
Web API is a framework for building HTTP services, while Azure API provides cloud-based API management services. Web API focuses on creating APIs within applications. Azure API offers features like security, analytics, and monitoring for APIs hosted on Azure. Both serve different purposes but can be used together.
Conclusion
Hosting a Web API in Azure App Services is simple and effective. Azure provides a scalable environment for your applications. You can manage resources easily and save time. Security features ensure your data stays safe. Azure supports various programming languages and frameworks.
This flexibility helps meet different project needs. You can use built-in tools for monitoring and diagnostics. These tools help maintain performance and stability. Azure App Services offers reliable hosting with minimal effort. Start exploring Azure today and enhance your web applications!