
Are you ready to take your Web API project live and make it accessible to the world? Hosting your Web API project in IIS (Internet Information Services) is a crucial step that can bring your application to the forefront, allowing seamless communication between your server and client applications.
You might wonder how to do this effectively without getting lost in technical jargon. That’s where this guide comes in. By following simple, straightforward steps, you’ll learn how to deploy your Web API project in IIS, ensuring it runs smoothly and efficiently.
Whether you’re a beginner or have some experience, this article will provide you with the insights and confidence you need to make your project a success. Keep reading, and discover how to turn your local application into a global asset.
Prerequisites
Install Visual Studio on your computer. Choose the ASP.NET workload during setup. It allows you to create web applications. Ensure .NET Framework is included. This supports your Web API project. Check if the latest updates are installed. Updated software runs better.
Find the Control Panel on your computer. Open Programs and Features. Click on Turn Windows features on or off. Look for Internet Information Services (IIS) in the list. Check the box next to IIS. Press OK to install it. Wait for the installation to finish. IIS is now ready to use.
Credit: learn.microsoft.com
Preparing The Web Api Project
First, ensure your project is set to Release mode. This makes your app run faster. Open your project in Visual Studio. Go to the Build menu and select “Configuration Manager.” Set your build to Release for a smoother performance.
Now, you need to publish your project. In Visual Studio, click on Build and then “Publish.” Choose a folder to save the files. This folder will hold all the necessary files for your Web API. Make sure the target framework is correct. Check if you have selected the right version for your server.
Configuring Iis
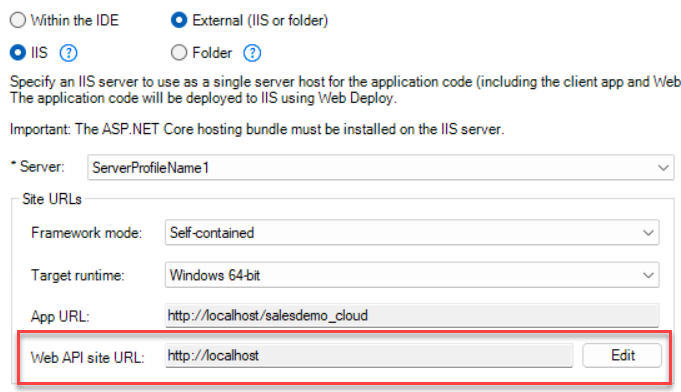
Open the IIS Manager on your computer. Click on the “Sites” folder. Choose “Add Website” from the menu. A window will pop up. Enter the site name. Choose a physical path for your files. Make sure the path is correct. Click “OK” when done. Your site is created.
Go to your new site’s bindings. Click “Add” to create a new binding. Choose “http” or “https” as needed. Enter the IP address. Set the port number. The default port is 80. Use a different port if needed. Click “OK” to save. Your site is now ready to use.
Deploying The Web Api
First, gather all the necessary files for your Web API. These include the application files and any dependencies. Use a method like FTP to copy them to your server. Make sure all files are in the right folder on the server. Double-check to avoid missing anything important.
Create a new Application Pool in IIS. Choose the correct version of .NET framework. This ensures your Web API runs smoothly. Set the identity of the pool to the correct user. It helps in securing your application. Finally, assign the Web API to this application pool.
Testing The Deployment
Accessing the API is simple. Open a browser. Enter the API URL. Press enter. You should see JSON data or XML. If not, check the settings. Ensure that the API is running. Verify the firewall settings. Make sure the port is open. Correct the URL if there is a mistake.
Troubleshooting Common Issues involves solving problems. Check the server logs. Look for errors. Make sure the application pool is running. Restart it if needed. Double-check the connection strings. Make sure they are correct. Ensure the server has enough resources. Check CPU and memory. If the issue persists, consult the documentation. Seek help from online forums. Many experts can assist you.
Credit: docs.appeon.com
Security Considerations
Securing your Web API project on IIS is crucial. Use strong authentication methods and ensure data encryption. Regularly update software to protect against vulnerabilities and monitor server activity for suspicious behavior.
Ssl Configuration
SSL keeps data safe. It uses encryption to protect information. This is important for websites. An SSL certificate is needed. It ensures data is secure. Web browsers show a lock icon. This means the site is secure. SSL also helps with trust. Users feel safe to share info. Always use SSL for web APIs.
Authorization And Authentication
Authorization checks if a user can do something. Authentication checks if a user is who they say. Both are needed for web safety. Use strong passwords and tokens. This keeps data safe. Only let trusted users access the API. Regularly update your security settings. It helps stop unauthorized access. Always keep user data protected.
Performance Optimization
Caching makes your web API faster. It stores data for quick access. Memory caching is a simple way. It keeps data in RAM. Disk caching uses your hard drive. It’s slower than memory caching. Choose caching based on your needs. Use cache control headers in your responses. They tell browsers how long to keep data.
Load balancing shares traffic across servers. It stops one server from overworking. This keeps your API running smooth. Round-robin is a common method. Each server gets a turn. Least connections sends traffic to the server with fewest connections. Some balance traffic based on server speed. This is weighted load balancing. It keeps everything fair and fast.

Credit: learn.microsoft.com
Frequently Asked Questions
How To Host The Web Api In Iis?
Install IIS on your server. Publish your Web API project in Visual Studio. Copy the published files to a new folder in IIS. Create a new Application Pool and Site in IIS. Set the folder as the Site’s physical path.
Test the Web API in a browser to ensure it’s working.
How To Host A Web Service In Iis?
Open IIS Manager and create a new site. Configure bindings and application pool. Deploy your web service files. Set permissions and start the site. Access the service using its URL.
How To Host Web Api In Windows Service?
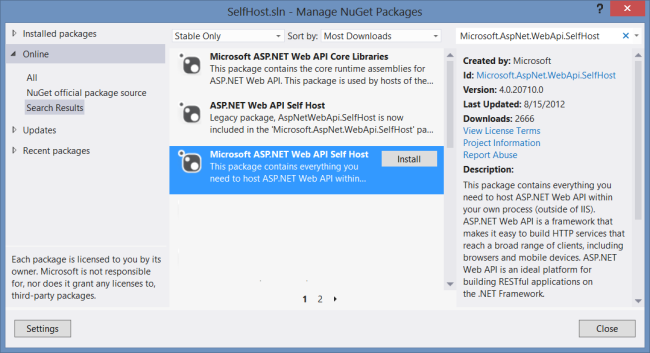
Host a Web API in Windows Service by creating a service project in Visual Studio. Install necessary packages. Configure the service to listen for HTTP requests. Use `HttpSelfHostServer` for hosting. Start the service using `ServiceBase. Run`. Ensure the service is set to automatic startup.
Where Can I Host A Web Api?
Host your Web API on platforms like AWS, Google Cloud, Microsoft Azure, or DigitalOcean. These offer scalable and reliable services. Choose based on your budget and technical needs.
Conclusion
Hosting a Web API in IIS can simplify your workflow. With these steps, you ensure a smooth deployment process. Remember to configure your IIS settings correctly. This avoids potential issues down the road. Stay patient and follow each step carefully.
Practice makes perfect, so don’t rush. With time, you’ll manage your projects effortlessly. Keep learning and adapting to new tools. This boosts your skills and confidence. Now, you’re ready to host your Web API with ease. Happy hosting!


