Are you tired of your text wrapping awkwardly in your WordPress theme? You’re not alone.
Word wrap can often disrupt the visual harmony of your website, making content appear cluttered and difficult to read. The good news is, you can take control and disable word wrap to create a cleaner, more professional look. Imagine your content flowing seamlessly across the screen, enhancing readability and keeping your audience engaged.
In this guide, you’ll discover simple steps to disable word wrap in your WordPress theme, ensuring your website is as visually appealing as it is informative. Let’s dive in and transform your content presentation today!
Credit: discuss.kde.org
Accessing Theme Editor
Open your WordPress dashboard first. Find Appearance on the left menu. Click on it. A new list will appear. Choose Theme Editor from this list. The editor will open. You will see the theme files on the right. Look for the style.css file. This file controls how your theme looks. Click on it to open. You can now edit the code. To disable word wrap, find the right code line. Change it as needed. Always be careful when editing code. It can change your site a lot.
Locating Css File
Find the CSS file in your WordPress theme. This file controls how your site looks. Start by going to your WordPress dashboard. Click on Appearance, then choose Editor. Here you will see a list of files on the right side. Look for a file named style.css. This is usually the main CSS file. Sometimes, themes have multiple CSS files. Check carefully and open the right one. Once you find it, you can make changes to your site’s style. Always remember to save your changes. This ensures your edits apply to the site.
Identifying Word Wrap Styles
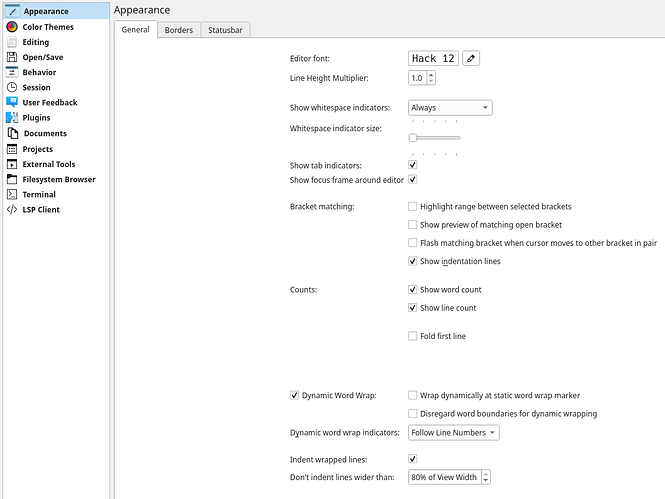
Word wrap styles affect text display. They make lines fit within the screen. Sometimes, they hide important words. To find these styles, check your theme’s CSS files. Look for properties like word-wrap or white-space. These control text flow on your site. Word-wrap may be set to normal or break-word. White-space can be nowrap. This stops wrapping. Editing these values changes text appearance. Use a child theme for safe modifications. This keeps original files intact. Understanding these styles is key. It helps improve readability. Visitors stay longer when text is clear.
Credit: elementor.com
Editing Css Code
To disable word wrap in WordPress themes, you need to edit the CSS code. This can be done through the WordPress dashboard. First, go to Appearance and then click on Customize. Next, select the Additional CSS option. Here, you will add a new line of code.
Type white-space: nowrap; into the box. This code will stop text from wrapping. Make sure to save your changes. This is important to apply the new settings. You should see the changes right away.
Always back up your theme before making changes. This helps you to recover if anything goes wrong. Editing CSS is safe if you follow steps carefully. Practice makes perfect.
Saving Changes
Open your WordPress dashboard. Find the theme you want. Click on Customize. Look for the Additional CSS section. Paste the code to disable word wrap. Press Publish to save changes. Check your site to see the result. If you see errors, try again. Sometimes themes behave differently. Use a child theme if you want safety. It protects the original theme. This helps if you make mistakes. Always backup before changes. Backup ensures data safety.
Disabling word wrap gives control. It might affect readability. Test on different devices. Adjust as needed. Use this method carefully. It can improve your site’s look. Try small changes first. See how your audience reacts. Their feedback is important. Listen to your site visitors.
Verifying Word Wrap Disablement
Ensure the word wrap feature is truly disabled in your theme. Start by visiting your WordPress dashboard. Go to the Appearance section and click on Editor. Find the style.css file in your theme files. Look for any word-wrap property. Make sure it’s set to normal or unset.
Next, check your posts and pages. Open any page in the editor. See if the text behaves as you want. If lines break, word wrap might still be on.
Use a browser tool to inspect text areas. Right-click on the text and select Inspect. Check the CSS styles applied. Ensure no word-wrap styles are present. This will confirm the changes.
Utilizing Custom Css Plugins
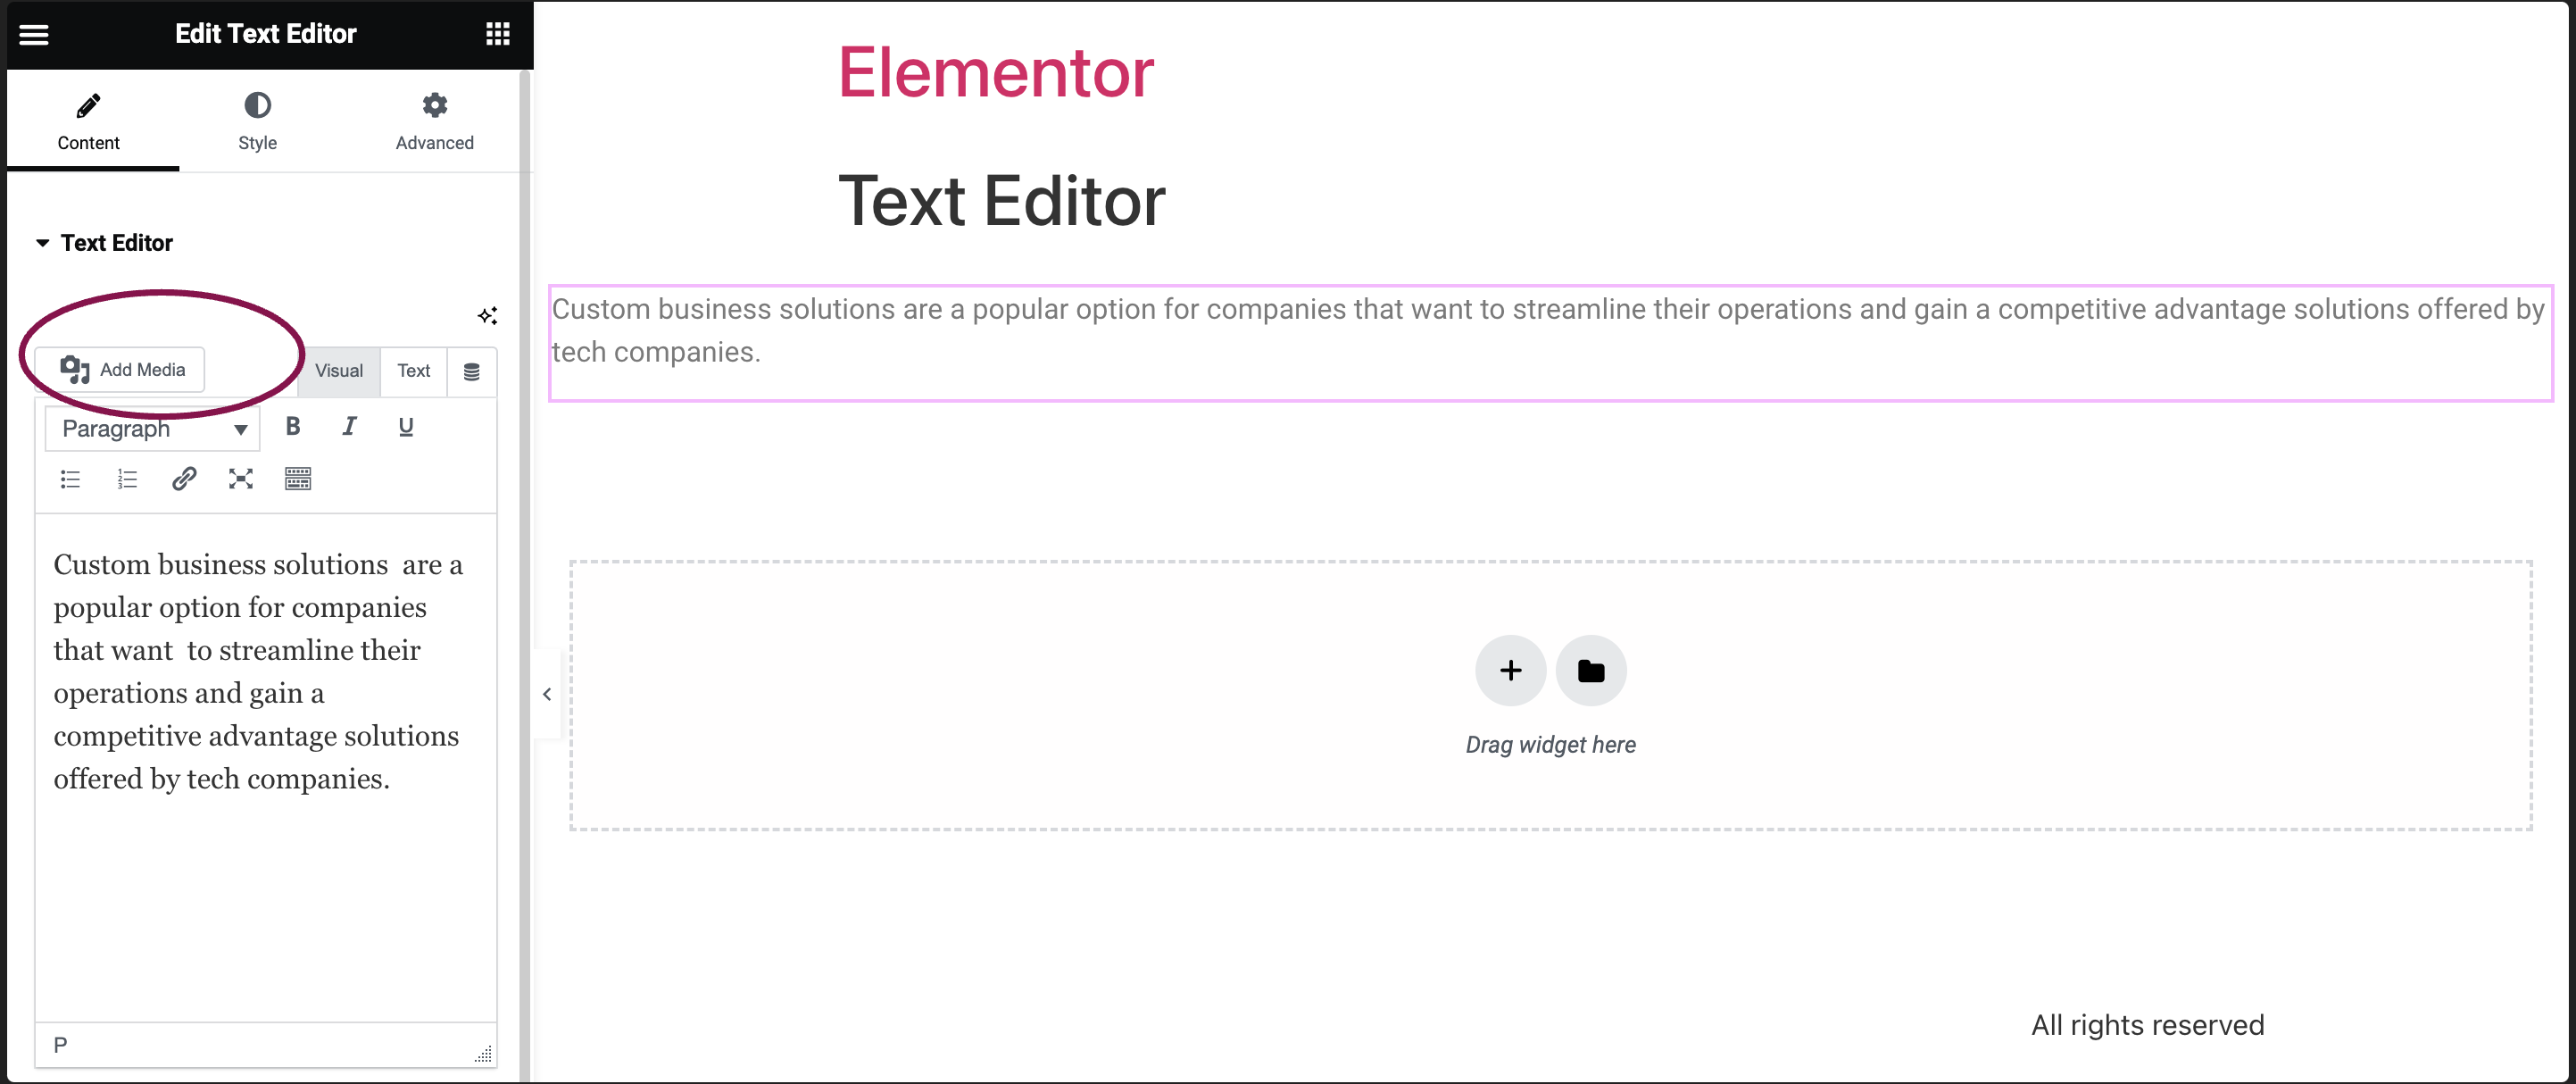
Custom CSS plugins help change theme settings. They allow users to add specific code. Disabling word wrap can be done easily. First, install a popular CSS plugin. Many plugins work well. Simple Custom CSS is one option. Open the plugin’s settings page. Here, you can add your code. To stop word wrap, enter the code: white-space: nowrap;. Save your changes. This code keeps lines unbroken. Text stays in one line. Check your website’s look. The change should be visible. Make sure to clear your browser cache. Otherwise, old settings might show. Using custom CSS is safe. It won’t harm your theme. Follow these steps carefully. Your text will look more organized.

Credit: www.seedprod.com
Troubleshooting Common Issues
Disabling word wrap in WordPress themes can be tricky. Some themes have settings to control text display. Check your theme options first. Look for a section called Typography or Text Settings. This may allow you to disable word wrap easily.
Use custom CSS if theme settings don’t help. Add CSS to the WordPress Customizer. You can find this under Appearance > Customize. In the Additional CSS section, add the code:
p, span {
  white-space: nowrap;
}
This code prevents text from wrapping. Save your changes after adding the code. Refresh your site to see the effect. Note that some plugins might override these settings. Double-check plugin options too.
Reverting Changes
Sometimes, changes don’t work as planned. It’s easy to revert them. First, open your WordPress dashboard. Click on Appearance and then Editor. You’ll see your theme files.
Look for the file where you made changes. Click on it to open. Find the code you altered. Remove the new code you added. Restore the original code if you have it. Save the file.
Visit your site to check if changes are gone. Always keep a backup of your original code. This helps you if something breaks. Backups are easy to make and can save time.
Frequently Asked Questions
How Can I Disable Word Wrap In WordPress?
To disable word wrap in WordPress, you need to access your theme’s CSS file. Locate the specific element you want to modify and add the CSS property `white-space: nowrap;`. Save your changes and refresh your website to see the effect.
This will prevent text from automatically wrapping to the next line.
Does Disabling Word Wrap Affect Seo?
Disabling word wrap does not directly impact SEO. It mainly affects how text displays on the page. However, ensure that text remains readable and user-friendly. Good user experience can indirectly support SEO. Always test changes across different devices to maintain a positive user experience.
Is There A Plugin For Disabling Word Wrap?
While there isn’t a specific plugin for disabling word wrap, you can use custom CSS plugins. These allow you to easily add CSS code to your WordPress site. This way, you can modify text wrapping without altering theme files directly, making it easier to manage and update.
Why Would I Disable Word Wrap?
Disabling word wrap can be useful for maintaining the design of headers or specific text blocks. It ensures that text remains in a single line, preserving the layout and alignment. This can be particularly important for branding elements or specific design requirements where text wrapping might disrupt the visual flow.
Conclusion
Disabling word wrap in WordPress themes is straightforward. Follow the steps outlined here. Your site will look cleaner and more organized. Always back up your theme files first. This ensures safety if issues arise. Experiment with settings for the best result.
Every theme might have slight differences. So, patience is key. Consistent formatting improves readability and user experience. Happy editing, and enjoy your refined WordPress site!