Are you ready to unlock the power of Ubuntu for your web hosting needs? Setting up an Ubuntu server might sound daunting, but it’s easier than you think.
Whether you’re a budding developer or a business owner looking to take control of your online presence, mastering this skill can save you money and give you unparalleled control over your website. Imagine having the power to manage your site with the security, flexibility, and efficiency that Ubuntu offers.
In this guide, we’ll walk you through each step, ensuring you feel confident and capable. By the end, you’ll not only have a fully functional server but also the skills to manage it effectively. Let’s get started and transform your web hosting experience!
Choosing The Right Hardware
Ensure your computer meets the minimum requirements for Ubuntu Server. You need at least a 2 GHz processor and 4 GB of RAM. Hard drive should have 25 GB space. This is for basic tasks.
| Component | Recommendation |
|---|---|
| Processor | Intel i5 or better |
| RAM | 8 GB or more |
| Storage | SSD with 256 GB |
| Network | 1 Gbps Ethernet |

Credit: www.facebook.com
Downloading Ubuntu Server
Selecting the Version of Ubuntu is important. Each version has different features. The LTS version is stable. It is good for servers. Other versions may have more new features. But they may not be as stable.
To get the ISO File, go to the official Ubuntu website. Click on the download button. Choose the version you need. The ISO file is big. Make sure your internet is fast. Save the file to your computer. This file is needed for the next steps.
Installing Ubuntu Server
First, download the Ubuntu Server ISO file from the official site. Use a tool like Rufus to create a bootable USB drive. Insert the USB into your computer. Make sure your computer can boot from USB. Check your BIOS settings if needed.
Restart your computer with the USB inserted. You should see the Ubuntu installation menu. Follow the prompts to start the installation. Choose your preferred language and keyboard layout. Select “Install Ubuntu Server” to proceed.
During installation, you need to set up the network. Choose between DHCP or static IP. DHCP assigns an IP automatically. For static IP, enter your IP address, netmask, and gateway. Make sure these settings are correct. They allow your server to connect to the internet.
Credit: www.youtube.com
Basic Server Configuration
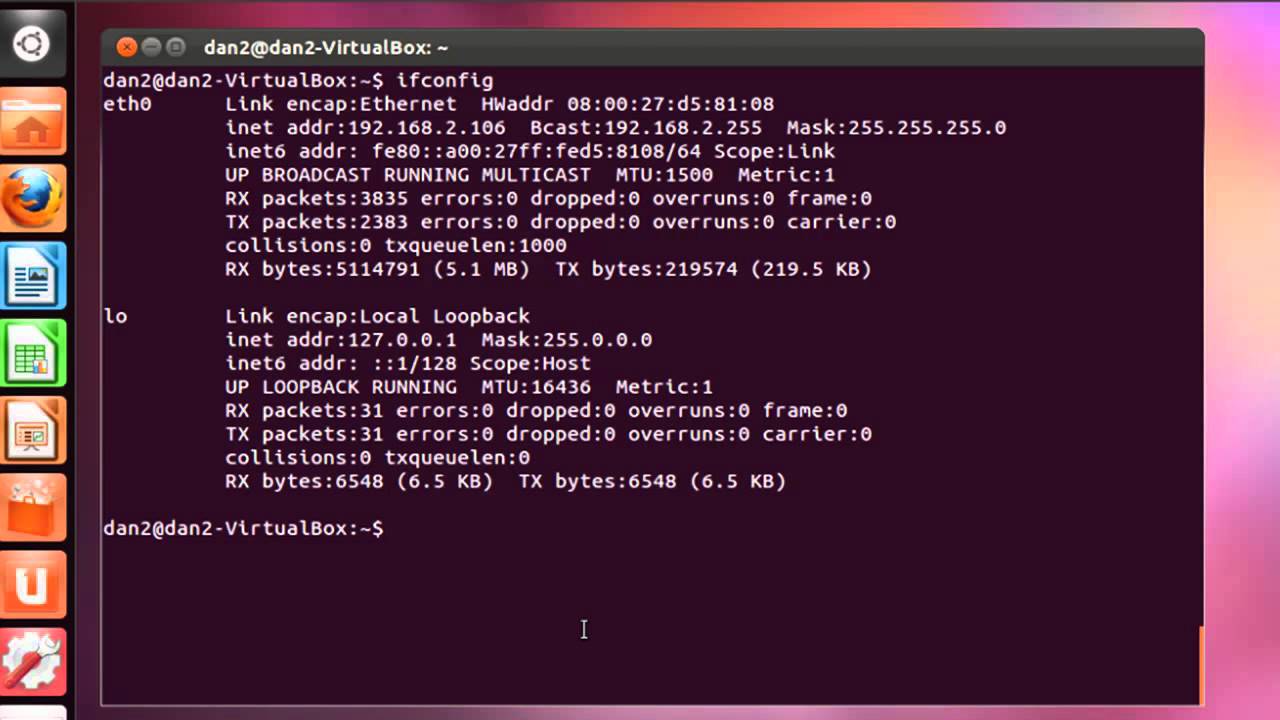
Assigning a static IP is important. It keeps your server’s address the same. First, find your current IP using the terminal. Use the command ip addr. Note the details. Then, edit the netplan configuration file. It’s in the /etc/netplan directory. Make changes to set the static IP. Save the file. Apply the changes with the sudo netplan apply command.
Keeping packages updated is essential. It ensures security and performance. Run the sudo apt update command first. This checks for new package versions. Then, use sudo apt upgrade. This installs the latest versions. Regular updates protect your system. Always check for updates before starting tasks. This reduces risks.
A strong firewall protects your server. Ubuntu uses UFW for this. Begin by enabling it with sudo ufw enable. Check the status with sudo ufw status. Allow necessary ports. For web hosting, allow port 80 and 443. Use sudo ufw allow 80 and sudo ufw allow 443. Always review firewall settings. They keep your server safe.
Installing Web Server Software
First, open the terminal. Then update the package list. Type sudo apt update. Next, install Apache with this command: sudo apt install apache2. Wait a few minutes. Apache will install automatically.
Apache needs configuration for web hosting. Go to the Apache config file. Type sudo nano /etc/apache2/apache2.conf. Change settings as needed. Save changes by pressing CTRL + X. Then press Y and Enter to confirm.
Check if Apache is running. Open a web browser. Type http://localhost in the address bar. You should see the Apache welcome page. If you see it, Apache is working fine.
Setting Up Mysql
Open terminal to start. Type sudo apt update. Then, type sudo apt install mysql-server. Wait for installation. MySQL is now ready.
Run sudo mysql_secure_installation. Follow steps. Choose a strong password. Remove anonymous users. Disallow remote root login. Delete test database. Reload privileges. Now MySQL is secure.
Log into MySQL with sudo mysql. Type CREATE DATABASE mydatabase;. Use SHOW DATABASES; to check. You can see your new database. Now it’s ready for use.
Php Installation And Configuration
Begin by opening the terminal. Type sudo apt update to refresh the package list. Next, type sudo apt install php. This command installs PHP on your server. Make sure you see the success message. It confirms PHP is ready to use.
Open the PHP configuration file. Use the command sudo nano /etc/php/7.4/apache2/php.ini. Look for the line that says memory_limit. Change it to 256M for better performance. Save the file and exit the editor. Always restart Apache after changes. Use sudo systemctl restart apache2.
Enable the PHP module in Apache. Type sudo a2enmod php7.4 in the terminal. This command links PHP with Apache. Restart Apache using sudo systemctl restart apache2. Check integration by creating a PHP info file. Make a file called info.php in the web root. Add php phpinfo(); ? inside. Open this file in a browser. See if PHP details appear. This confirms successful integration.
Enabling Secure Connections
Setting up an Ubuntu Server for web hosting involves configuring secure connections to protect data. Start by installing SSL certificates to encrypt information between server and users. Regularly update software to maintain security and prevent vulnerabilities.
Installing Ssl Certificates
SSL certificates make connections secure. They protect data between servers and users. First, get a certificate from a trusted source. Many use Let’s Encrypt. It’s free and reliable. Once you have the certificate, install it on your server. Use tools like Certbot for easy installation. Certbot automates the setup process. Follow the steps provided by Certbot. Make sure the certificate is renewed regularly. This keeps connections secure.
Configuring Https
HTTPS encrypts web traffic. It uses SSL certificates for safety. To configure HTTPS, update your web server settings. Change the default HTTP to HTTPS. This directs traffic through a secure channel. Adjust the server’s configuration files. Specify the certificate paths. Test the setup after configuration. Ensure all pages load securely. Use online tools to check for security issues. Regular testing keeps your website safe. Visitors trust websites with HTTPS.
Setting Up Ftp For File Transfers
First, open the terminal. Type sudo apt update. This updates your server. Next, install the FTP service. Type sudo apt install vsftpd. Wait for it to complete. This installs the FTP package. Your server is now ready for FTP.
Create a new user for FTP access. Type sudo adduser yourusername. Replace “yourusername” with your chosen name. Follow the prompts to set a password. Edit the FTP configuration file. Type sudo nano /etc/vsftpd.conf. Find the line that says anonymous_enable=YES. Change it to NO. This keeps your server safe.
Managing Domains And Dns
First, choose a domain name. Make it short and easy to remember. Visit a domain registrar like GoDaddy or Namecheap. Search for your desired domain. If available, add it to your cart. Follow the checkout process to complete the purchase. Be sure to enter correct details during registration. Save the confirmation email for later use.
Log in to your registrar account. Find the DNS settings section. Here, you can add or edit records. Start by adding an A record. This links your domain to your server’s IP address. Don’t forget to save changes. It might take some time to update. Check the domain in a browser. Make sure it points to your server. Troubleshoot if needed.
Monitoring And Maintenance
Keeping your Ubuntu server running smoothly requires regular monitoring and maintenance. Check server logs to spot issues early. Update software frequently for security and performance.
Setting Up Monitoring Tools
Set up tools to check your server health. Use tools like Nagios or Zabbix. These tools help you track server performance. You can see CPU, memory, and disk use. They alert you if something is wrong. This keeps your server running smoothly.
Regular Backups
Always make a backup of your data. Use tools like rsync or Duplicity. Store backups in a safe place. You can use cloud storage for extra safety. Regular backups prevent data loss. This is very important for server safety.
Updating Software
Keep your software up to date. Updates fix bugs and security holes. Use commands like sudo apt-get update and sudo apt-get upgrade. This keeps your server safe. Updated software works better and is more secure.

Credit: arstechnica.com
Frequently Asked Questions
Is Ubuntu Good For Server Hosting?
Ubuntu is excellent for server hosting. It offers strong security, regular updates, and extensive community support. Its compatibility with various applications and ease of use make it a popular choice for both beginners and experienced administrators. Ubuntu’s flexibility and performance ensure reliable and efficient server operations.
Does Ubuntu Have A Web Server?
Yes, Ubuntu supports web servers. You can install Apache, Nginx, or other web servers easily. Ubuntu’s repositories include these packages, making setup simple. With Ubuntu, you can host websites, manage domains, and handle web traffic efficiently. It’s a popular choice for web hosting due to its stability and security features.
How To Setup An Ubuntu Server Step By Step?
Download the Ubuntu Server ISO file. Create a bootable USB drive using software like Rufus. Boot the server from USB. Follow installation prompts to set up language, keyboard, and network. Choose disk partitioning options. Install essential packages. Complete installation and reboot.
Access the server via SSH for further configuration.
How To Configure A Virtual Host In Ubuntu?
To configure a virtual host in Ubuntu, edit the Apache configuration file. Create a new configuration file in `/etc/apache2/sites-available/`. Define the virtual host, document root, and server name. Enable the site with `a2ensite`, then restart Apache using `sudo systemctl restart apache2`.
Conclusion
Setting up an Ubuntu server is a straightforward task. It empowers web hosting efficiently. Follow each step carefully. Ensure all configurations are correct. Test your server thoroughly. Regular updates keep it secure and optimized. Troubleshooting helps fix issues quickly. Explore additional tools for enhanced features.
Keep learning to improve your server skills. A well-managed server supports your website reliably. Enjoy the benefits of a powerful hosting solution. Remember, practice makes perfect. Happy hosting with Ubuntu!