Have you ever wanted to give your WordPress site a fresh look but felt overwhelmed by the technical details? Changing your WordPress theme footer menu might seem daunting, but it’s actually a simple way to enhance your website’s appearance and improve user experience.
Imagine the satisfaction of having a footer menu that perfectly reflects your brand and guides your visitors seamlessly. This guide will walk you through the process step-by-step, making it easy for you to customize your site’s footer menu with confidence.
By the end, you’ll not only know how to change it but also understand why it’s a crucial part of your website’s design. Ready to transform your footer menu into something truly special? Let’s dive in!
Accessing The WordPress Dashboard
First, log into your WordPress account. Use your username and password. Next, find the Dashboard on the left side. This is your main control panel. It helps you manage your website. Click on the dashboard link to open it. You will see many options here. Each option has a different use.
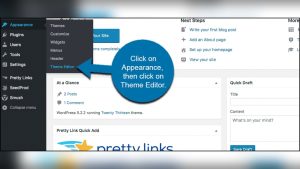
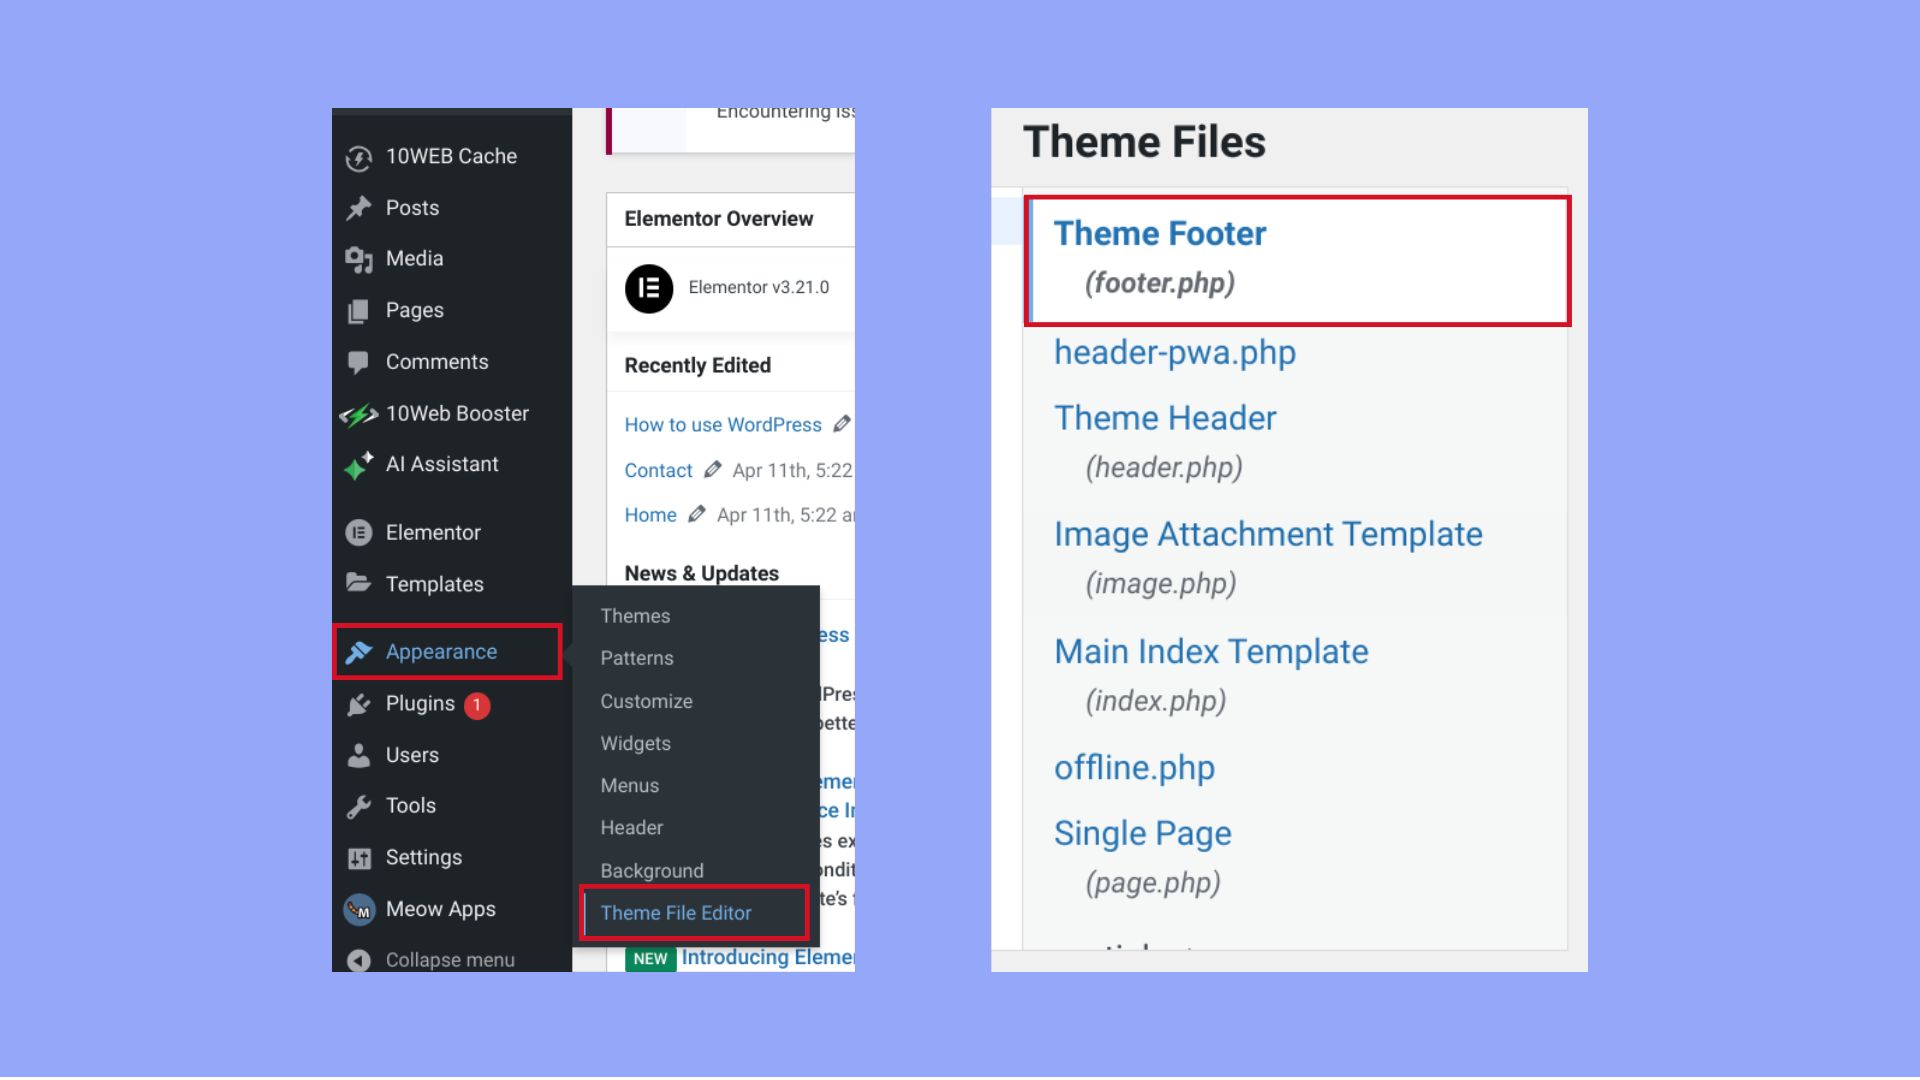
Look for the Appearance tab. This tab controls the look of your site. Click on it to see more options. Find the Menus option under Appearance. This is where you can change your footer menu. Make sure to save your changes. Check your website to see the new footer.
Credit: 10web.io
Navigating To Appearance Settings
First, find the dashboard in your WordPress site. It’s on the left. Click on the “Appearance” tab. A menu will drop down. Look for “Menus” in that list. Click on it to open. You will now see all menu options.
Select the footer menu. It’s usually at the bottom. Make changes as needed. Add new links or remove old ones. Don’t forget to save your changes. Press the “Save Menu” button. Your new footer menu is ready.
Selecting The Footer Menu
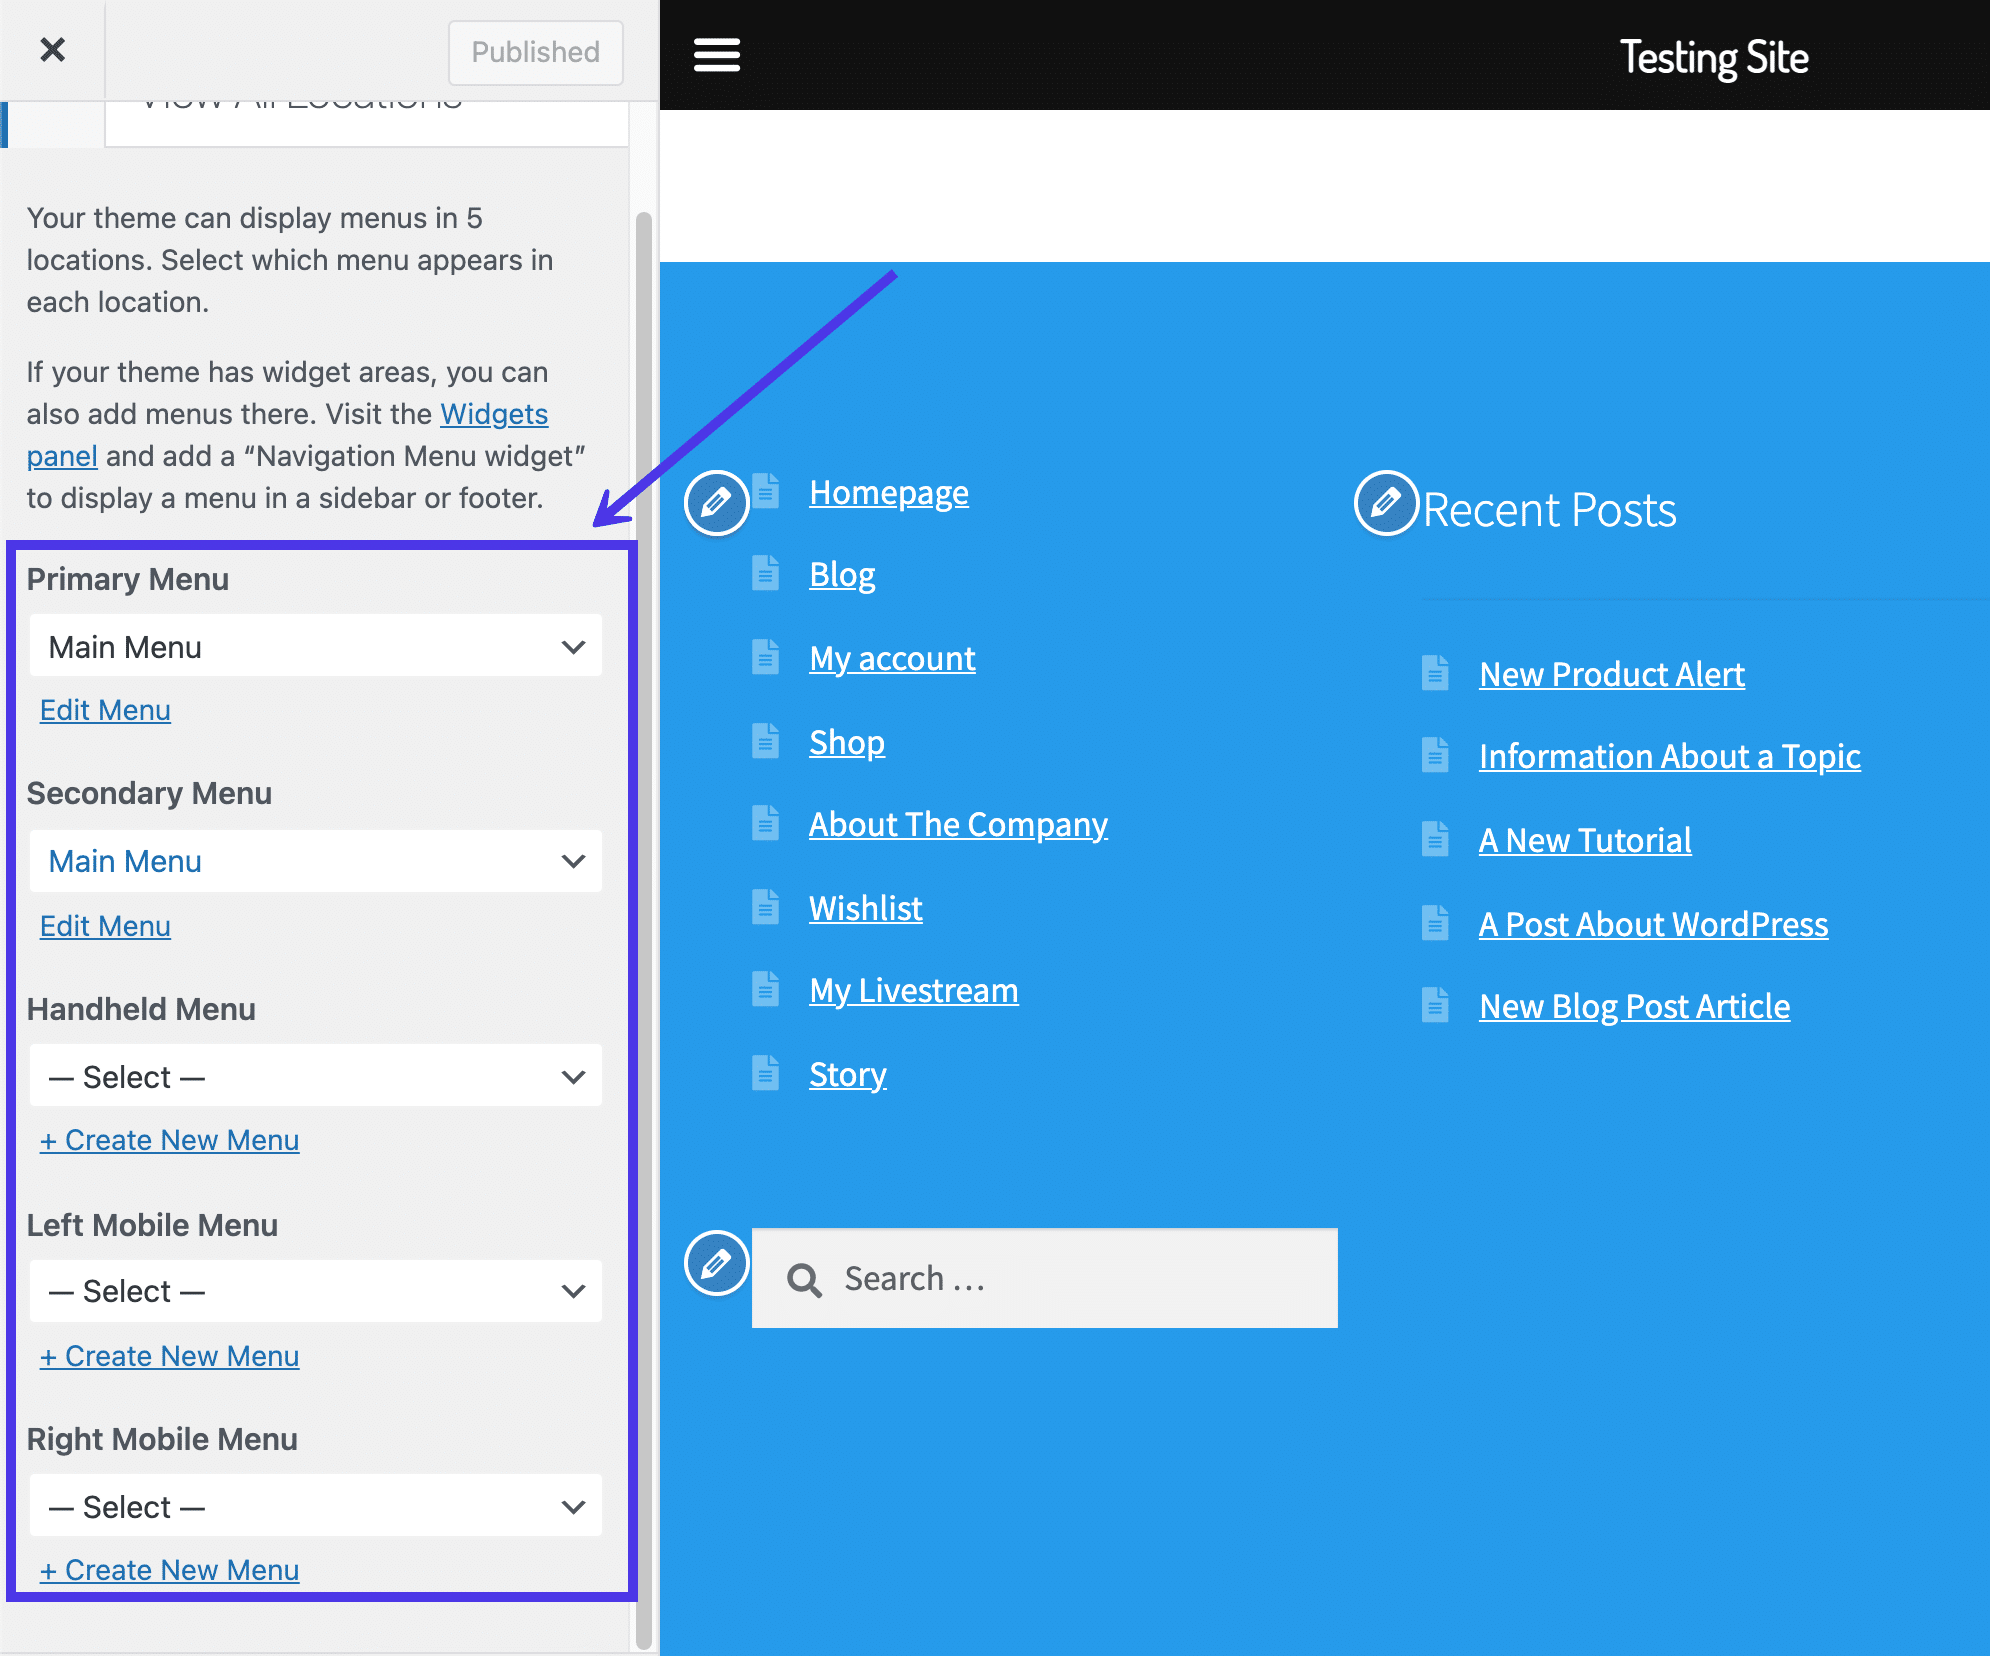
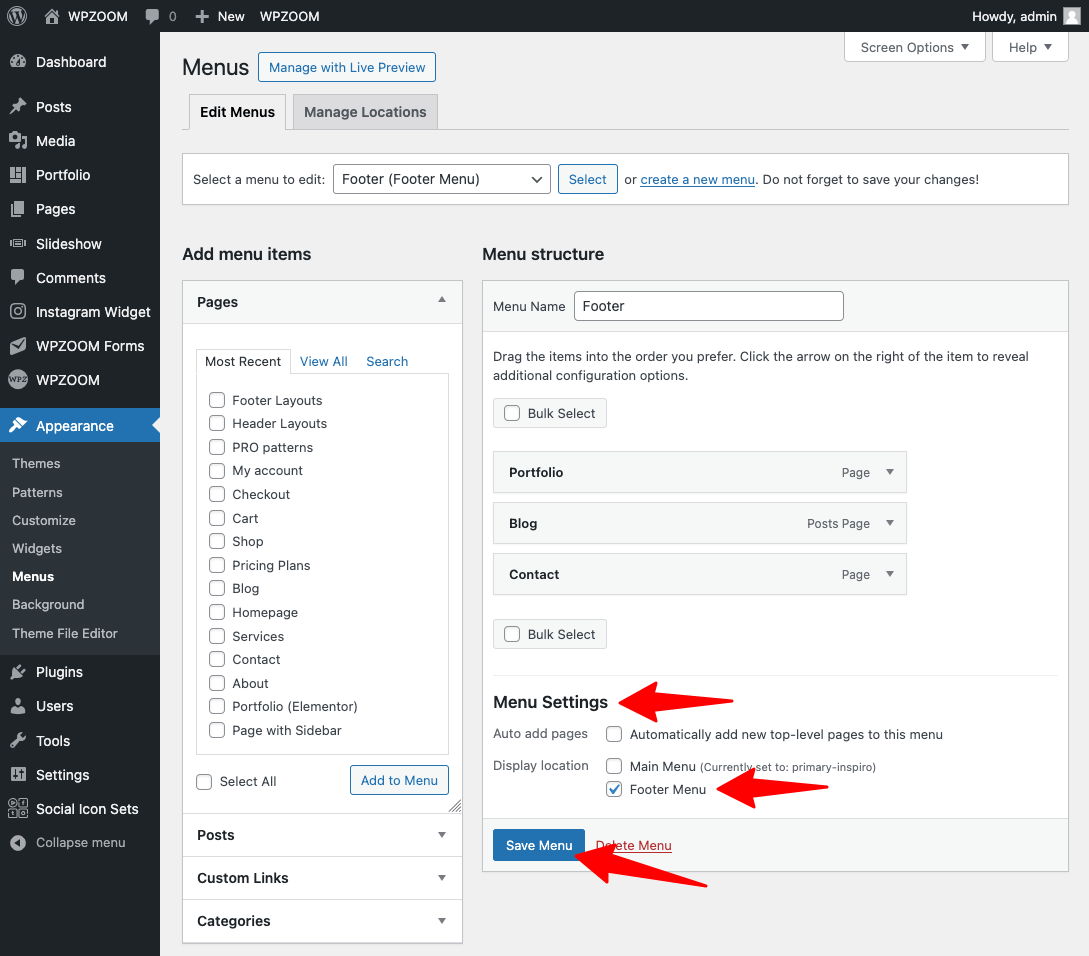
Find the Appearance option in your WordPress dashboard. Click on it. Next, choose Menus from the list. A new page will open. Look for the Manage Locations tab. This is where you can set the footer menu.
Select your desired menu from the dropdown. Ensure it is labeled as the footer menu. Click Save Changes to apply. Always check your site to confirm the changes.
Customizing Footer Menu Items
Go to your WordPress dashboard. Find the Appearance menu. Click on Menus. Choose the footer menu from the list. Look for the Add Items button. Click to add new links. Choose from pages, posts, or custom links. Make sure to save the changes. This will update your footer menu.
In the same menu section, you can rearrange items. Click and drag the menu items. Place them in your desired order. Save your changes once done. This will change the order in the footer. Users will see the new order immediately.
Some links might not be needed. To remove them, go to the menu list. Click on the unwanted link. Find and click the Remove option. This will take the link off the menu. Remember to save after removing. Your footer will look cleaner and organized.
Using The WordPress Customizer
Explore WordPress Customizer to update your theme’s footer menu effortlessly. Navigate to ‘Menus’ and select ‘Footer Menu’ for adjustments. Save changes to refresh your site’s look instantly.
Locating The Customizer
To find the WordPress Customizer, log into your dashboard. Look for the Appearance menu. Click on it and select Customize. This opens the Customizer tool. It helps you change your site’s look. Make sure your theme supports it. Not all themes do.
Adjusting Footer Settings
Once in the Customizer, find the Footer section. It’s usually near the bottom. Click to open it. You can edit the footer menu here. Add or remove items. Change their order. Save changes when done. This updates your site’s footer. Check your site to see changes. Make sure everything looks right.
Credit: kinsta.com
Applying Changes And Saving
To apply changes to the footer menu, click on the “Save Menu” button. This button is located at the bottom of the menu page. It is important to click it after making any changes. Forgetting to save will mean losing all updates.
After saving, visit your website to see changes. Go to the footer area. Check if the new menu items appear as you wanted. If they don’t, you might need to refresh the page. Sometimes, changes do not show up immediately.
If you find any mistakes, return to the menu settings. Make necessary changes and save again. Double-check each step to ensure everything is correct. This process helps keep your website organized and user-friendly.
Troubleshooting Common Issues
Easily change your WordPress theme footer menu by navigating to the Appearance section. Select Menus and choose the footer menu to edit. Save your changes to update the website’s design instantly.
Missing Menu Options
Sometimes, the footer menu options disappear. First, check the WordPress dashboard. Make sure the menu is assigned to the footer area. Look under Appearance and Menus. If the menu is not there, you might need to create a new one. Save it to the footer location.
Changes Not Reflecting
You changed the menu but it looks the same. Clear your cache. This can help see the changes. Use a cache plugin or go to browser settings. Check if the footer menu is saved correctly. Sometimes, updates don’t work right away. Refresh the page to see the update.
Credit: www.wpzoom.com
Frequently Asked Questions
How Do I Access The Footer Menu In WordPress?
To access the footer menu in WordPress, navigate to the WordPress dashboard. Go to “Appearance” and then select “Menus. ” From there, you can edit the footer menu. Ensure you select the correct menu location labeled as “Footer” to make changes.
Can I Customize The Footer Menu Style?
Yes, you can customize the footer menu style in WordPress. Use the “Appearance” section, then go to “Customize. ” From there, select “Additional CSS” to add custom CSS. This allows you to change colors, fonts, and layout.
How To Add New Items To The Footer Menu?
To add new items, go to “Appearance” and select “Menus. ” Click on the desired menu and add items from the left column. You can add pages, posts, and categories to your footer menu.
Why Doesn’t My Footer Menu Update?
If your footer menu doesn’t update, check if you’re editing the correct menu location. Ensure you’ve saved changes after editing. Also, clear your site cache if you’re using a caching plugin, as it might display an older version.
Conclusion
Changing the WordPress theme footer menu is simple. Follow each step carefully. Start by accessing your WordPress dashboard. Navigate to Appearance, then Menus. Select Footer Menu. Customize it as per your needs. Save changes once satisfied. Test to ensure everything looks perfect.
Refresh your page to see the updates. Practice makes perfect. Experiment with different options. Keep your website fresh and functional. Remember to maintain a user-friendly design. Regular updates help improve your site’s usability. Your footer menu reflects your site’s style.
Keep it relevant and neat. Happy customizing!